
DIY Quilted Baby Playmat
/

Some links in this blog post may be affiliate links. This means if you click through and purchase the product, I earn a small commission at no additional cost to you. Thank-you.
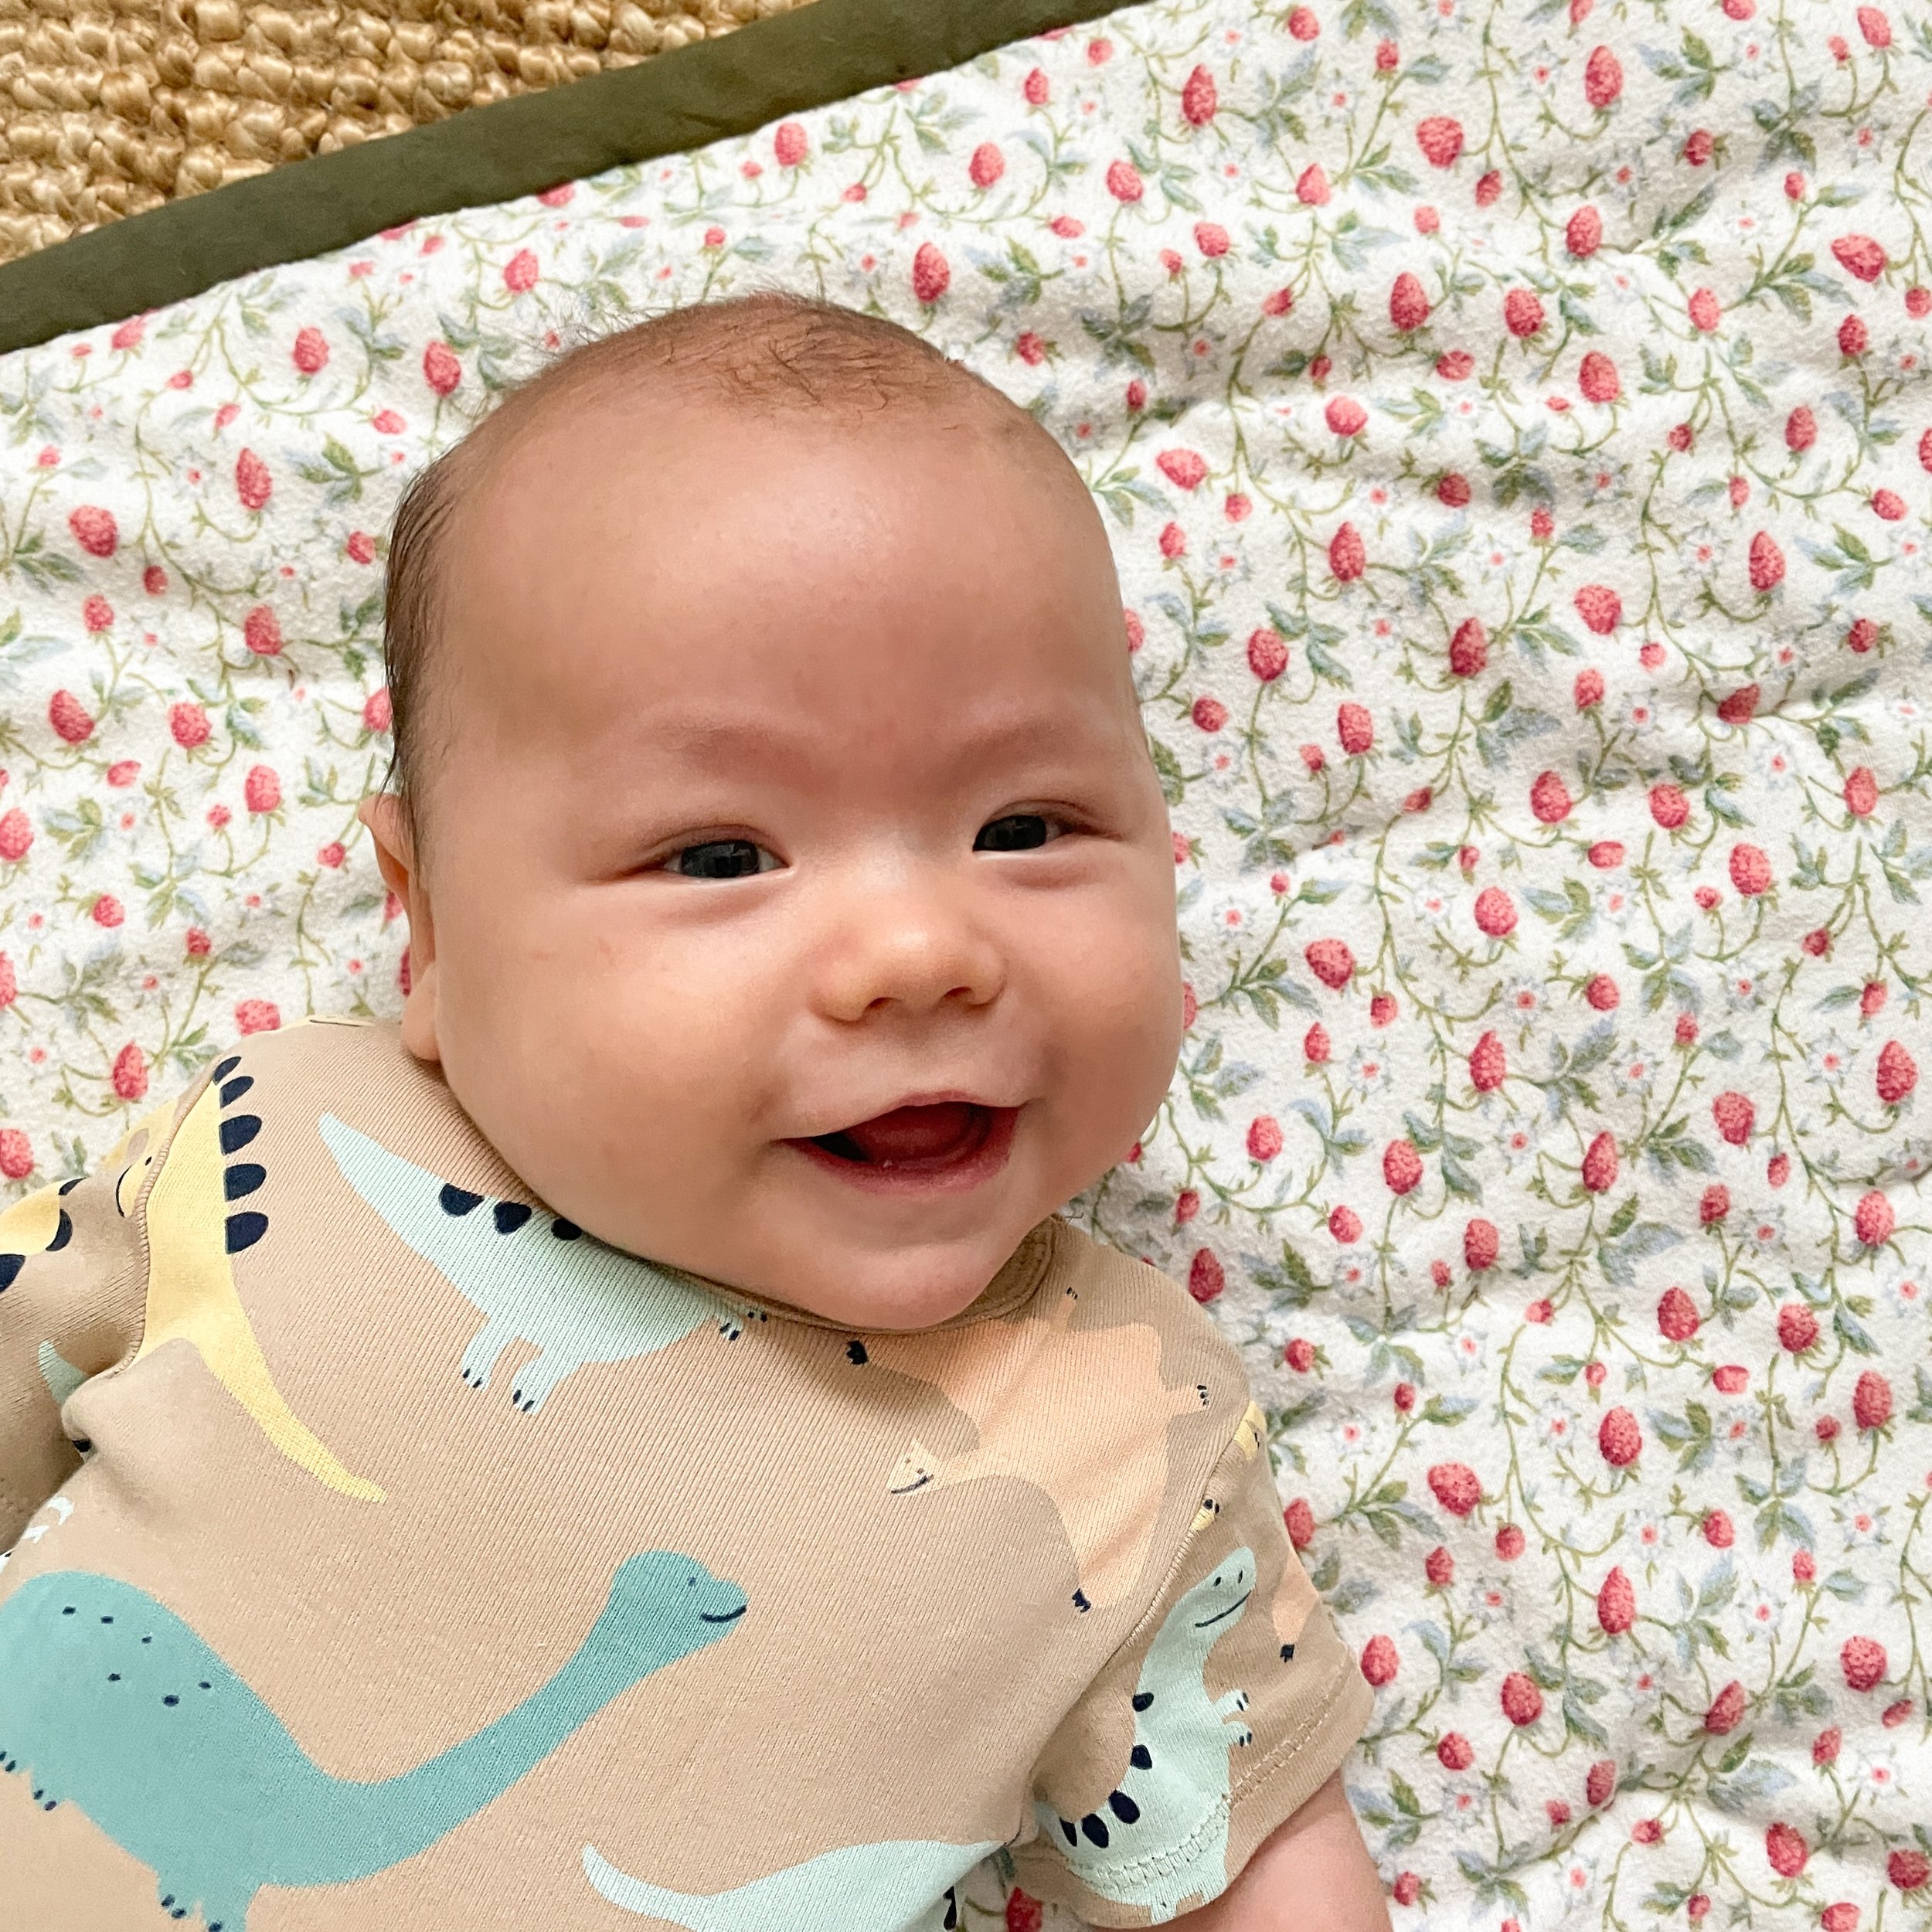
I sewed up this easy baby playmat over the last couple days and I want to tell you about how I made it. Such a practical project, I throw this mat down in whatever room I’m in and let baby kick around on in. You can make it as thick or thin as you like, and I even made one side of mine using a water resistant material so I can use it outside in the grass as well.
I wanted to make this project using things I already had around the house, and besides the thread it is completely made out of recycled materials! The raspberry printed flannel is actually cut from an old sheet, and the ‘batting’ is two layers of a throw blanket that I’ve owned for over a decade and I was about to get rid of. The green checkerboard side is pieced together using a rain coat I cut up. I bought the rain coat last year from the thrift store and when I wore it in the rain last week I quickly learned it was not very waterproof! I felt bad even donating it back to the thrift store because I didn’t want anyone else spending their money on it and getting tricked. So I cut it up into as many 3.5” squares as I could and pieced those squares into a big rectangle. This way I could use as much of the coat as possible, cutting squares from the sleeves, pockets, and hood. I even harvested the zipper to use in another project in the future. The way I was able to make the checkerboard design was by flipping half of the squares upside down. The backside of the fabric was slightly darker then the front side and I wanted to make use of that in the design.
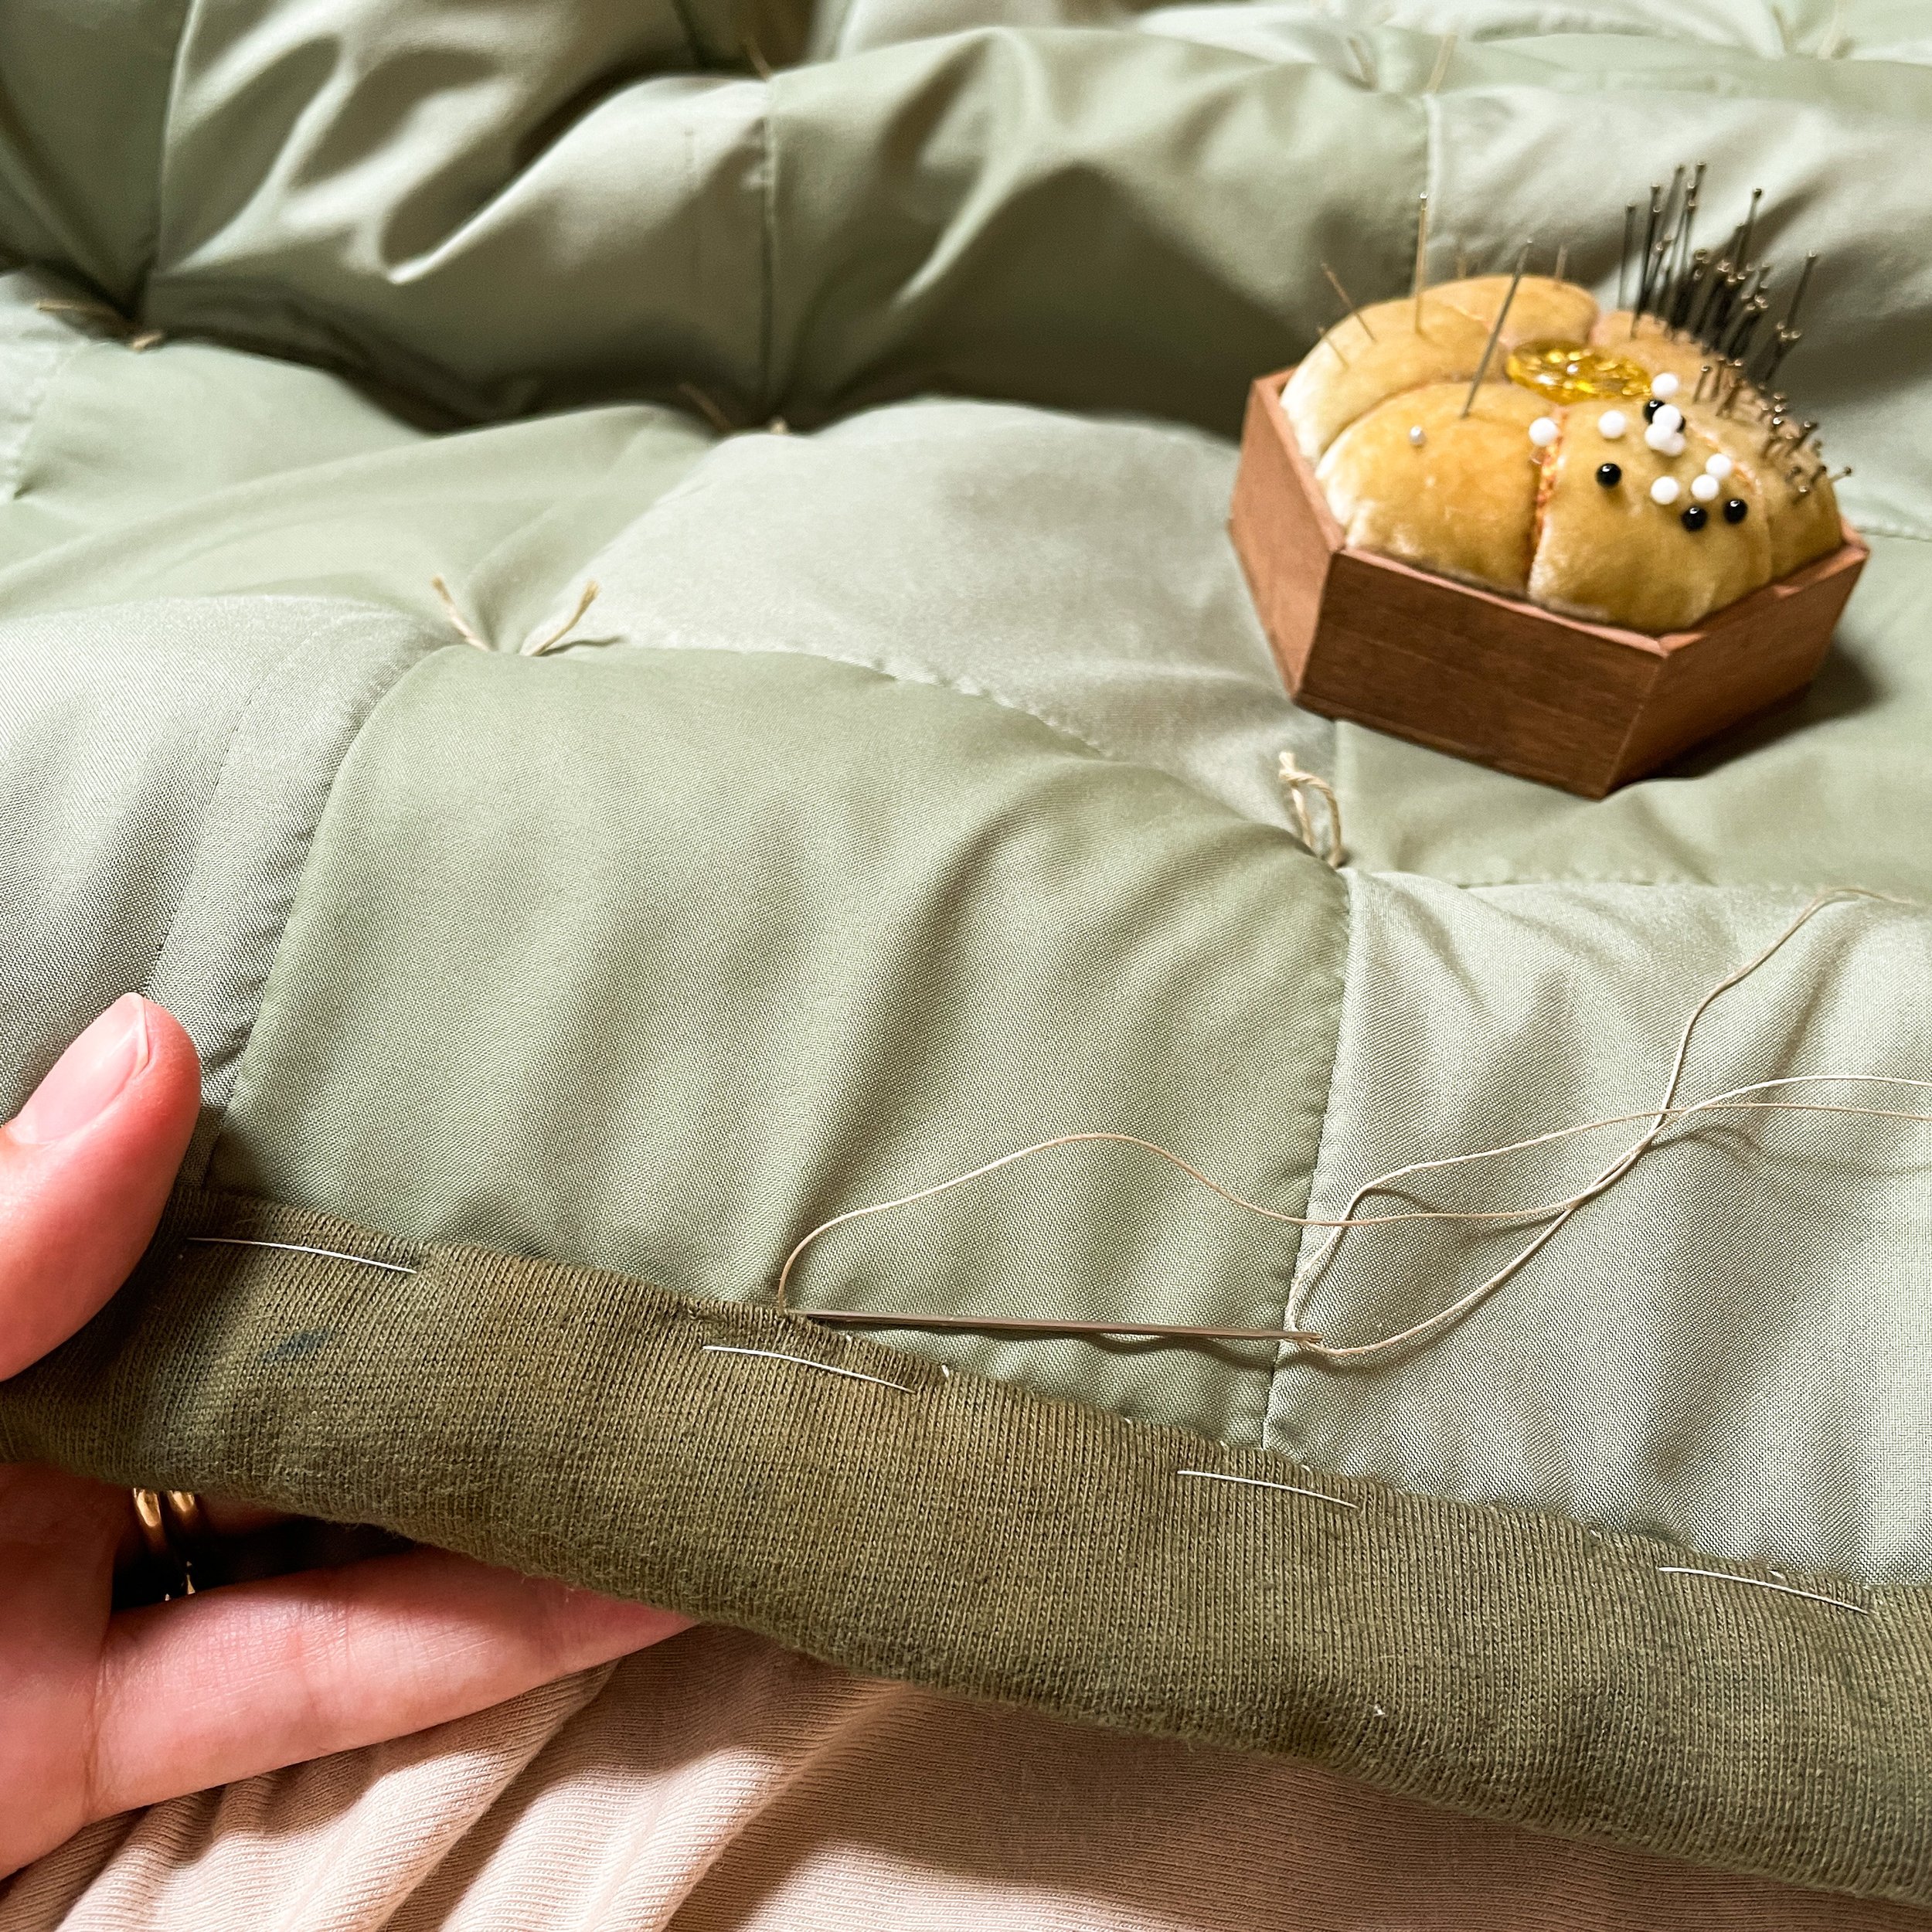
The binding of this play mat is made from cotton jersey. I am working on an Alabama Chanin style dress and had some leftover jersey fabric after cutting out the pattern pieces. I cut 3.5” strips on the cross grain and pieced them together to make one long strip, which I attached the same way you would attach regular binding to a quilt. I love that it is a little softer than using quilting cotton. I cut such a wide strip because I wanted a nice thick border around the play mat, I think the green compliments both sides nicely.
As for quilting: I did attempt to quilt this in my sewing machine and it was such a failure! I wanted this mat to be nice and thick so there is no way I could get it through my machine, even using a walking foot. So instead I used the knotted method of quilting, which is to use thread to tie a knot through all of the layers of the quilt at regular intervals. You can see the tails of the knots on one side of the quilt so I chose to have them on the water resistant piecework side, in between each square of the checkerboard. I used a cotton Sashiko thread (affiliate link) to tie my knots. I think this method works so well for a play mat! The knots are a cute design feature, it works well on extra thick quilts, and it is so quick to do.

You can of course make this playmat any size you like! The size of mine was completely based on the blanket and fabric I had available to use. For reference mine measures 27” x 32”. I recommend cutting your top piece to the size you want your mat, and then if you can, cut your batting/blanket and your backing fabric a little bigger. Things will shift around a little bit as you tie the layers together, so it’s nice to have some extra room for that. Then, before binding, you can trim the batting and backing fabric down so that the edges all line up perfectly. Then add your desired binding! The knotting method of quilting makes this project so easy, and it’s such a great way to use up fabric you already have!