The Start of an Alabama Studio Style Camisole Dress
/Some links in this blog post may be affiliate links. This means if you click through and purchase the product, I earn a small commission at no additional cost to you. Thank-you.
I have been romanced by the Alabama Chanin books. I can’t remember why I checked the first one out from my library: if I went looking for it because of a photo I saw online, or if I just happened upon it. But for years now I have checked these books out regularly, completely consumed by them every time I flip through. I have been wanting to try the method: working with stretchy cotton jersey, hand stitching seams and binding, embellishing the fabric with reverse appliqué or couching. Finally this last time I took the books out I decided to just start the project. It did all seem daunting, especially because I think I was about 37 weeks pregnant when I ordered all the supplies, thinking that I would have the fabric all painted and set up for mindless hand-stitching by the time the baby arrived. Of course not!
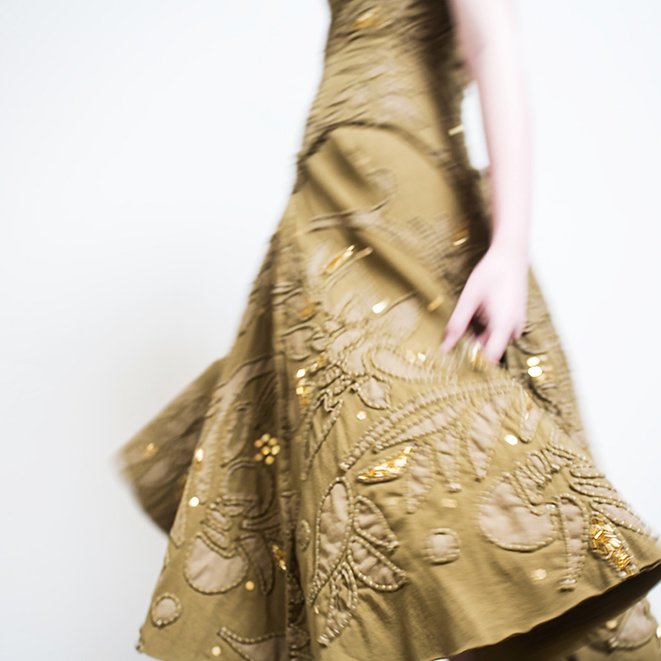
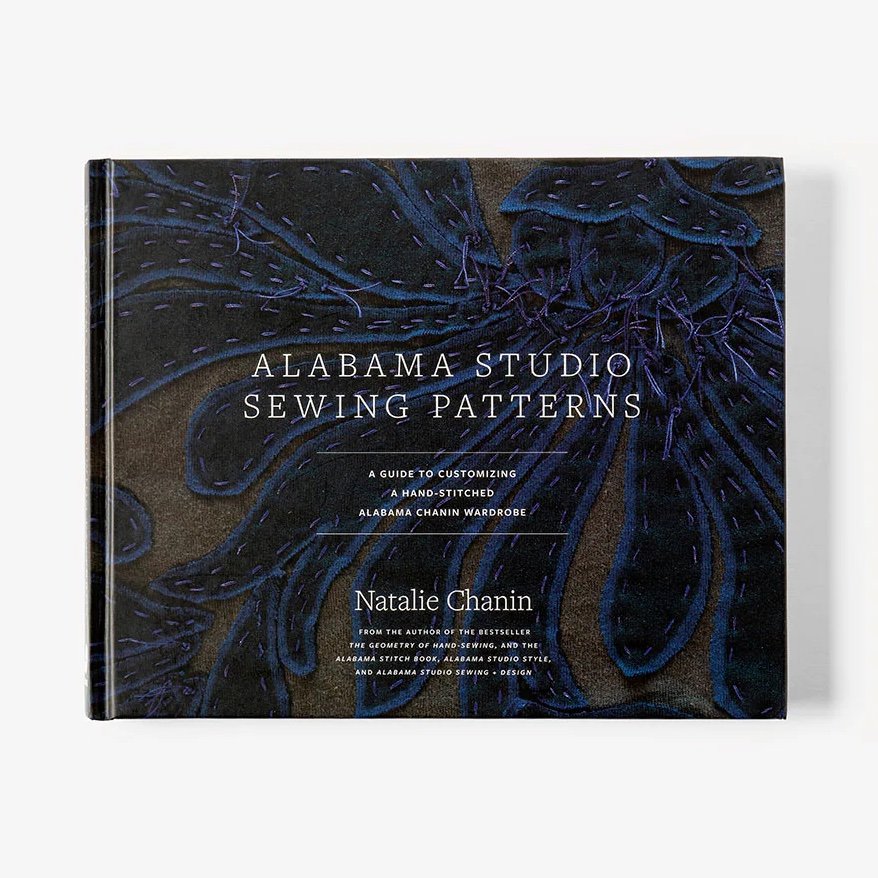
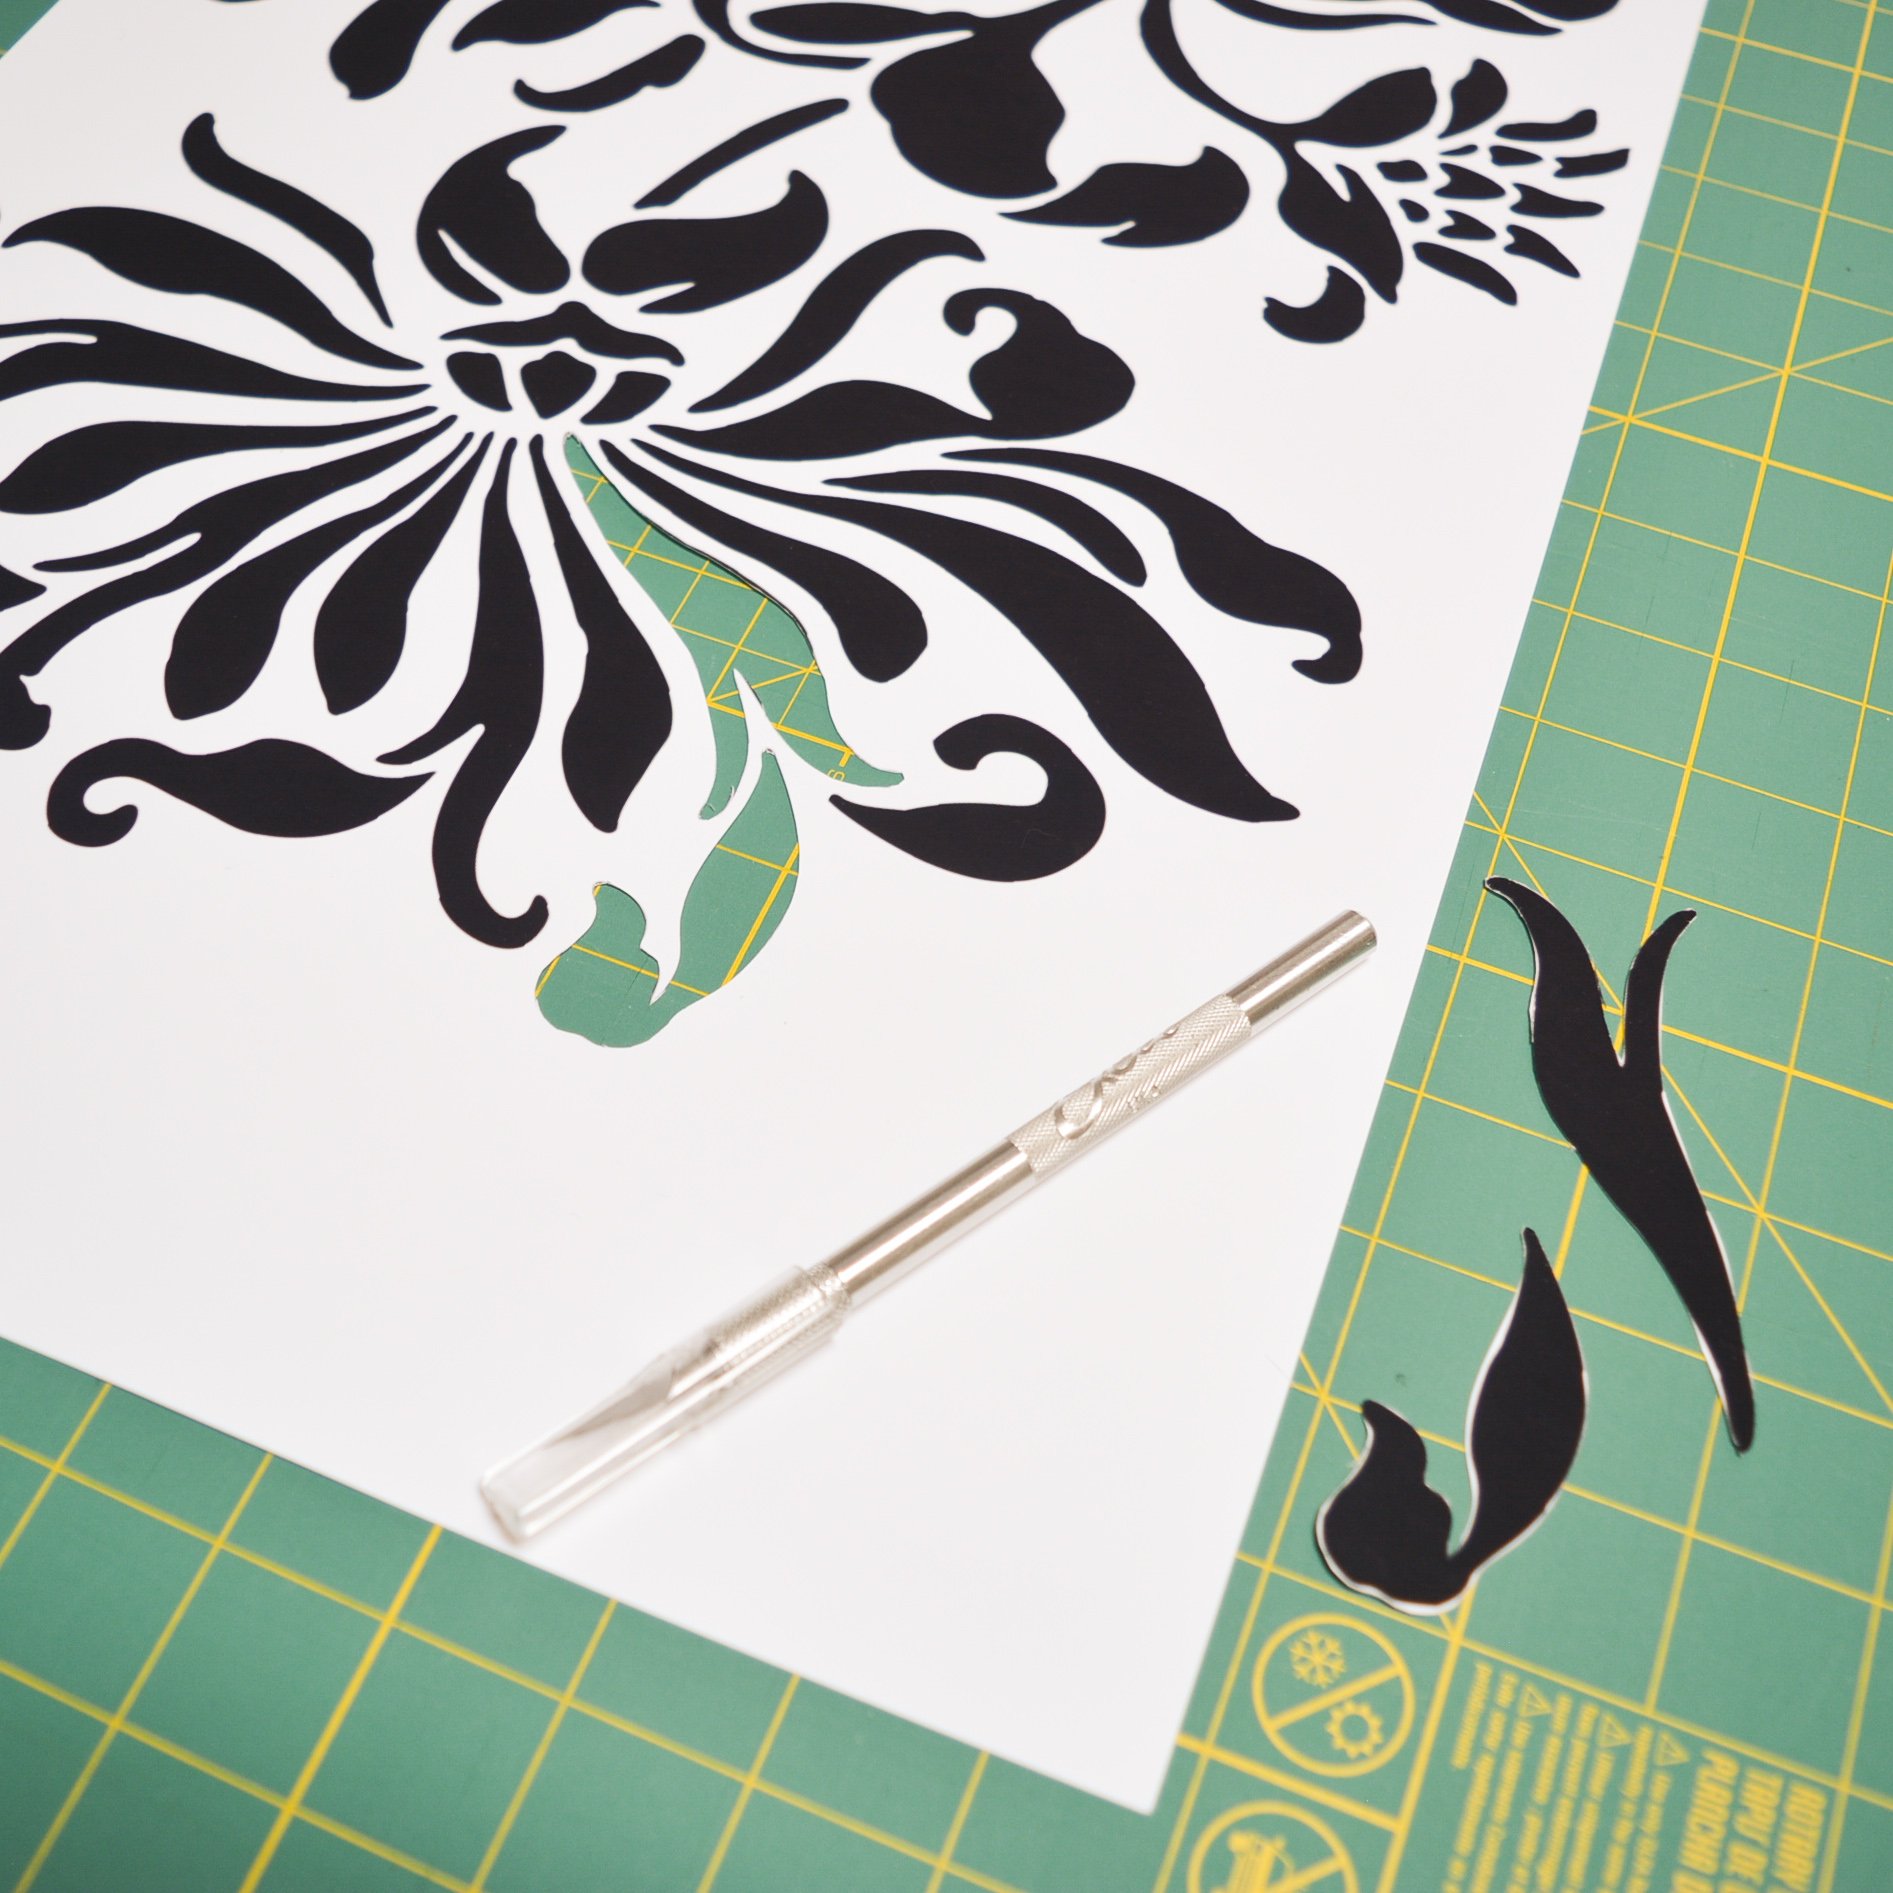
First thing was to come up with my project plan. I decided on a dress from the studio’s 29th collection as my inspiration and starting point. The most similar dress pattern in the books is called The Camisole Dress, which is a little simpler than the inspiration dress, perfect. I will be using the Magdalena Stencil. Both the dress pattern and the stencil can be found in the book Alabama Studio Sewing Patterns. The book comes with everything on a CD, so I downloaded what I needed and sent the sewing pattern off to Sew YYZ to be printed to scale (she does this for $5!), and I printed the stencil on card-stock using my home printer. My printer at home can print larger 13”x19” paper, and the card stock was perfect because I could just cut the stencil out directly using a utility knife and I was ready to paint. Although I did simplify the stencil a little before printing, so that I would have less to cut and an easier time embellishing.
I live in Canada, so ordering materials from the studio was just not really an option for my budget after I worked out the cost with shipping and duties. I luckily have access to the books from my library, so that helps with the cost of the pattern & stencil. I wanted to find a source for similar fabric on this side of the border, and places around my own city for getting most of the other supplies I needed. My main priority for matching the fabric was to find one with a similar weight. I couldn’t find anything in a similar range of colours, but I did find a perfect jersey that came un-dyed. This 200 GSM organic cotton jersey from Montloup is what I went with. It is such a beautiful heavy jersey, it just added the extra step to my project of dyeing the fabric.
For fabric dye I decided to go with Jacquard Procion MX Fabric Dye. From everything I read online, this is a great colourfast and lightfast option. This was actually quite a stressful part of the prep work for this project. I was trying to mimic the inspiration dress I had saved, so I was mixing dye colours and then trying to over-dye when it didn’t turn out quite right. I was also trying to dye 6 yards of the jersey (3 for the lining and 3 for the main layer), which got heavy! I ended up with a green and a sort of dull mustard yellow, and decided to use the green as my main fabric and stray from my inspiration photo a little bit. The dull mustard yellow will be the lining of the dress.
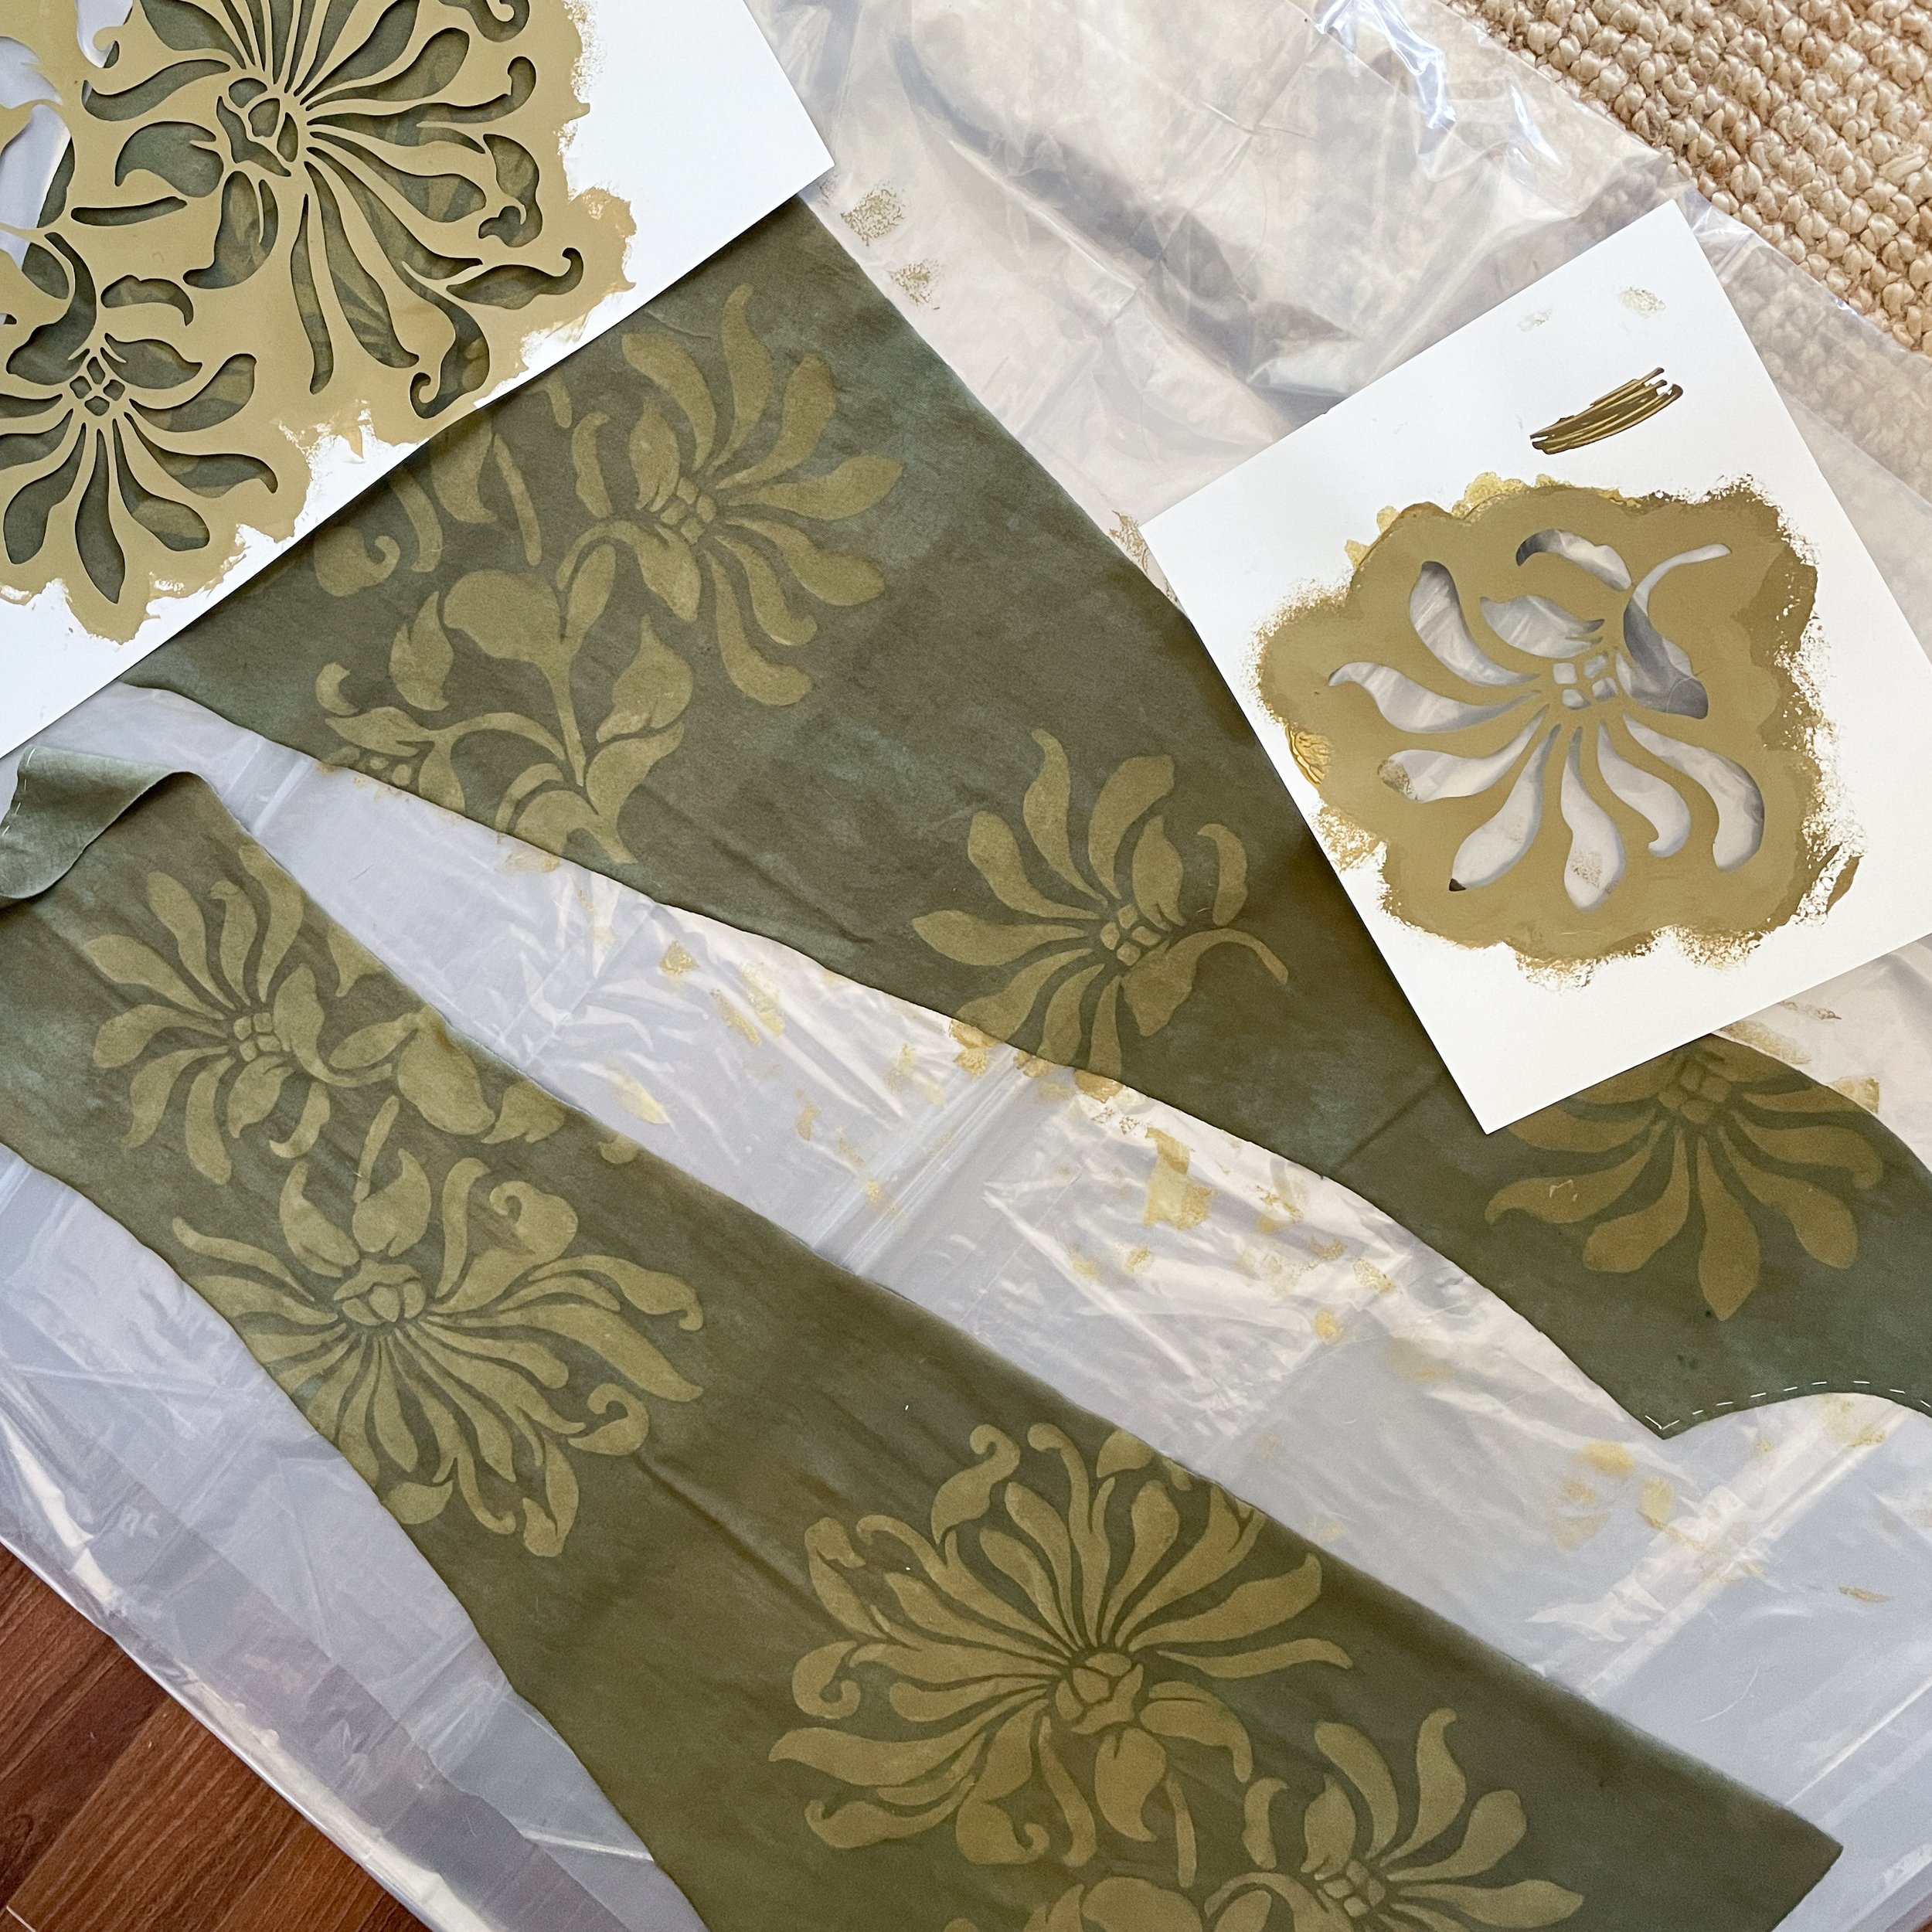
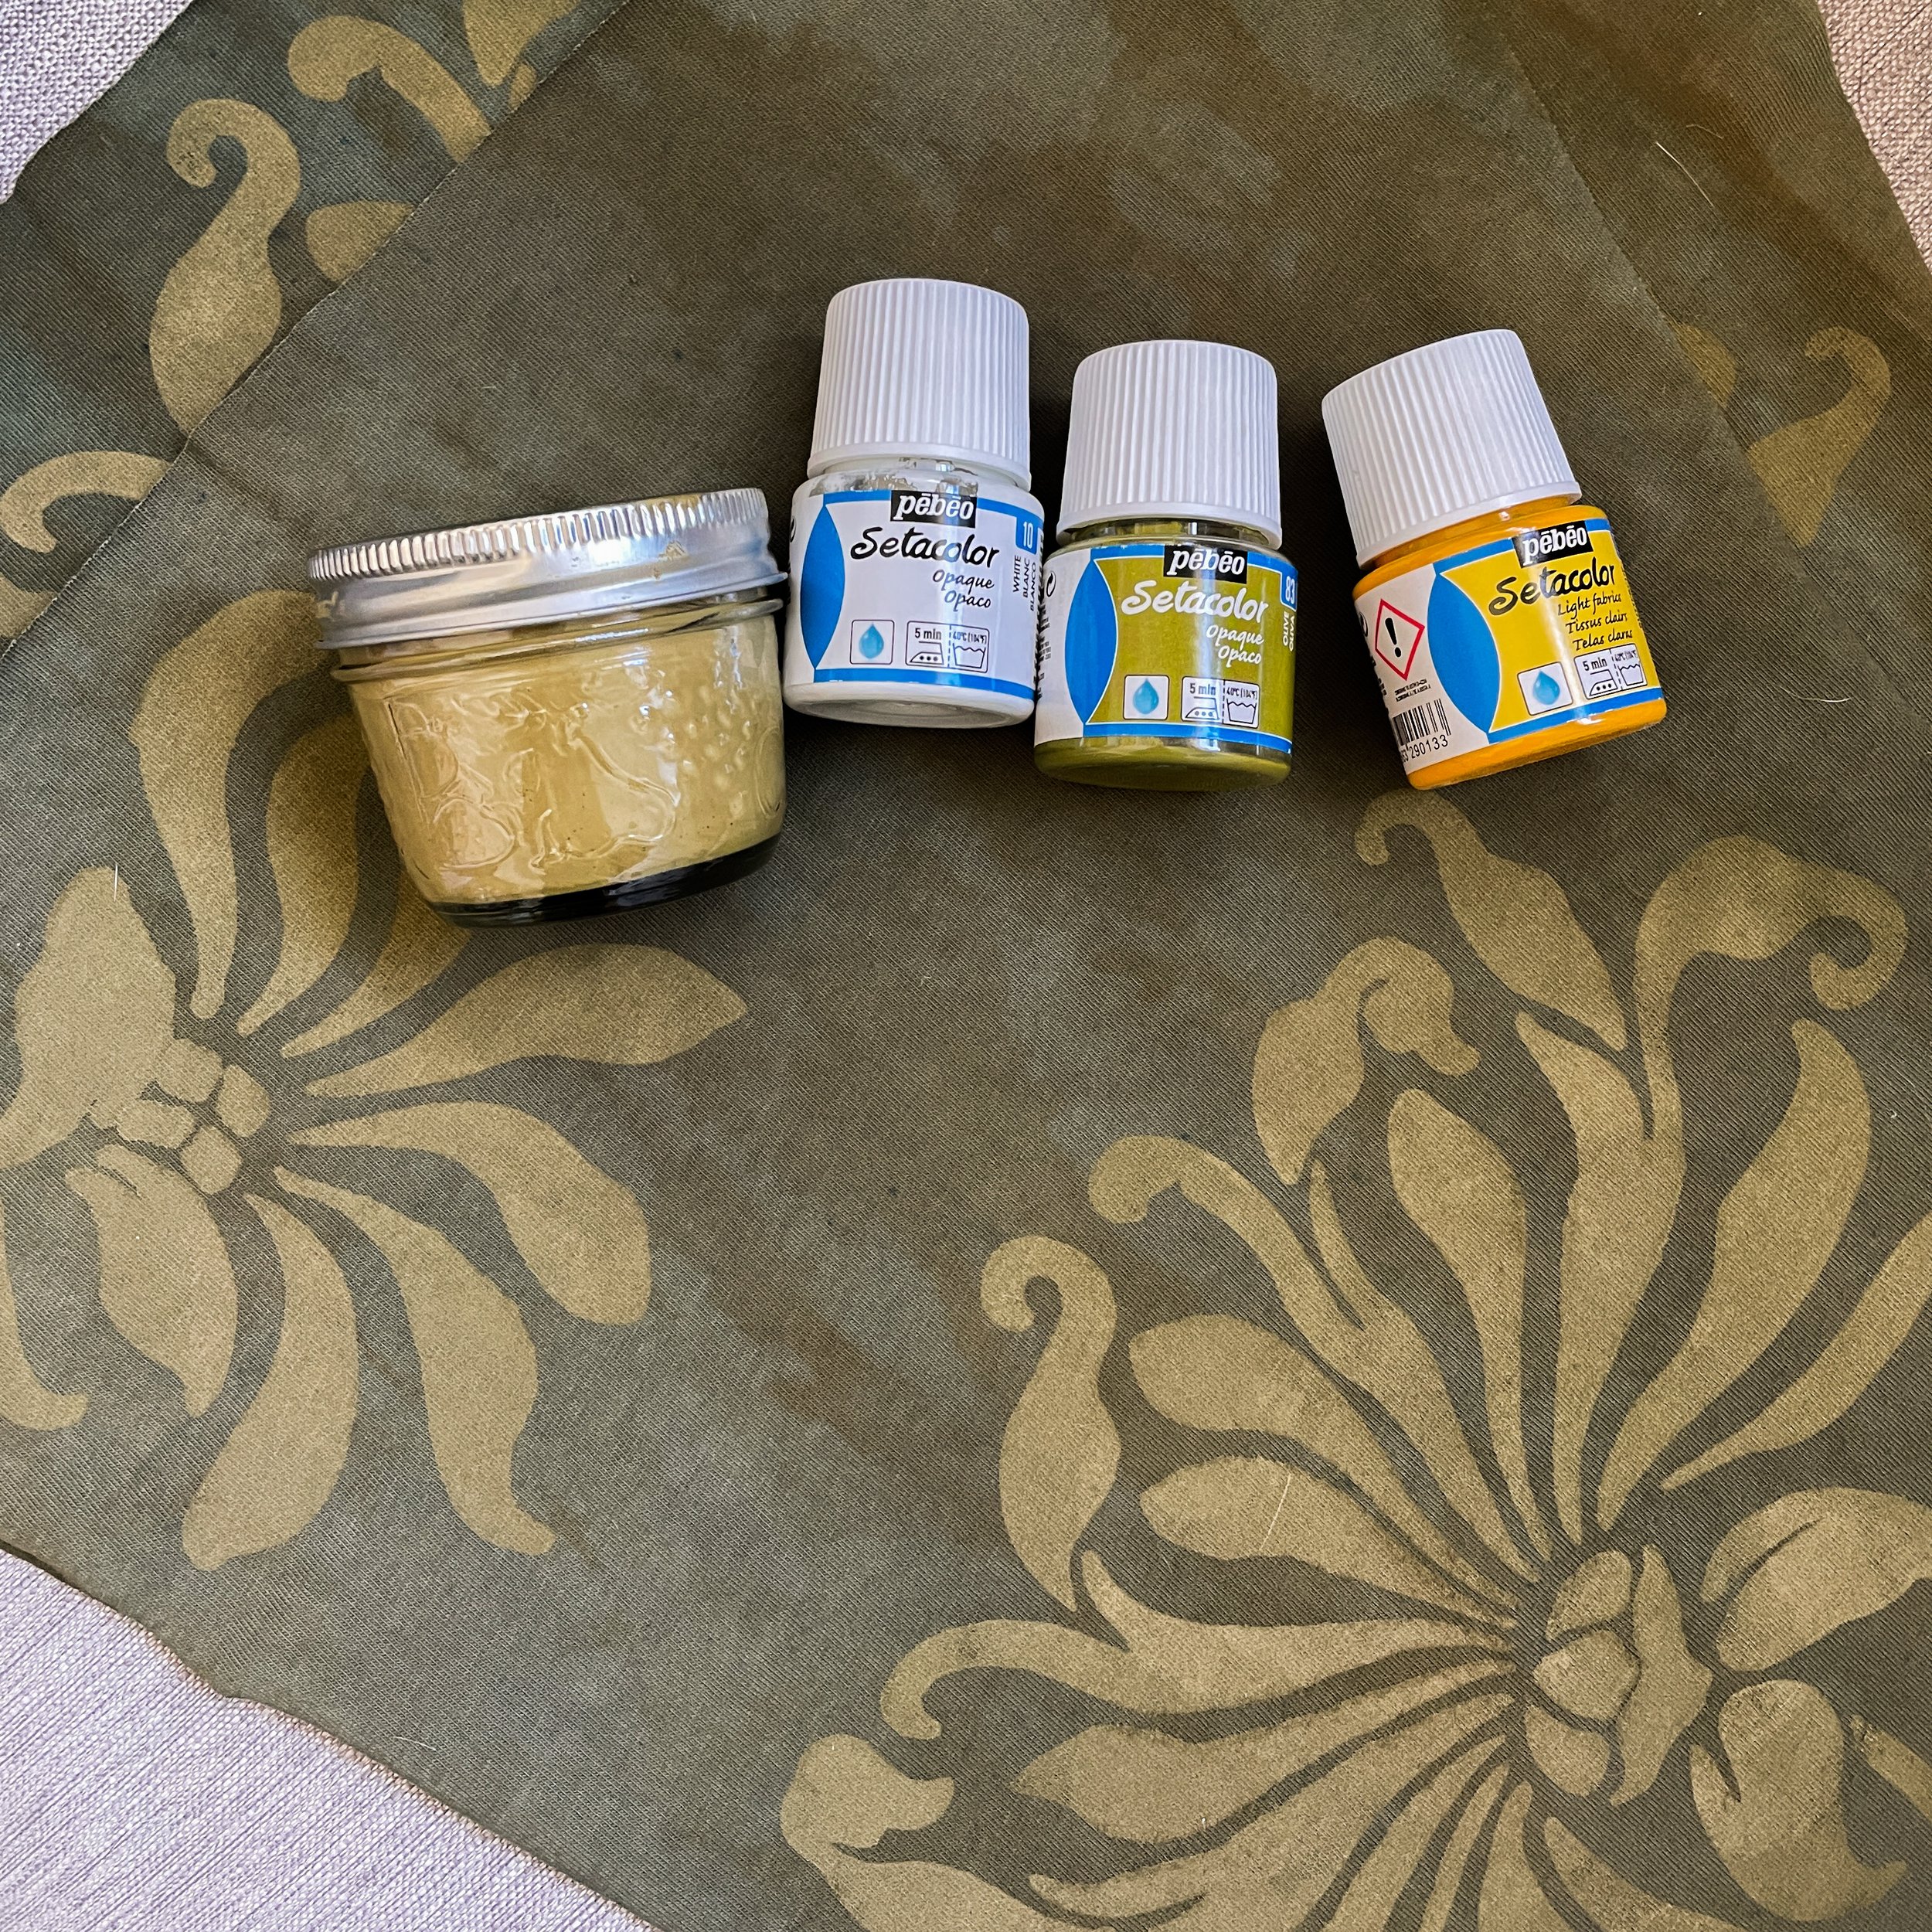
For fabric paint I chose the Pebeo Setacolor Opaque fabric paints. I created a custom blend out of white, brown, olive green, and buttercup. I was really happy with this and the subtle look of it on the green fabric. I did a couple swatches with the paint and after a lot of frustration with spray bottles I had success with a simple craft sponge! This part of the project felt like the biggest hurdle to me. Once I got a swatch I liked with a method I could handle I felt so much better about everything. I could finally start what I knew would be my favourite part, the actual sewing!
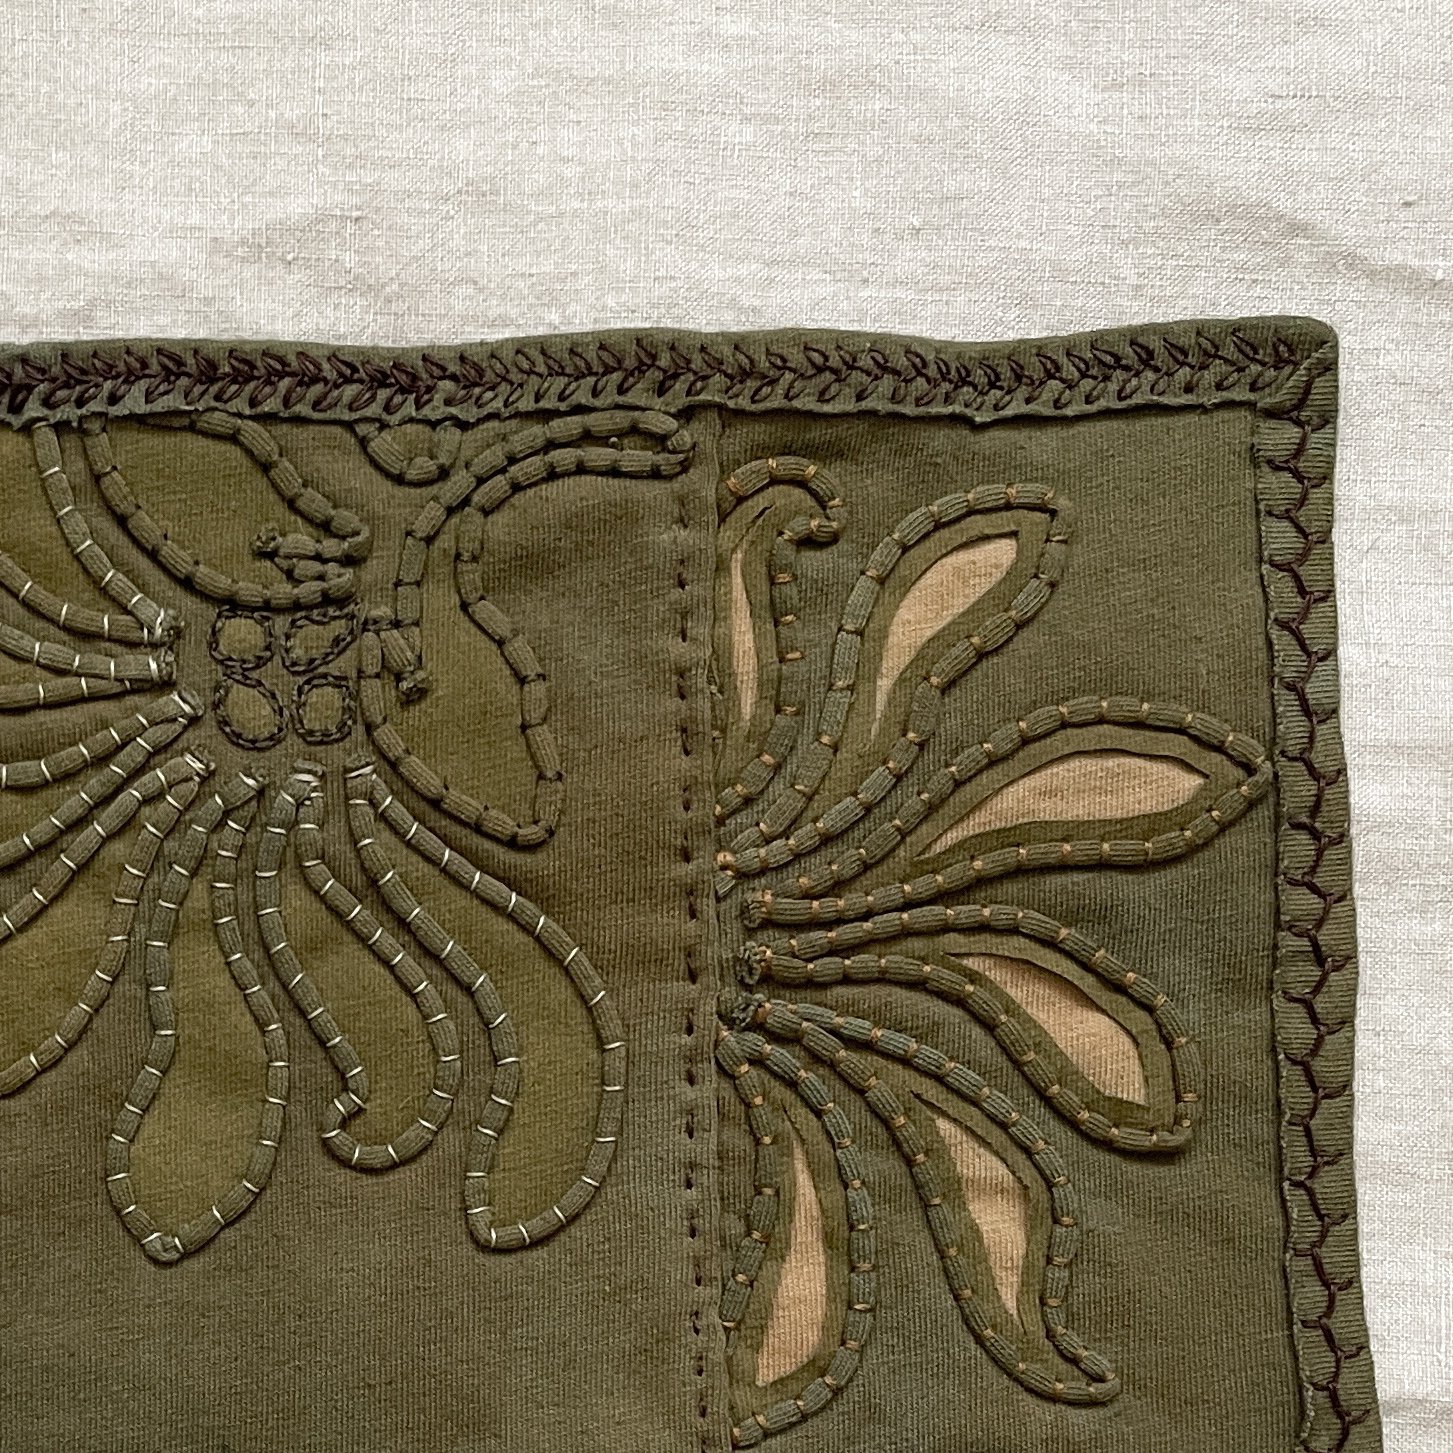
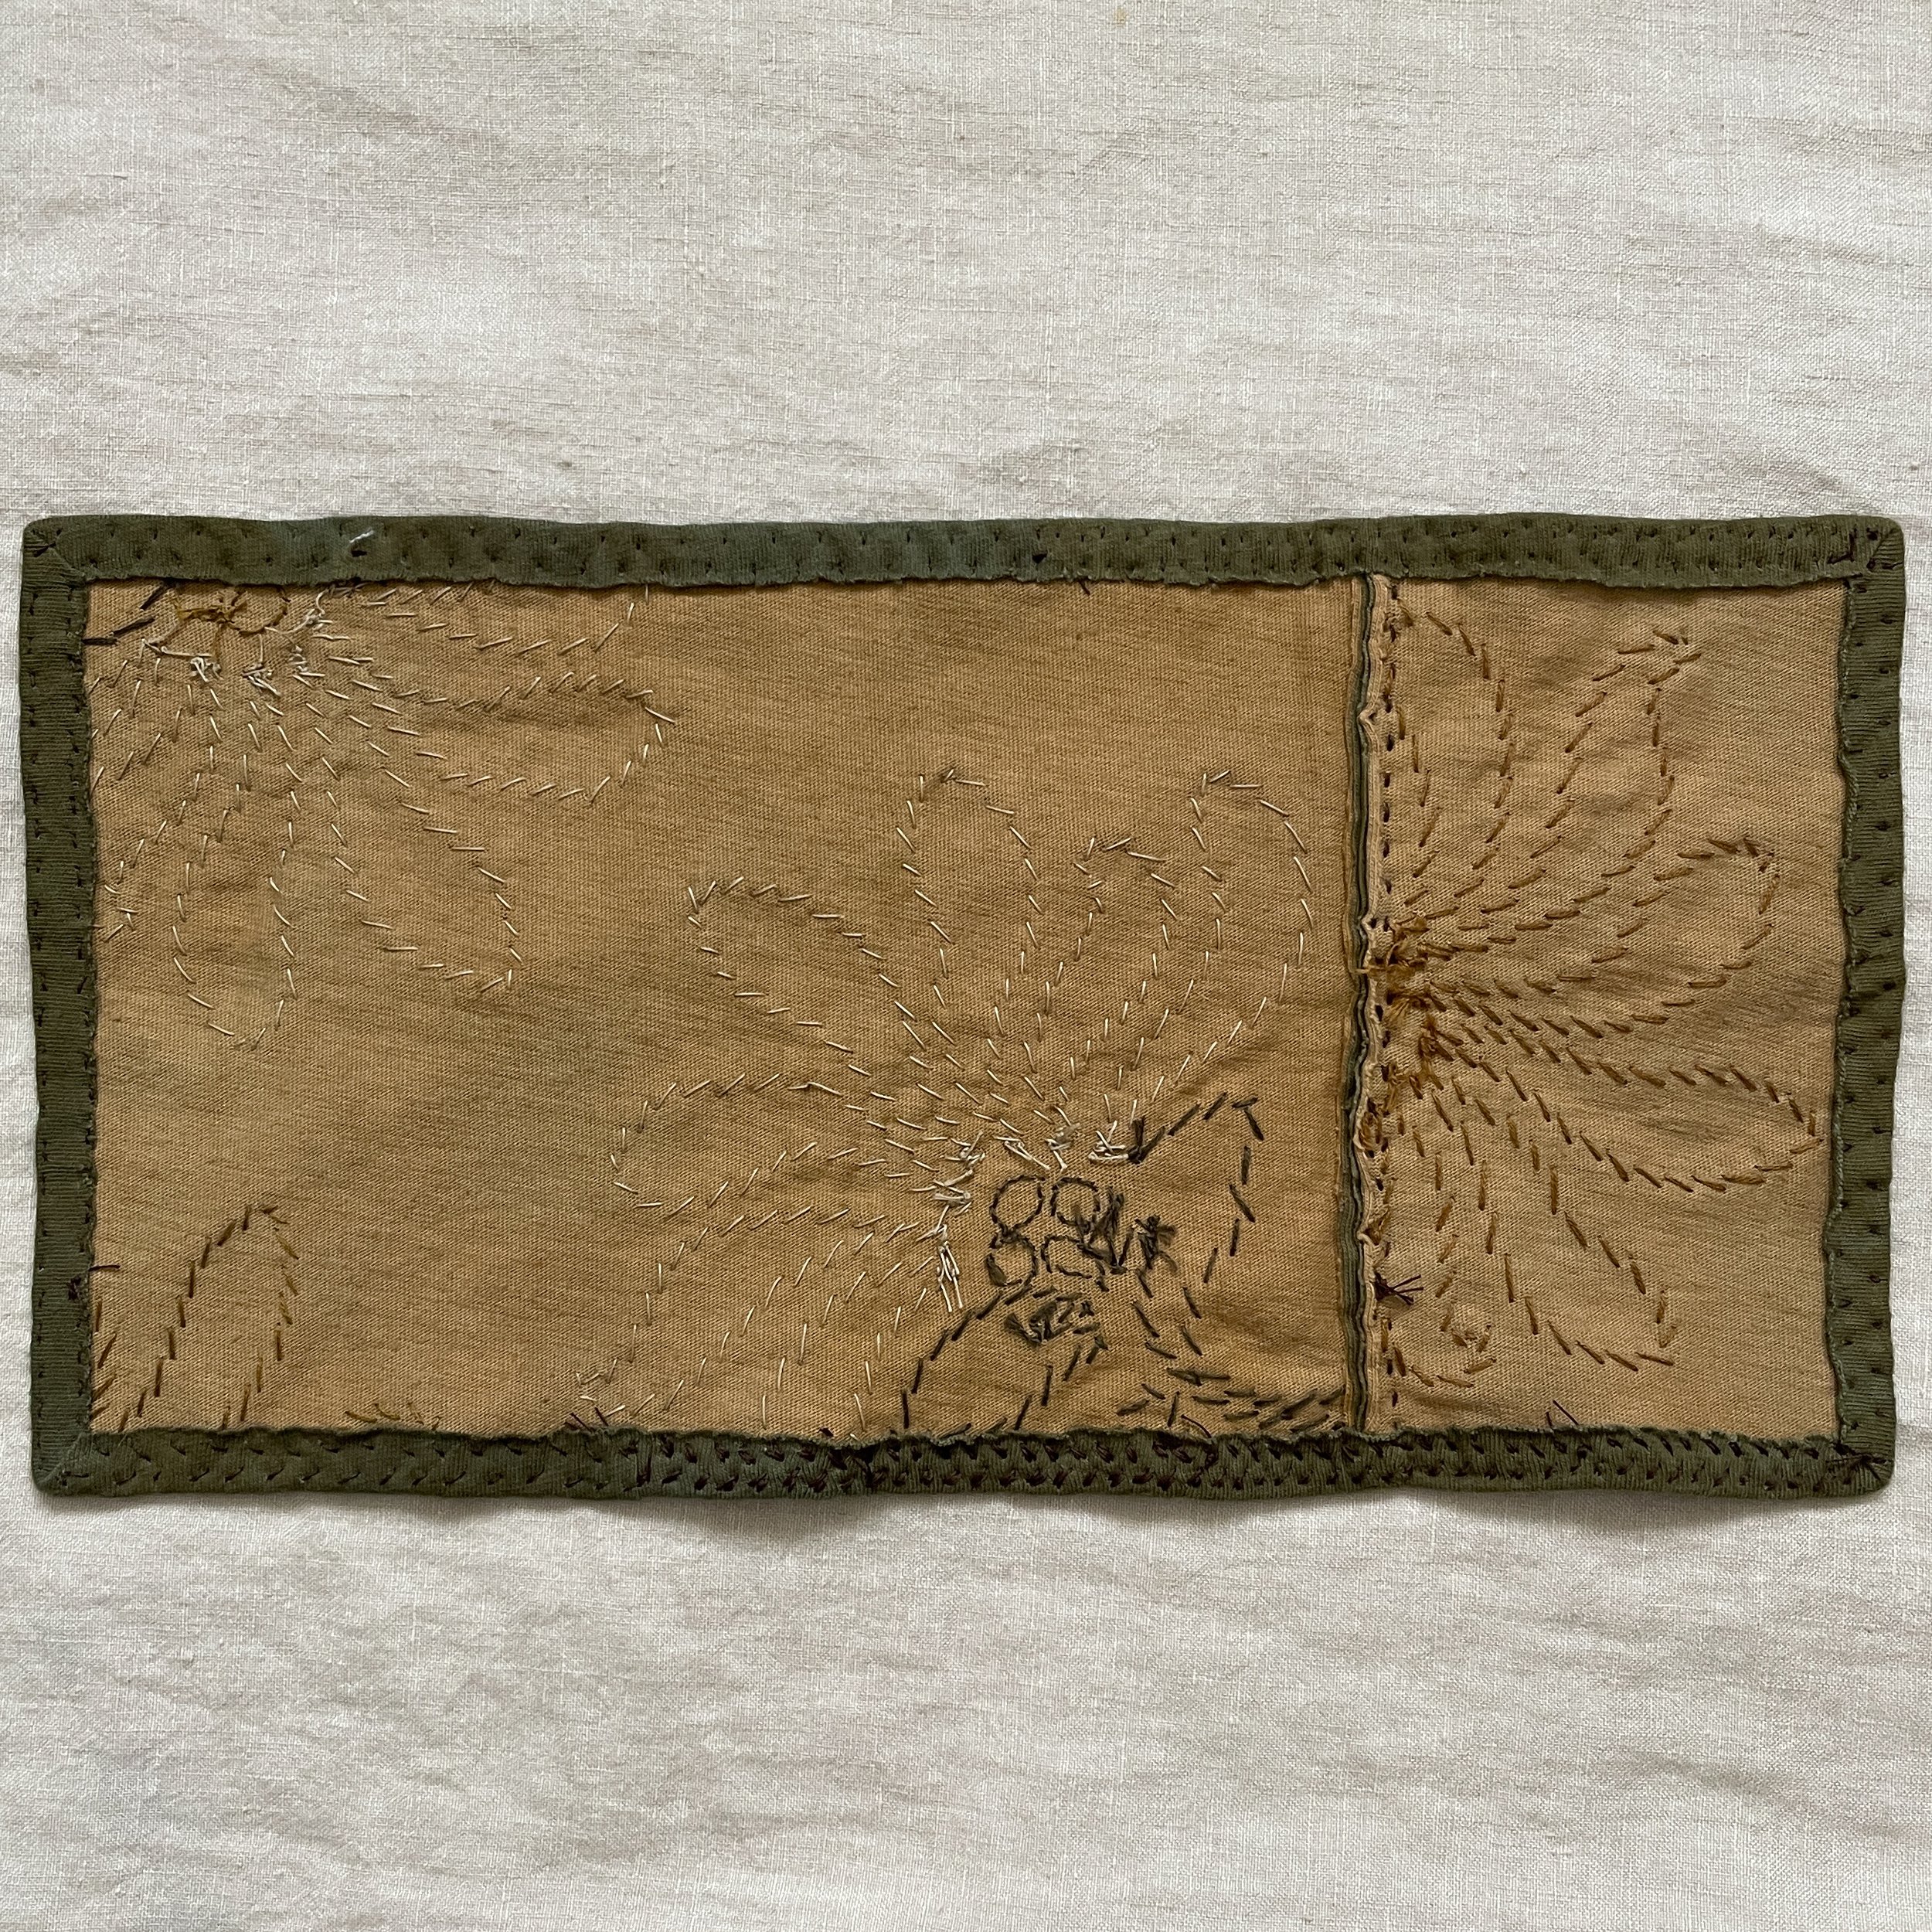
I tried a couple different techniques on my dress swatch. I am pretty set on using couching as my embellishment method, so I tried out different threads, and using chain stitch on the smaller elements of the stencil. The Alabama Studio books recommend using 1/2” strips of jersey for the couching but I preferred the look of thinner 1/4” strips. I also decided to use DMC #829 cotton floss to stitch the couching strips down, using 3 out of the 6 strands of thread. I tested one seam on my swatch and then bound the entire thing the way that the neck hole and arm holes of the dress will be bound. For the binding I preferred the look of 1” binding strips, but otherwise I did the seams and the binding as the book instructs. I’m not sure if I will end up cutting out the middle of the leaves to expose the lining fabric, but I do like the look of it on the swatch so that’s an option!
I absolutely love this swatch. It has such a nice weight and handle to it and I am so excited to finally be getting started on this dress. As I write this I have already cut out all my dress pieces, painted the design on them, and basted the main fabric to the lining. I have just started on all the couching and it is exactly the time-consuming sewing project I was excited about. I will share more soon!


