My Christmas Make - Stockings!

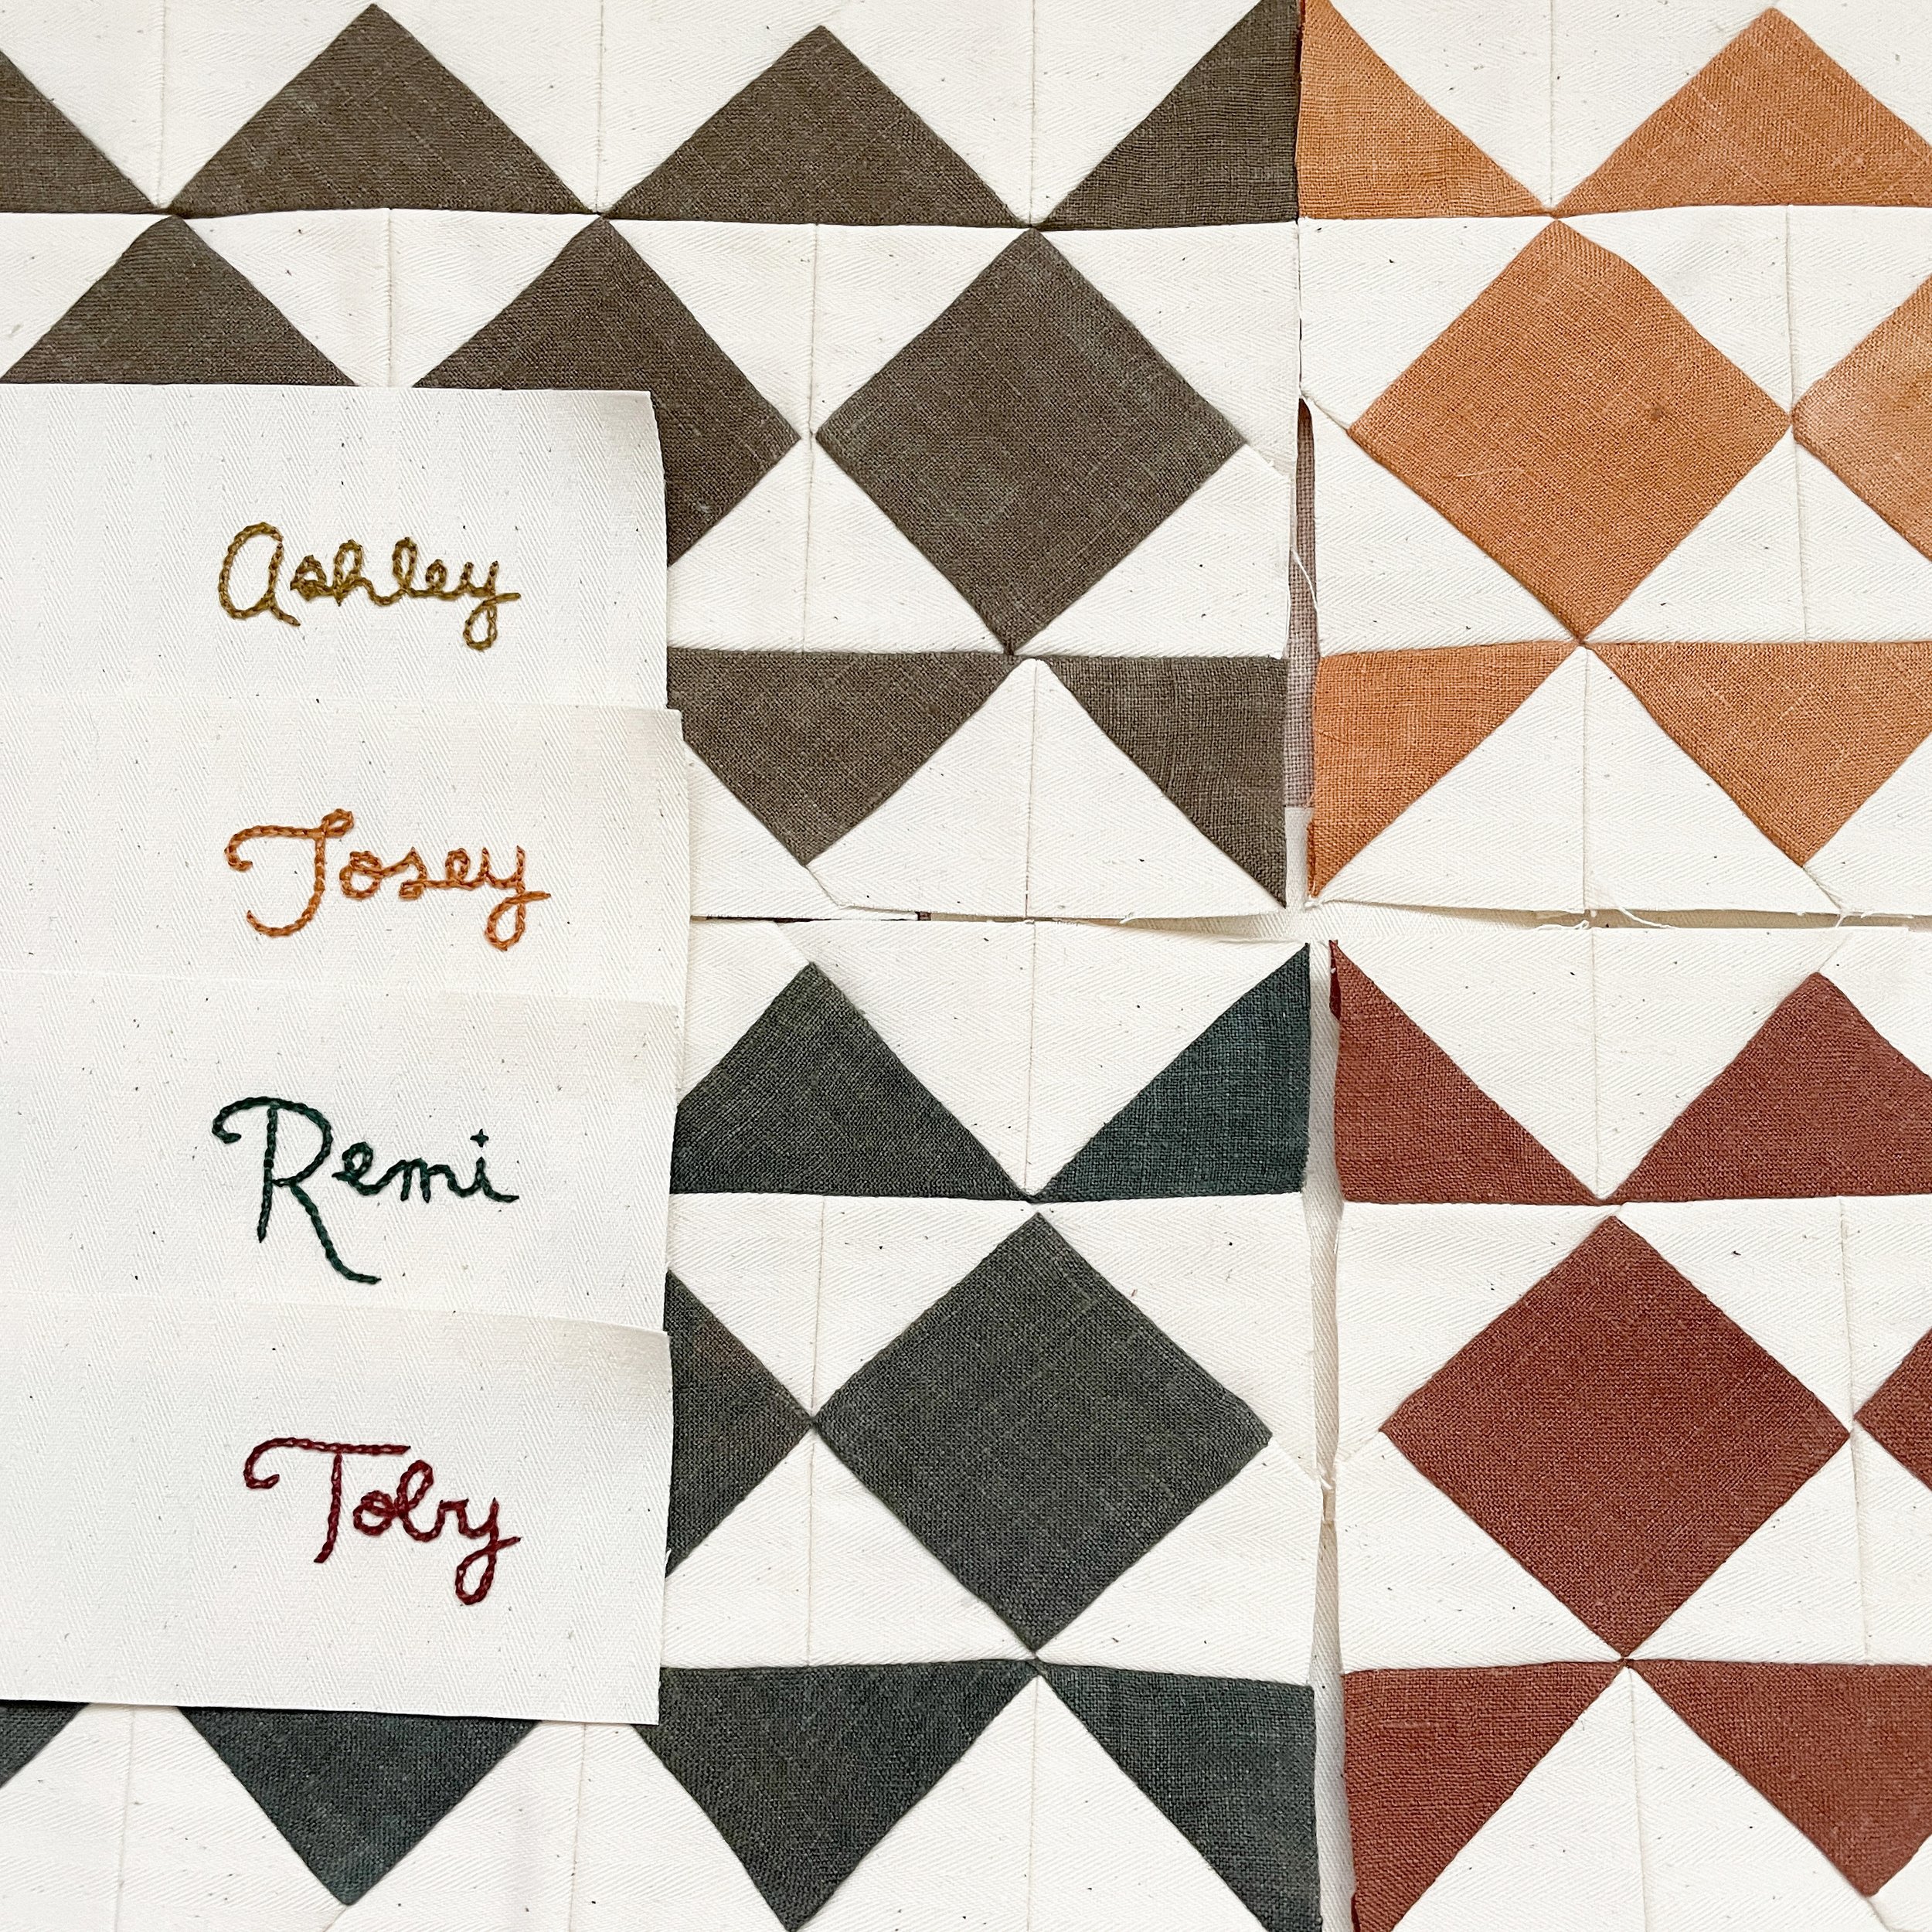
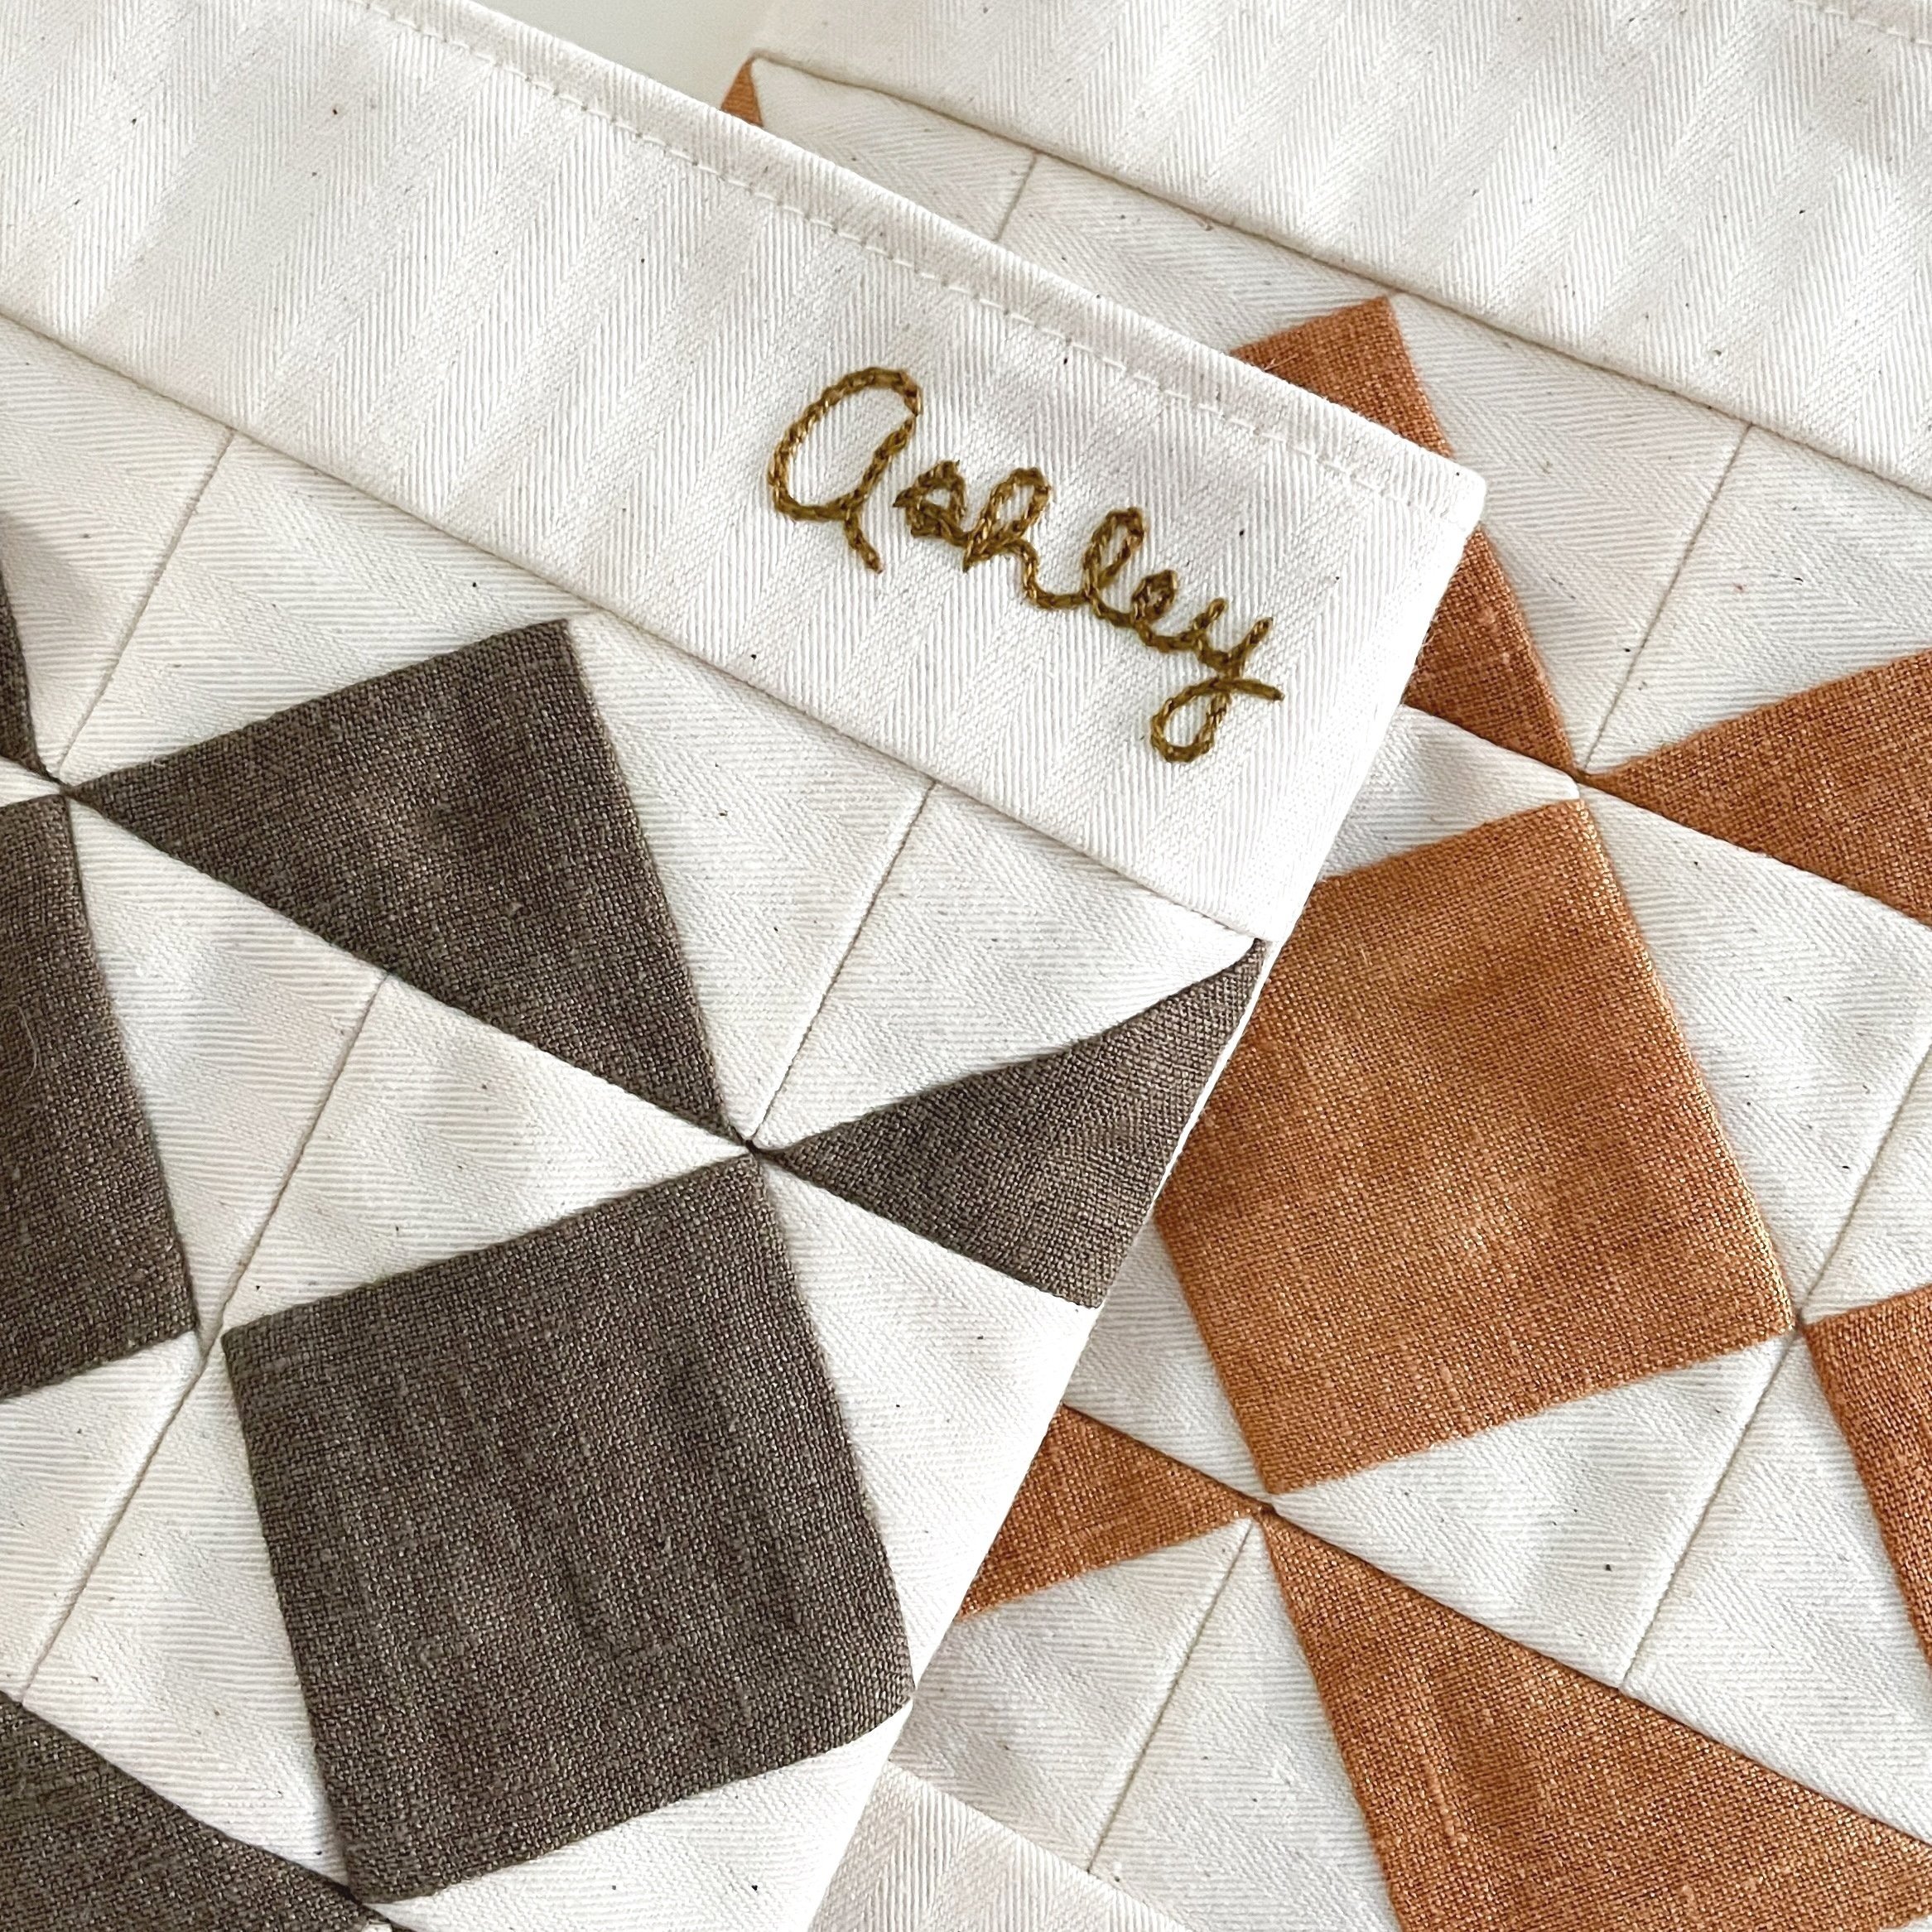
This year for Christmas I didn’t sew any Christmas gifts, but I did make something for my growing family. A beautiful set of Christmas stockings! I used the pattern from Frux Studio, which was so lovely to sew up. She based her design off of medieval fairy-tale villages in the Alsace region of France, and they really are so charming. I stitched our names onto the stockings using chain stitch. One for my husband, one for me, one for our baby Josey, and I even made one for our pup!

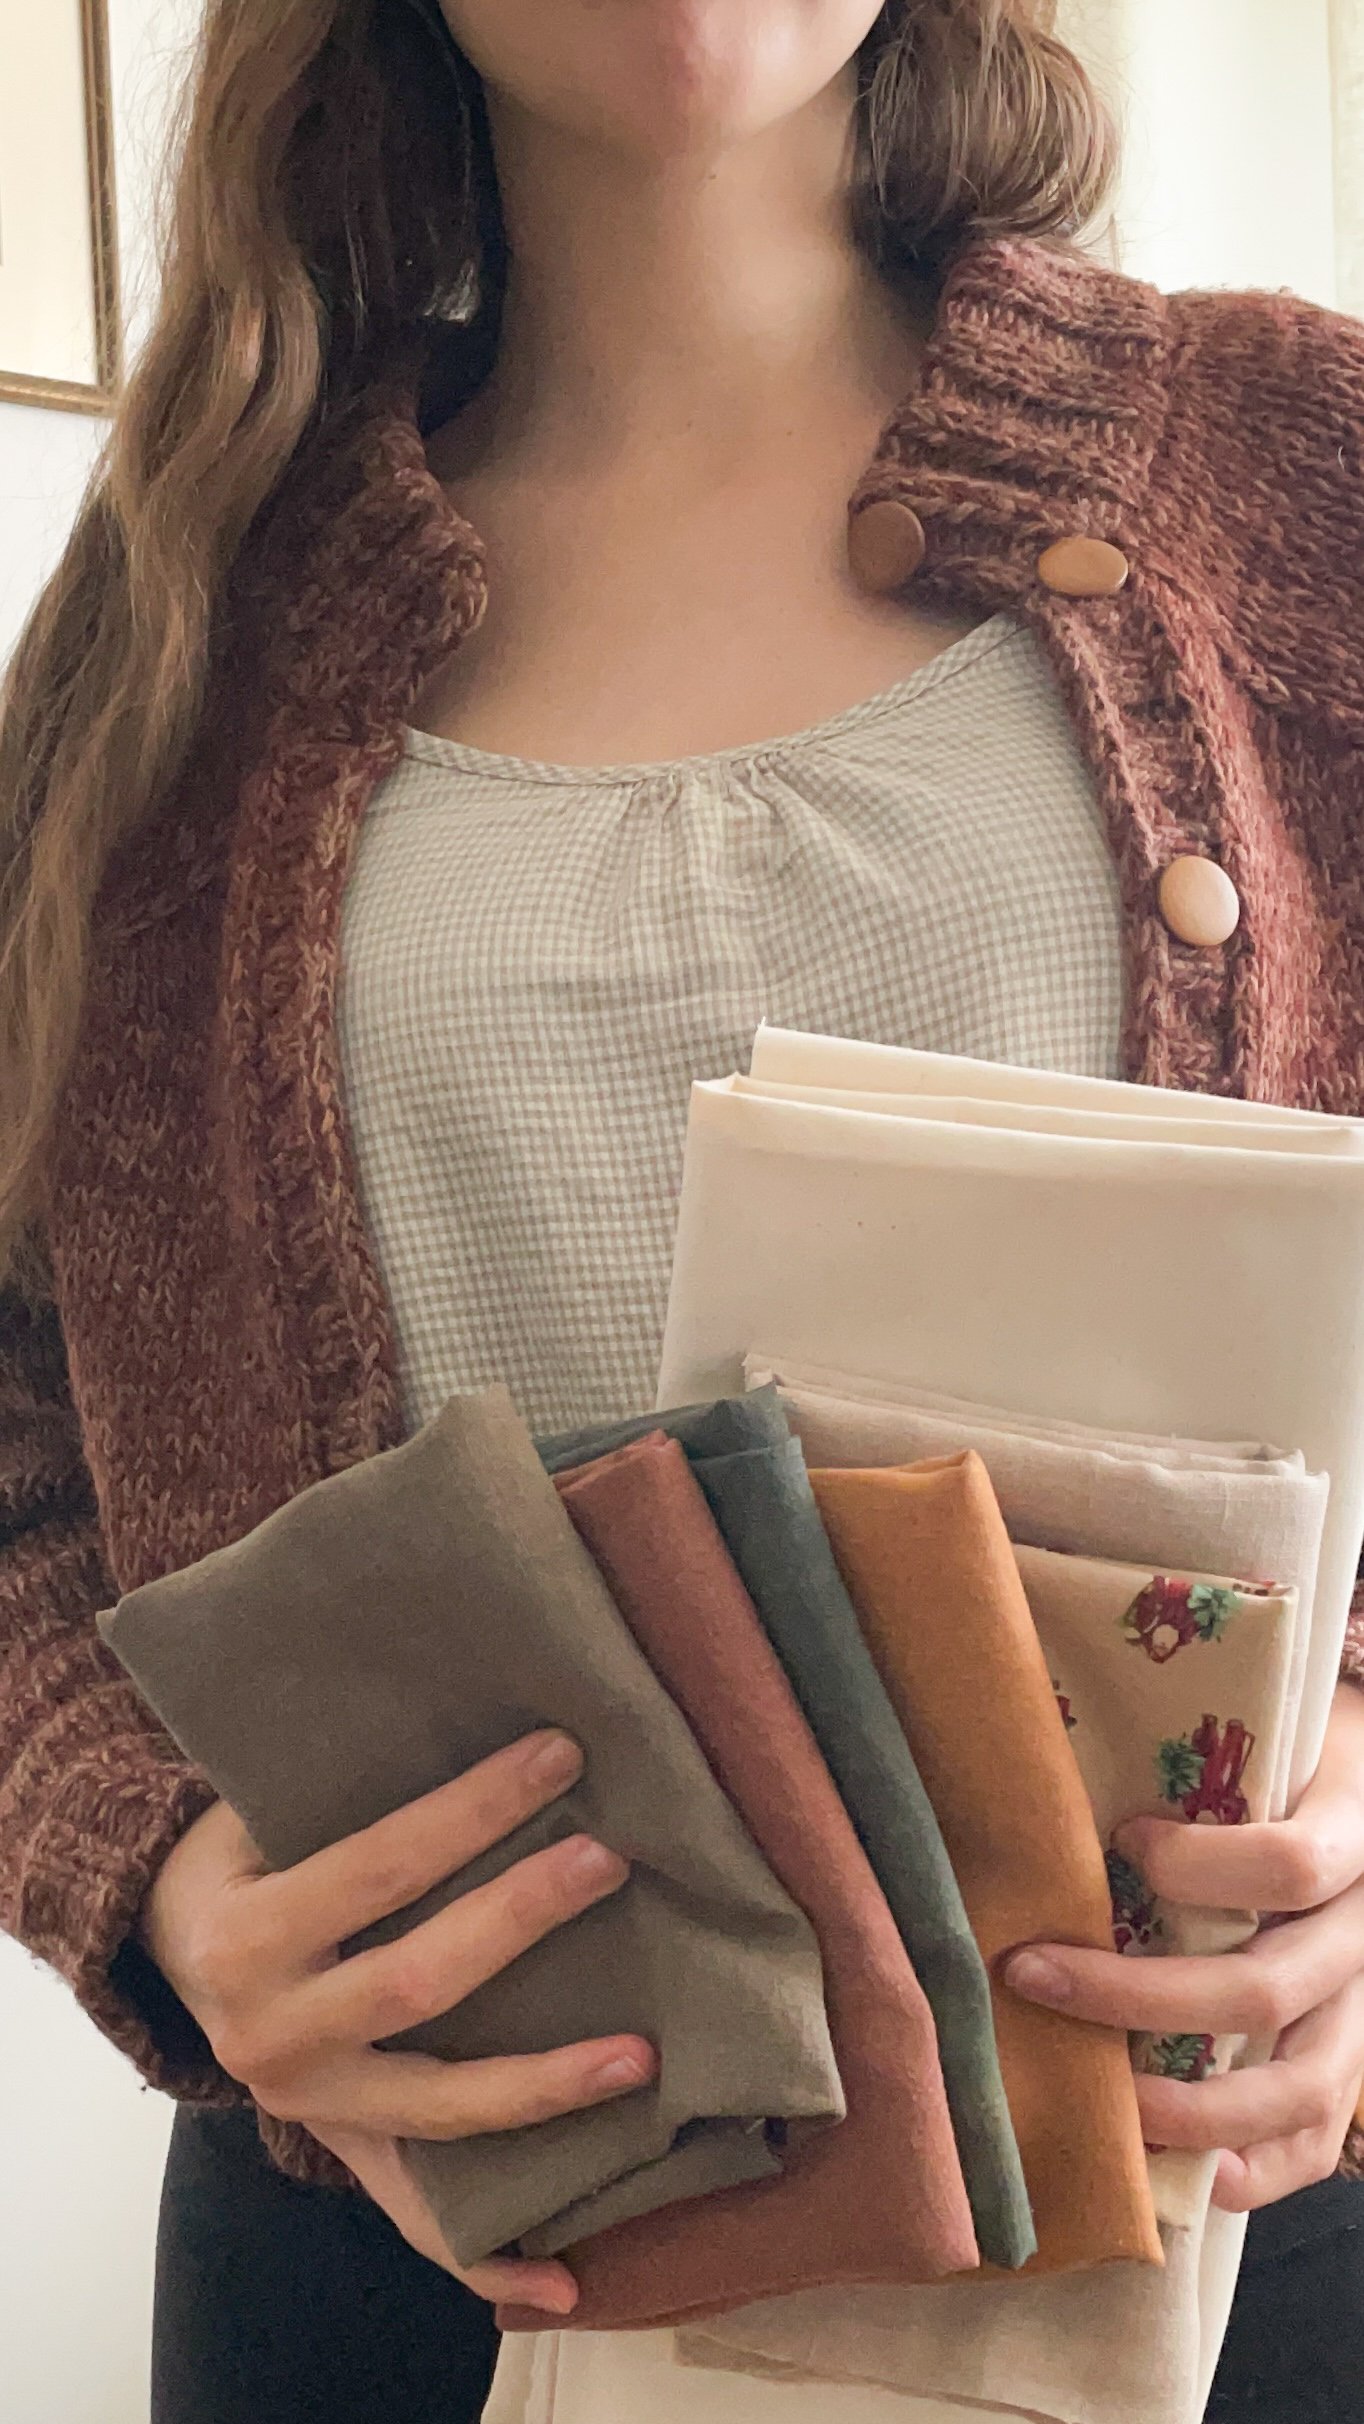
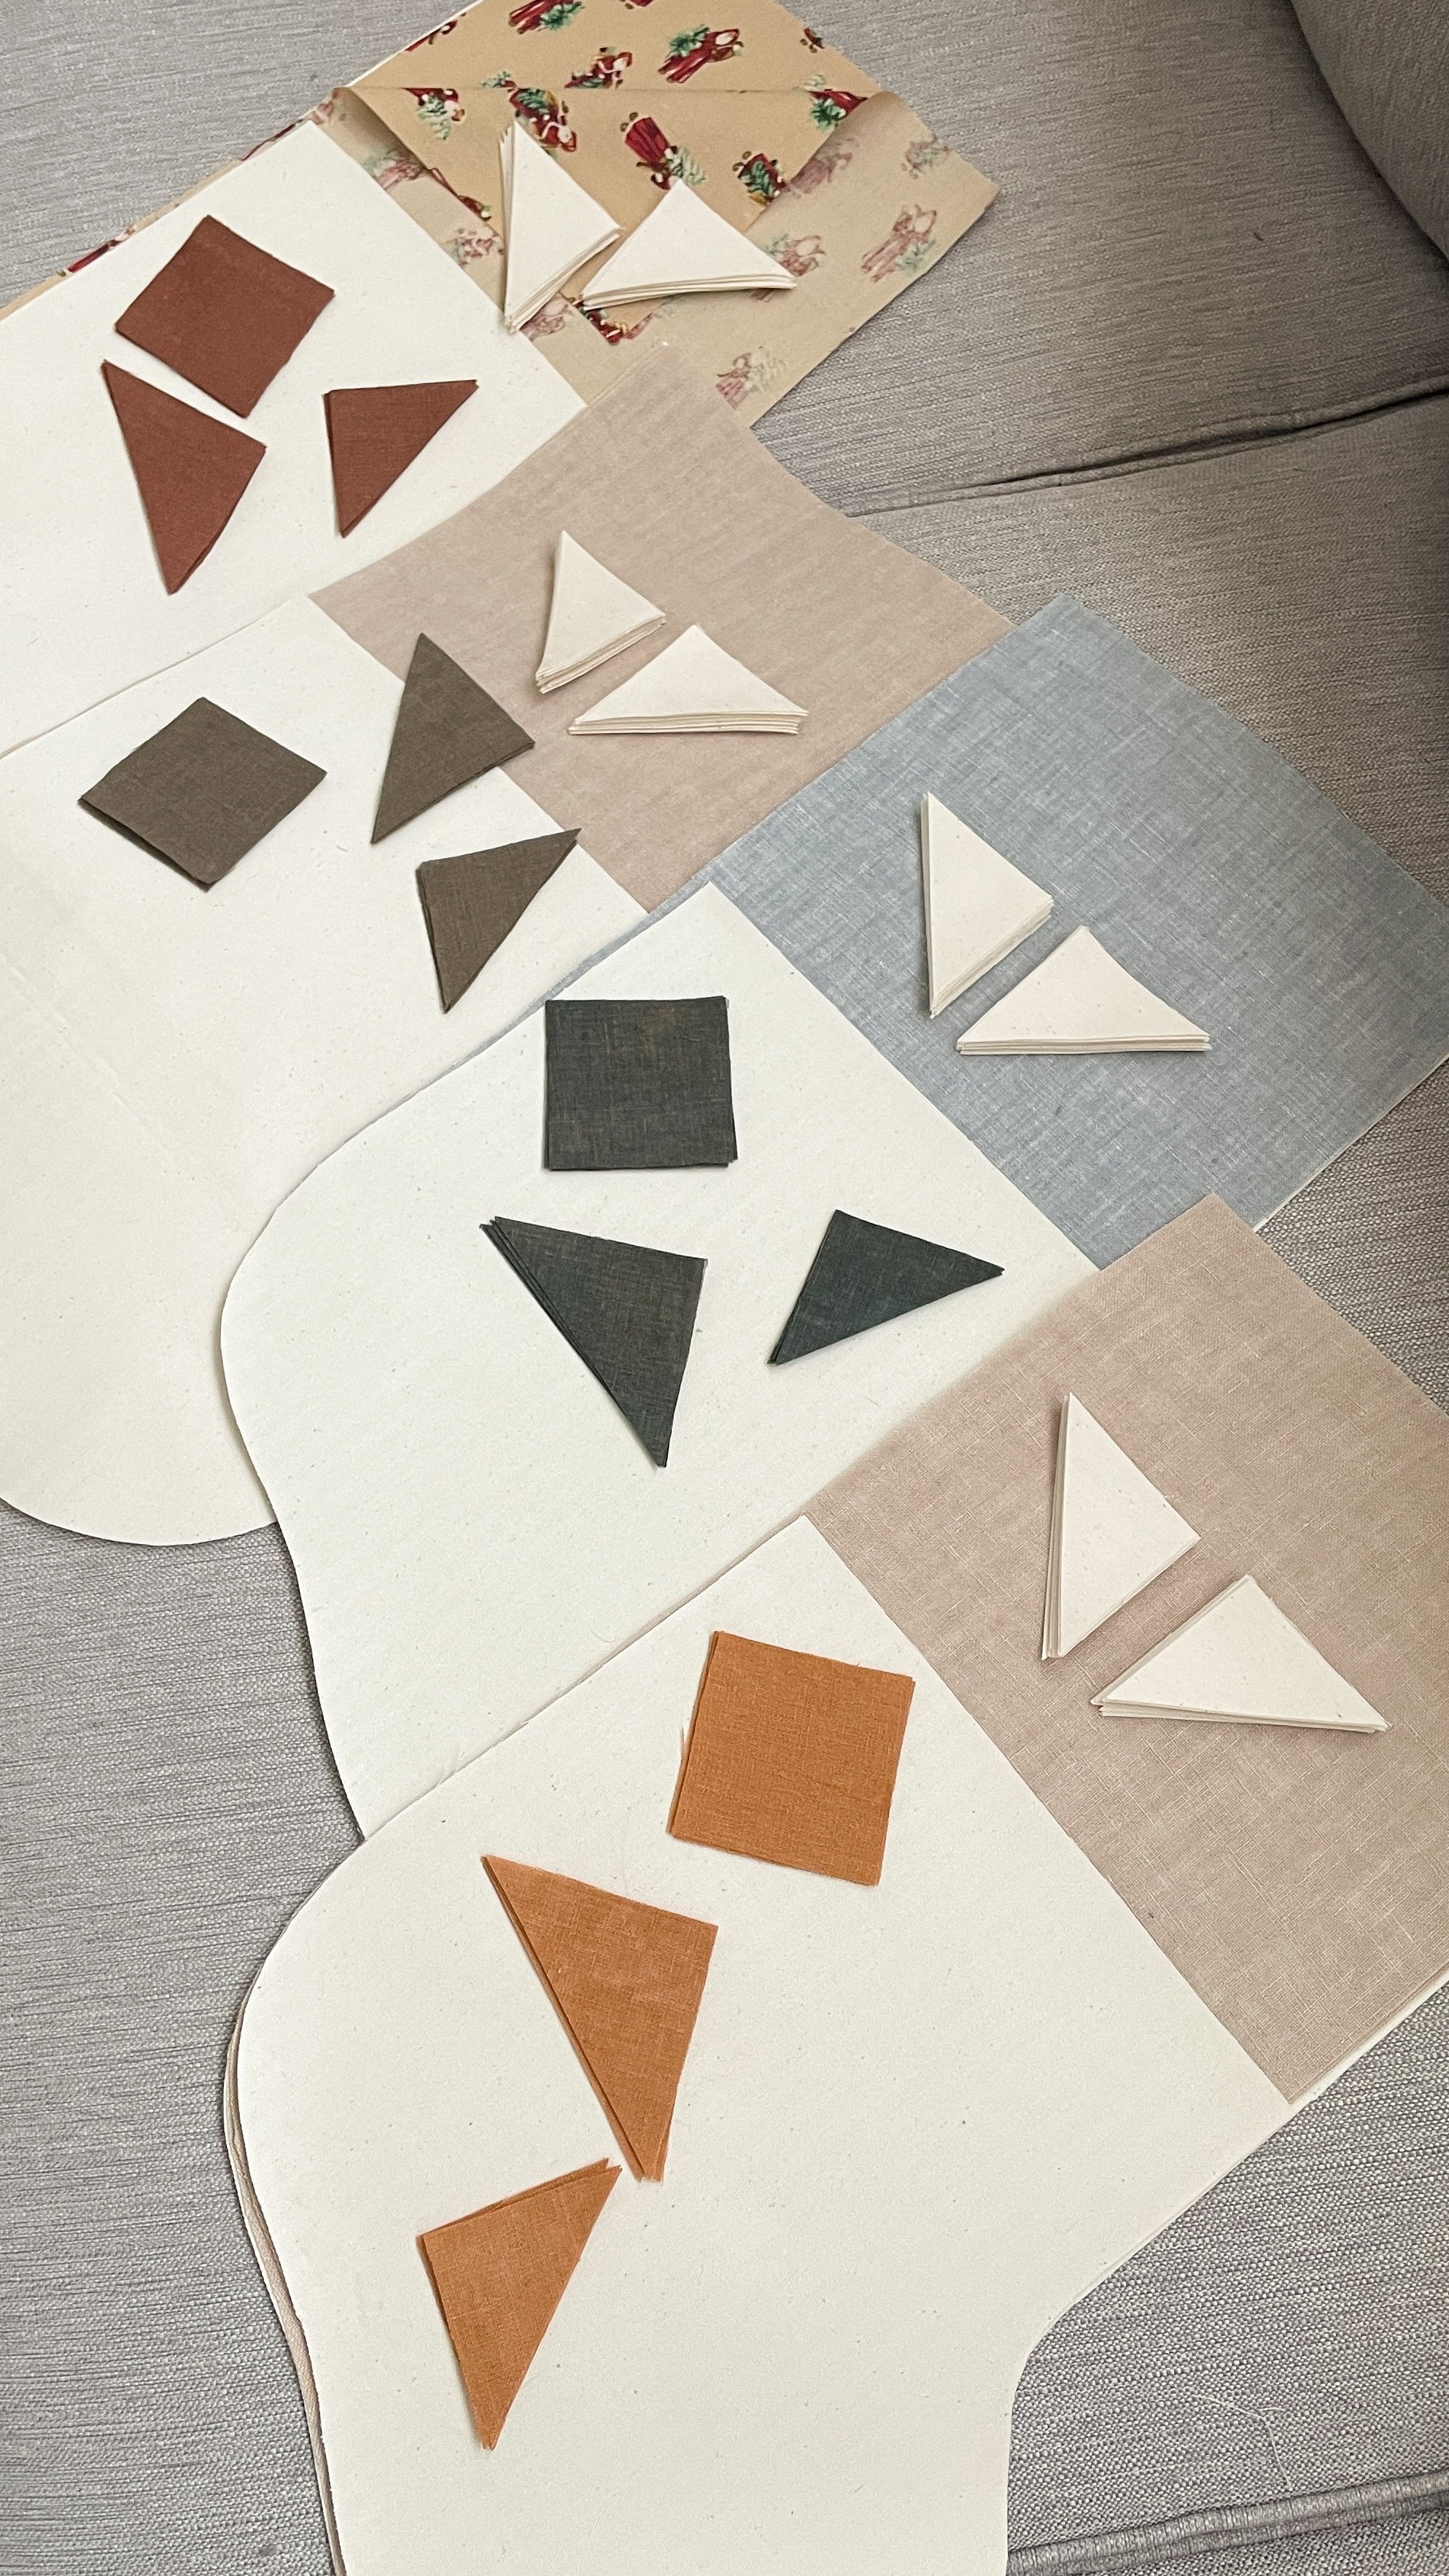
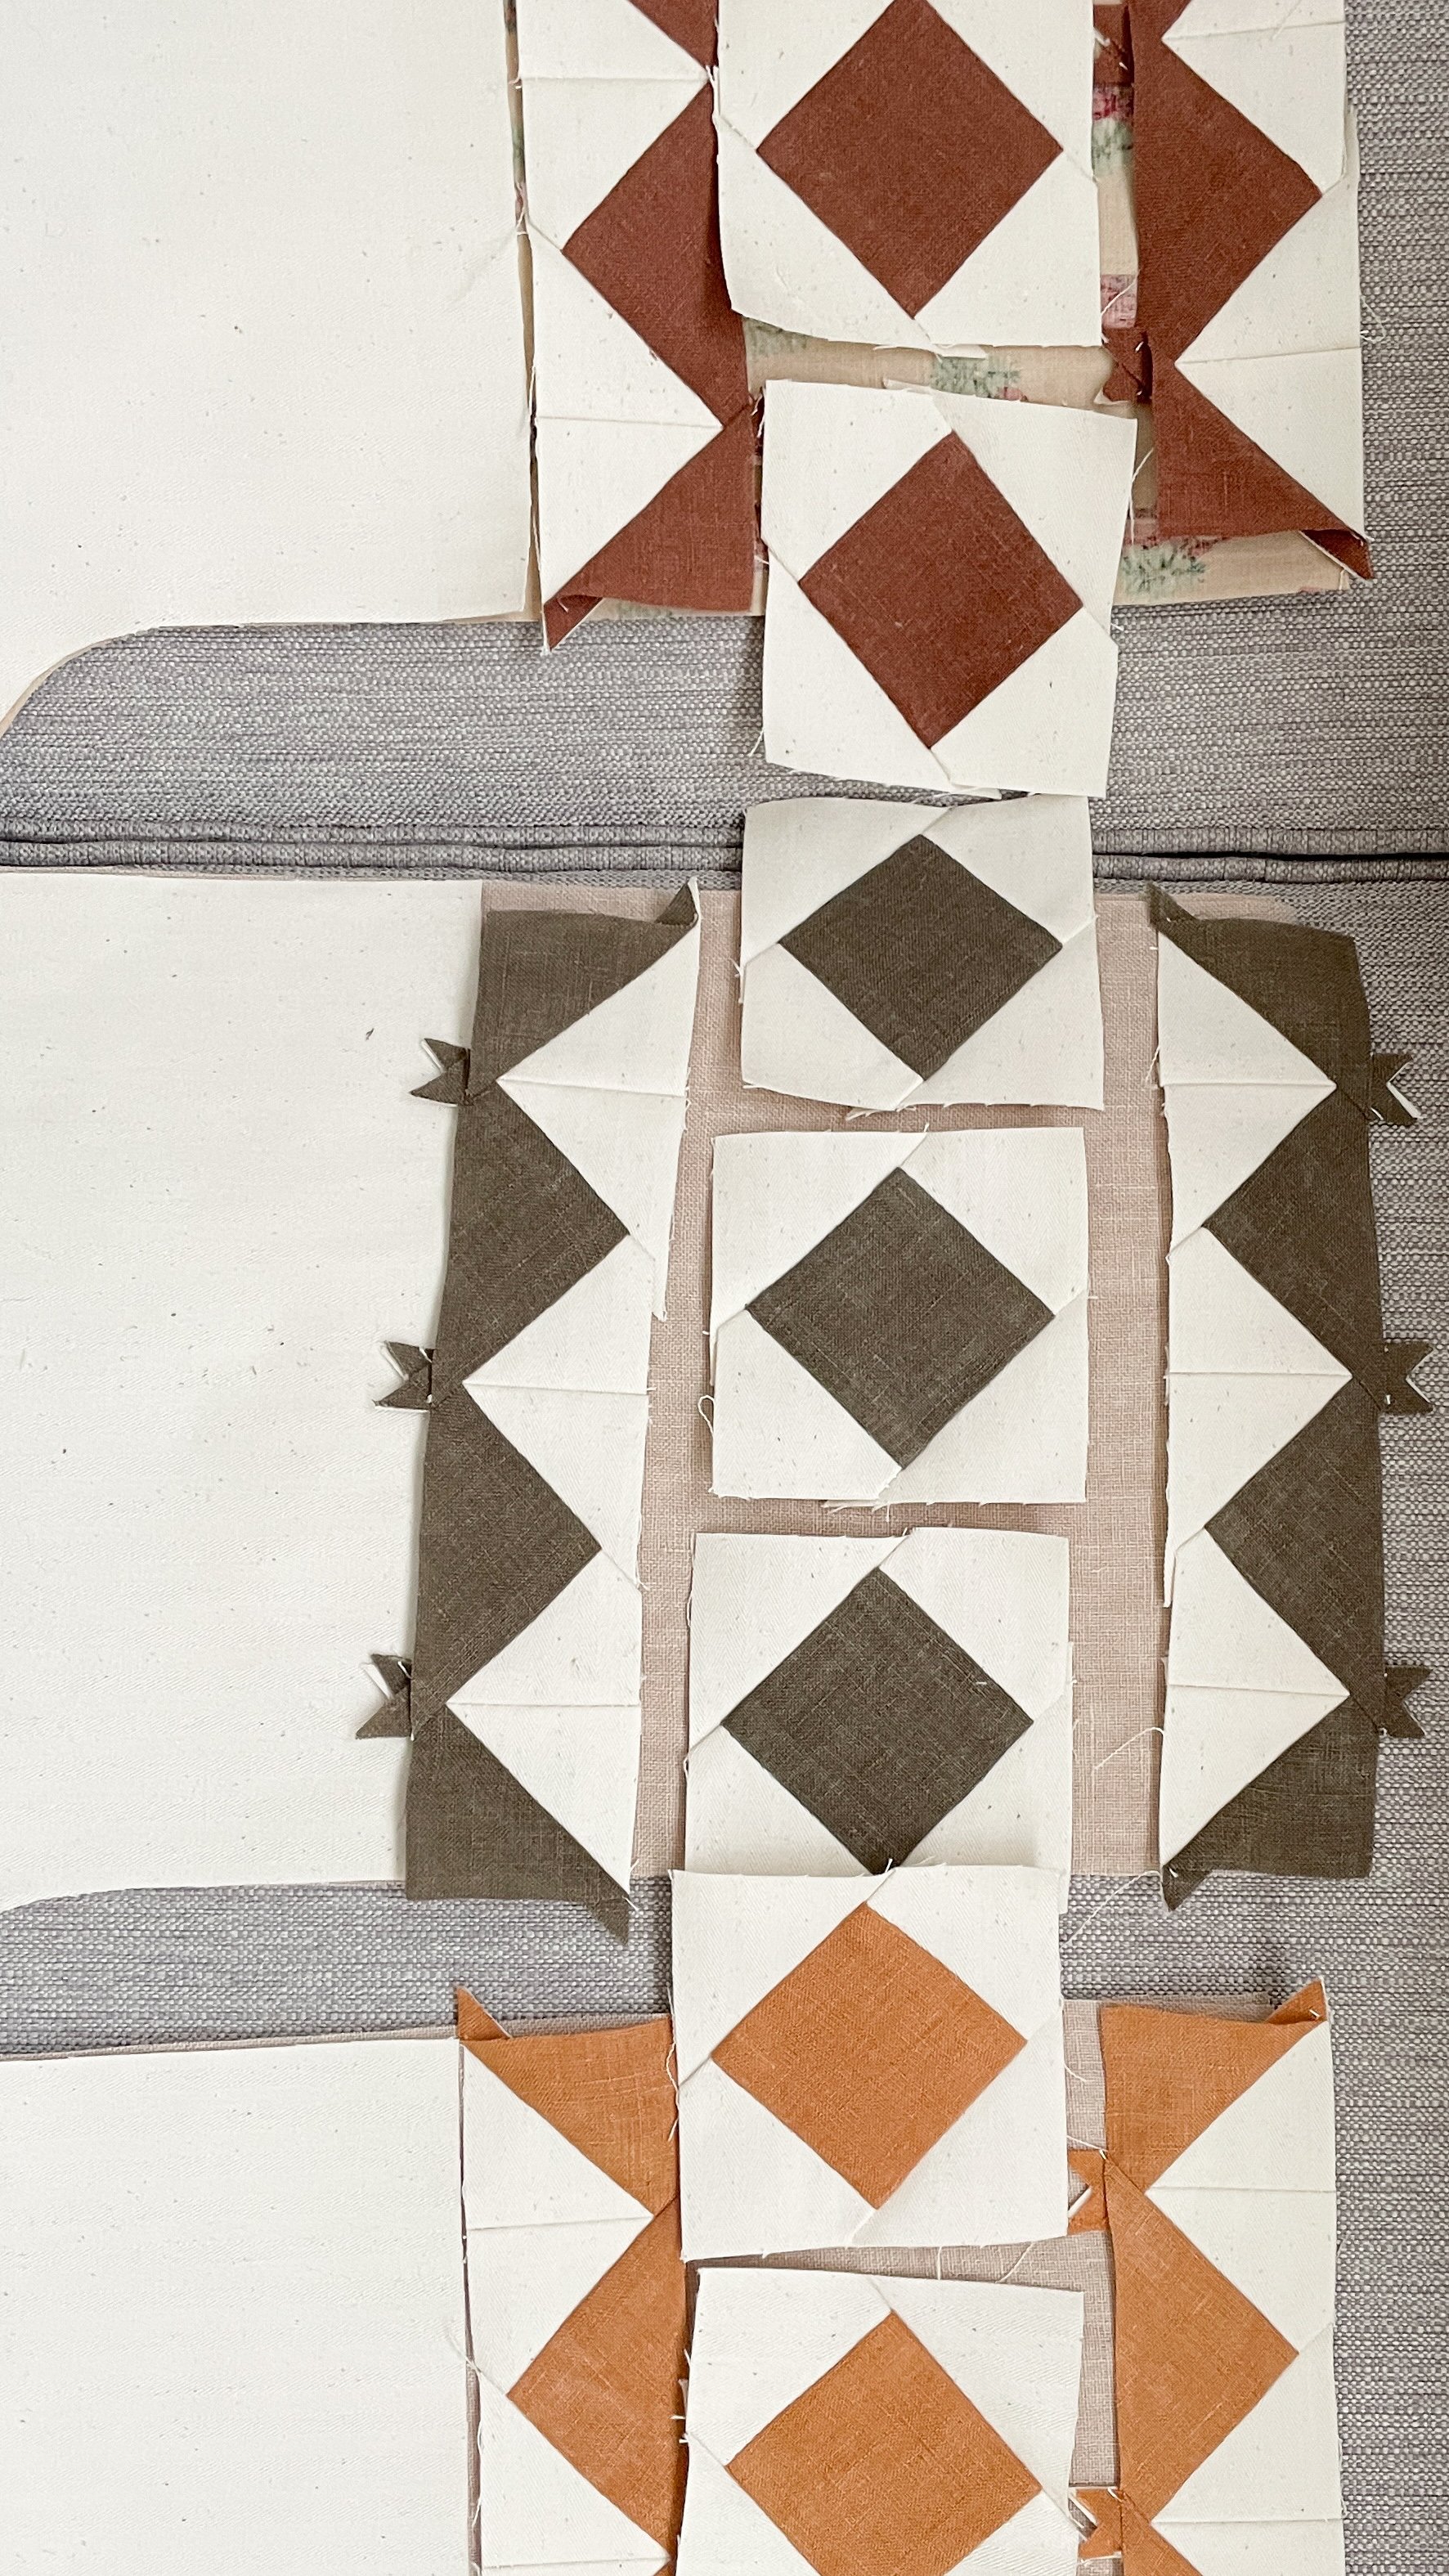
The base fabric I used was a cotton herringbone coutil I had in my stash, but any heavyweight fabric or canvas would work. I have plenty left over if we ever need to add another stocking for another babe or furry friend. And for the contrast fabric I chose some scraps from my pile of naturally dyed linens. The linings are also random fabrics from my stash that co-ordinated well enough. This was a great project to use up fabrics and thread that I already had. I highly recommend this pattern if you are looking to sew up a set of stockings for your family. Merry Christmas!

Frux Studio stocking pattern: PDF Pattern

DIY Quilted Baby Playmat

Some links in this blog post may be affiliate links. This means if you click through and purchase the product, I earn a small commission at no additional cost to you. Thank-you.

I sewed up this easy baby playmat over the last couple days and I want to tell you about how I made it. Such a practical project, I throw this mat down in whatever room I’m in and let baby kick around on in. You can make it as thick or thin as you like, and I even made one side of mine using a water resistant material so I can use it outside in the grass as well.

I wanted to make this project using things I already had around the house, and besides the thread it is completely made out of recycled materials! The raspberry printed flannel is actually cut from an old sheet, and the ‘batting’ is two layers of a throw blanket that I’ve owned for over a decade and I was about to get rid of. The green checkerboard side is pieced together using a rain coat I cut up. I bought the rain coat last year from the thrift store and when I wore it in the rain last week I quickly learned it was not very waterproof! I felt bad even donating it back to the thrift store because I didn’t want anyone else spending their money on it and getting tricked. So I cut it up into as many 3.5” squares as I could and pieced those squares into a big rectangle. This way I could use as much of the coat as possible, cutting squares from the sleeves, pockets, and hood. I even harvested the zipper to use in another project in the future. The way I was able to make the checkerboard design was by flipping half of the squares upside down. The backside of the fabric was slightly darker then the front side and I wanted to make use of that in the design.

The binding of this play mat is made from cotton jersey. I am working on an Alabama Chanin style dress and had some leftover jersey fabric after cutting out the pattern pieces. I cut 3.5” strips on the cross grain and pieced them together to make one long strip, which I attached the same way you would attach regular binding to a quilt. I love that it is a little softer than using quilting cotton. I cut such a wide strip because I wanted a nice thick border around the play mat, I think the green compliments both sides nicely.

As for quilting: I did attempt to quilt this in my sewing machine and it was such a failure! I wanted this mat to be nice and thick so there is no way I could get it through my machine, even using a walking foot. So instead I used the knotted method of quilting, which is to use thread to tie a knot through all of the layers of the quilt at regular intervals. You can see the tails of the knots on one side of the quilt so I chose to have them on the water resistant piecework side, in between each square of the checkerboard. I used a cotton Sashiko thread (affiliate link) to tie my knots. I think this method works so well for a play mat! The knots are a cute design feature, it works well on extra thick quilts, and it is so quick to do.

You can of course make this playmat any size you like! The size of mine was completely based on the blanket and fabric I had available to use. For reference mine measures 27” x 32”. I recommend cutting your top piece to the size you want your mat, and then if you can, cut your batting/blanket and your backing fabric a little bigger. Things will shift around a little bit as you tie the layers together, so it’s nice to have some extra room for that. Then, before binding, you can trim the batting and backing fabric down so that the edges all line up perfectly. Then add your desired binding! The knotting method of quilting makes this project so easy, and it’s such a great way to use up fabric you already have!

A Quilted Fanny Pack from Scraps

Some links in this blog post may be affiliate links. This means if you click through and purchase the product, I earn a small commission at no additional cost to you. Thank-you.

My first big project post-baby is finished! I have seen so many bags and coats around Instagram made from recycled old quilts and I love the look. I always check the thift store bedding section for pretty quilts that have seen better days but I never really find anything in colours that I like, so I decided to do my own piecework and quilting to make this project. And I think it’s giving vintage vibes! It was also a great project to use up leftover scraps I had in my stash.

I was so motivated to get this project finished quickly because I felt like it would fit so perfectly into my life as a new Mom. I just had my first baby and getting out of the house each day has been so important for my sanity. The only thing that holds me back when my husband isn’t home is that we live in a walk-up apartment, a.k.a. no elevator to get the stroller downstairs! So I have been getting comfortable with baby-wearing, and I thought how great would it be to make going on a walk completely hands free with a wearable diaper bag. So this fanny pack is designed to be my essential diaper bag for short walks around the neighbourhood. It doesn’t have room for everything our main diaper bag has packed, but it fits a couple diapers, wipes, a nursing cover, and a spit cloth. I feel pretty good leaving for a couple hours with the baby and the pup knowing I have the basics packed.

I designed the pattern for the fanny pack (also sometimes called a bum bag, cute!) myself. I planned for a bag that was a little bigger than most fanny packs to comfortably fit the diapers and wipes. I tried to be so meticulous when making the pattern but in the end my numbers were off and I had to sort of fudge it anyways. The bag ended up being an inch shorter then planned, but it still fits what I need it to. Kudo’s to all those bag pattern designers out there! Getting it perfect is tough.

I won’t be sharing the pattern because like I mentioned the numbers weren’t quite right, but I’ll share the basic process I used and you could probably use this process with another fanny pack pattern. For each pattern piece I cut three pieces: an outer piece, a batting piece, and a lining piece. For the front and side pieces I used a quilt block pattern, and then cut the finished piecework down to size. The quilt block pattern I used is called the honeymoon square, and you can find free instructions for it here. After cutting the three pieces out I would make a quilt sandwich and use a simple running stitch with thicker thread to hand quilt them together. Going back I would make each piece slightly bigger then needed and then trim them down to size after quilting, because the quilting scews the pieces a little. I also wish I would have added a layer of interfacing to each quilt sandwich, to give the bag a bit more structure. A note on the zippers: I inserted these in the usual way before making the quilt sandwich for that correponding piece. Once I had all my quilt sandwiches ready I assembled the bag, and finished the seams on the inside with some colourful binding. I love the inside of this bag just as much as the outside because of this beautiful finish!

The bag was made completely with things I had in my stash so I don’t have too many links for you. The fabric is mostly linen scraps I had from Maiwa, some of it naturally dyed by me for earlier projects. The floral fabric is a Liberty Tana Lawn I have lined up for another project, so I snuck a little bit from that. The cotton quilt batting (affiliate link) was extra from my Tamarack jacket project (a 2017 project!). As for the hardware I had the zippers, webbing, and buckle in my stash. I usually pick these types of things up from Dressew, which is a sewing store in my city.

This was the absolute perfect first project for me, as it has fit right into my life and made this one aspect of motherhood a breeze! For the moment I am not even using a purse, it’s just a fanny pack everyday for me for the foreseeable future. And I’m not mad about it!