
How I Wrap My Embroidery Hoops (and Why I Do It!)
/
While I don't consider myself experienced with embroidery, even this one little tip has made everything I finish look so much better. I started wrapping my embroidery hoops and it has helped both with making my process easier, and with improving the look of the finished piece:
Wrapping helps to create a tighter working surface with the fabric, and I find the fabric doesn't loosen as I'm working.
When I'm working on a larger piece and have to move the hoop around the fabric, the softer surface of the wrapped hoop doesn't "squish" my worked embroidery as aggressively as the exposed wood does.
When I take my work out of the hoop I find the crease from where the hoop was sitting is less prominent and a little easier to iron out (although I still recommend taking your fabric out of the hoop whenever you are not actively working on it, to give the fabric time to rest).
A lot of resources suggest wrapping your hoop with some scrap fabric and glueing down the tails to the hoop. While this works just as wonderfully, I wanted my hoops to look a little more polished, and I wanted to avoid glueing anything to my hoops. So I've been wrapping all of my hoops with some linen tape, which I love the look of, and when I wrap tight and sew the ends down to the tape itself I find there's no movement while I'm working and the tape stays snug.
It also seems a lot of people prefer to wrap the inner hoop instead of the outer. This would still help with maintaining a tight hold on your fabric, but it wouldn’t do as much to protect your embroidery from getting squished by the hoop, so I prefer to wrap the outer hoop for that reason.

To wrap your hoop you'll need:
linen tape (I use 1/2" Dutch Linen Tape from Burnley & Trowbridge)
thread (I use linen thread, waxed with beeswax, both from Burnley & Trowbridge, but any sewing thread will do)
sewing needle
embroidery hoop
thimble
craft clamps (I use similar clamps to these)
scissors
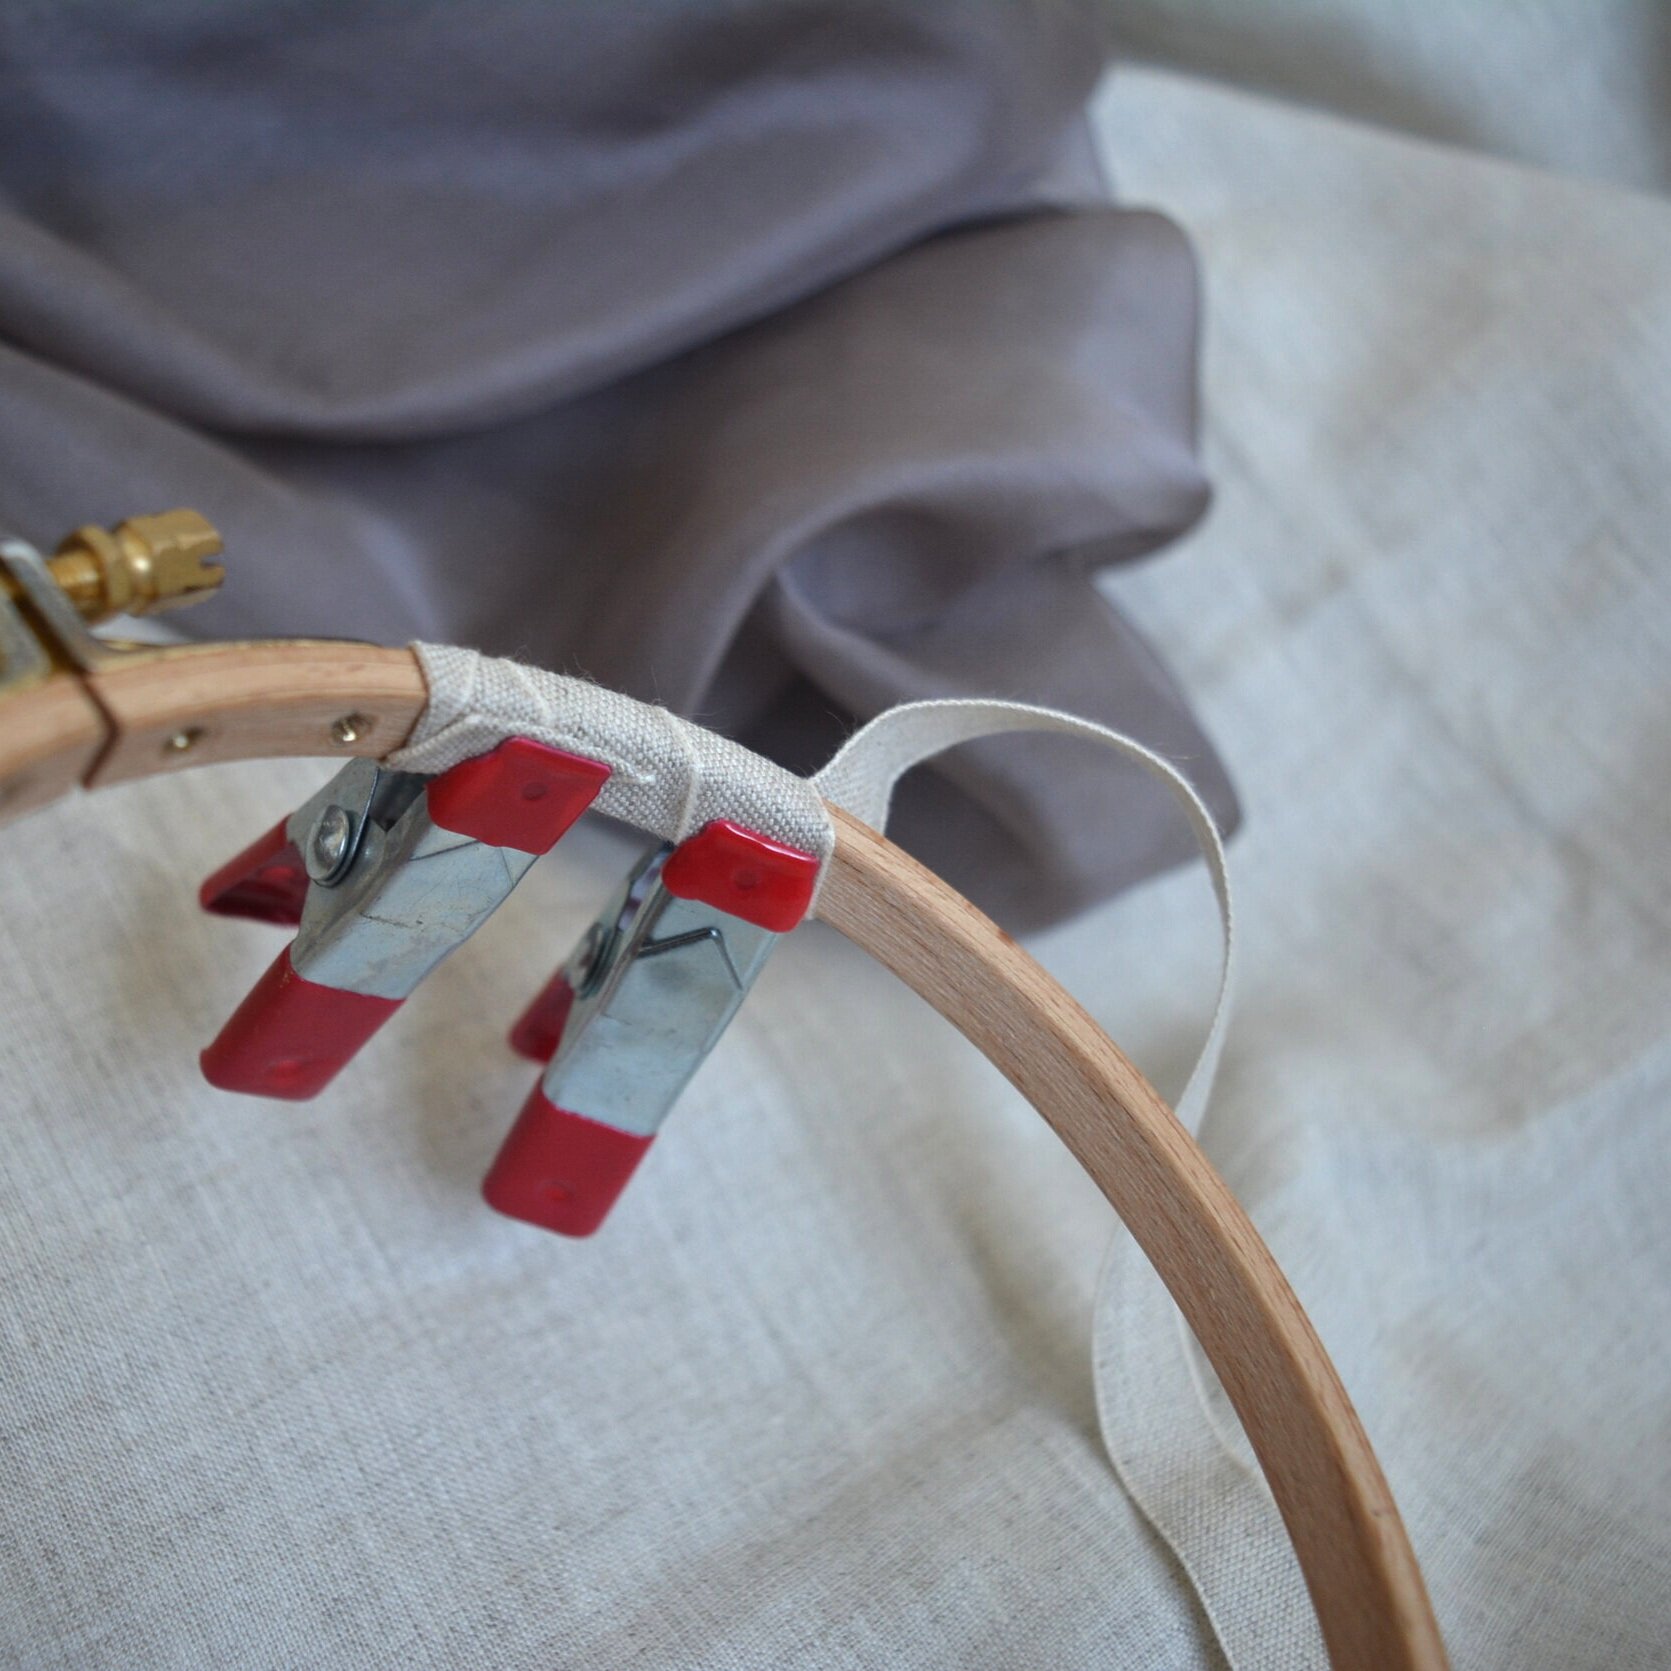
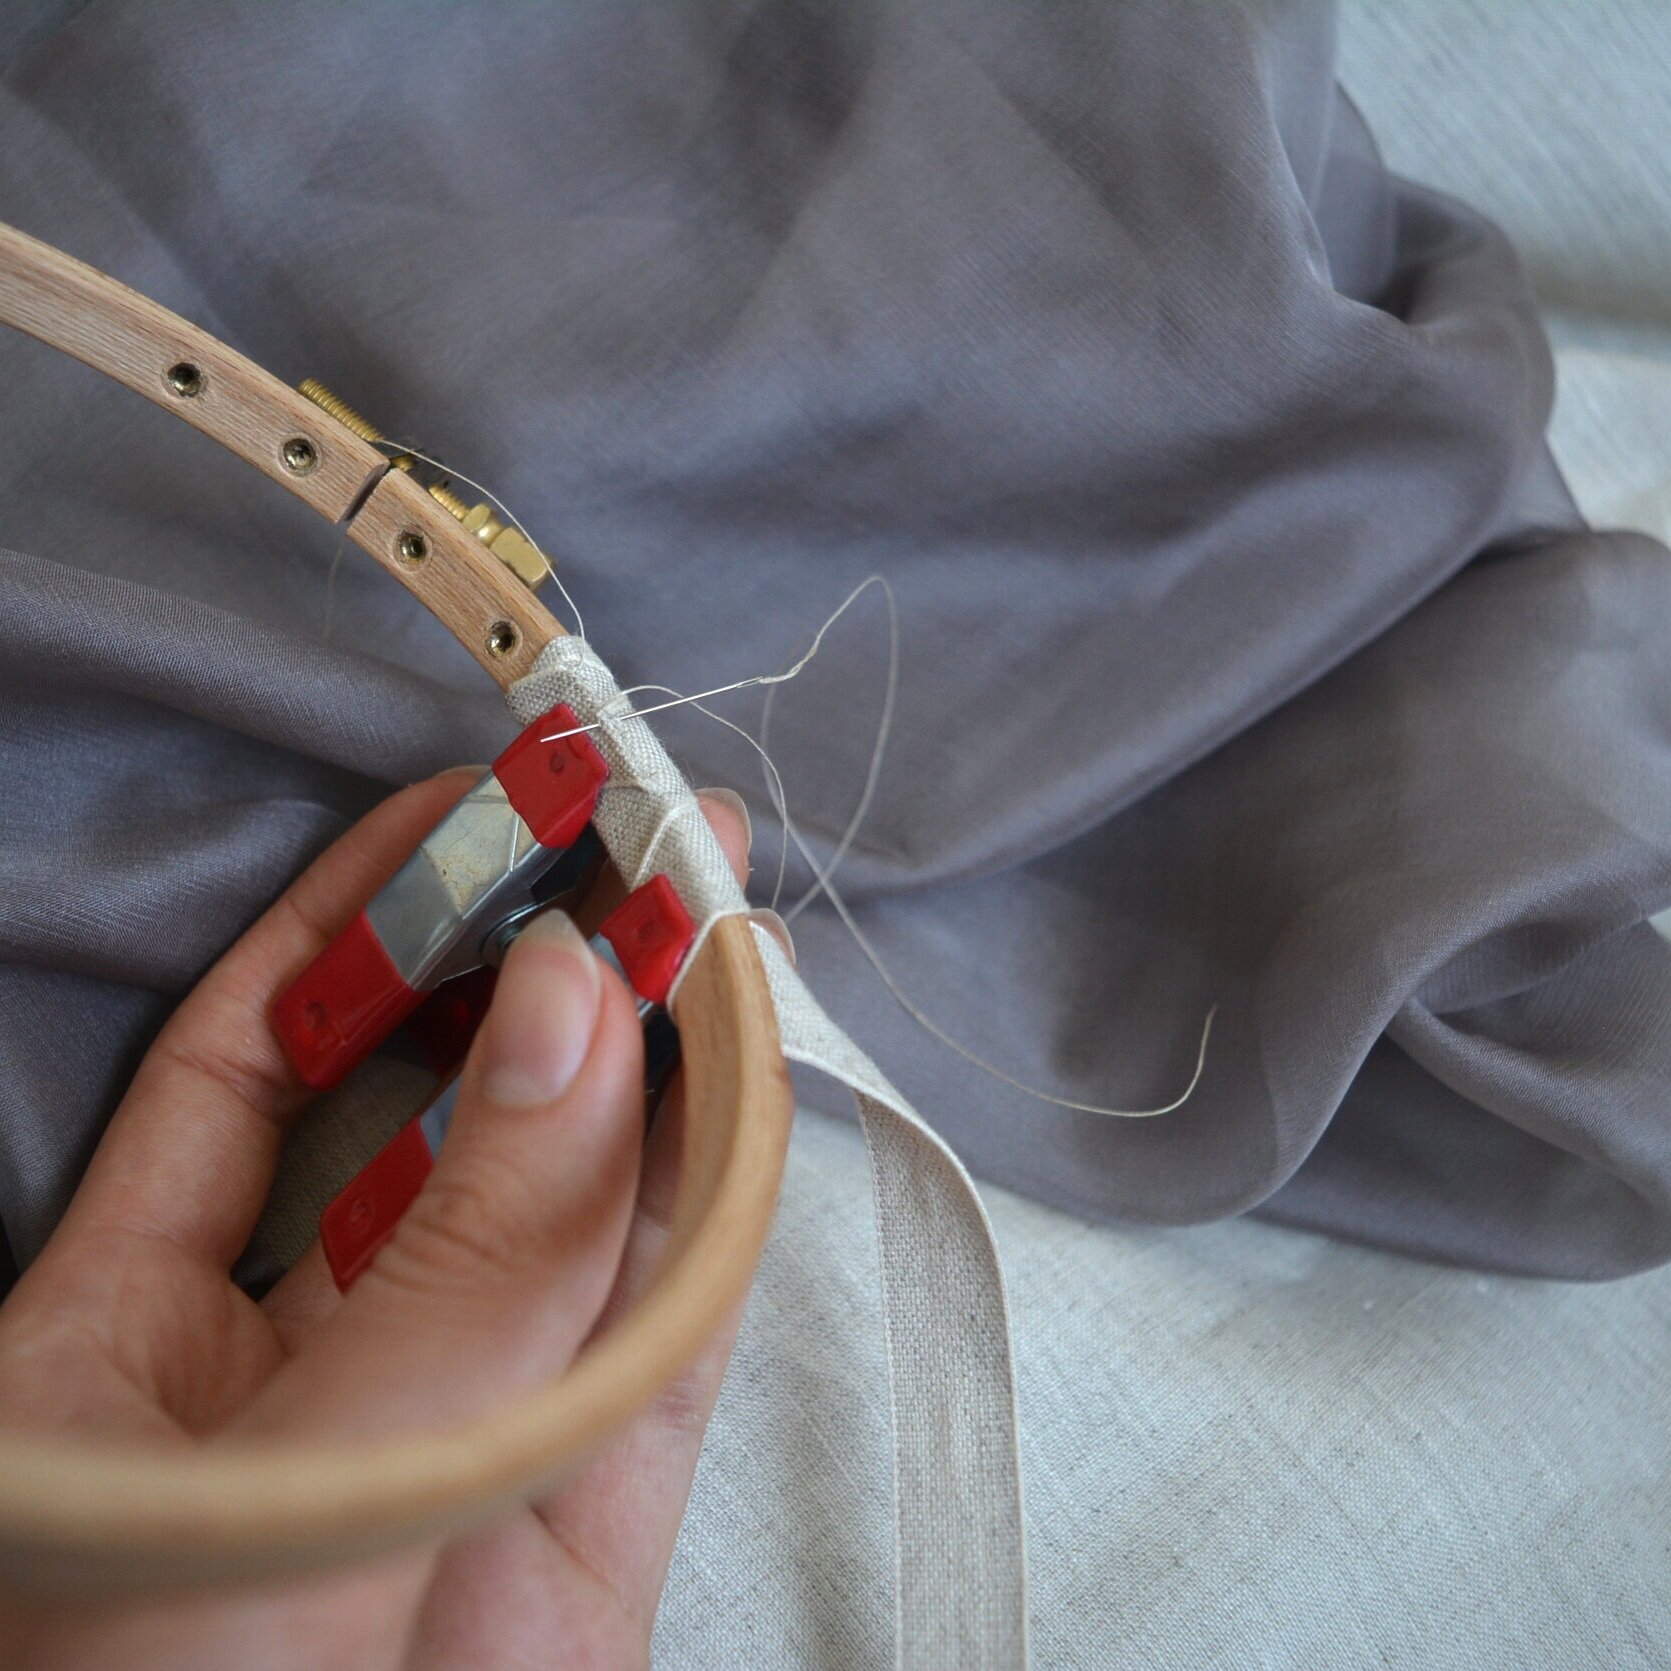
To start, I set aside the inner hoop, and I wrap the tape around the outer hoop a couple times. I wrap nice and tight, and use a couple clamps to hold this in place while I work on securing the starting tail. I leave myself a tail a couple of inches long to work with. This next part is a little fiddly. I basically play with positioning the tail of the linen tape (folding and trimming until it looks nice), and then whip stitch the end down to the tape already wrapped around the hoop. If the tape is wrapped really tight, you'll find that it doesn't shift around, even without glue.

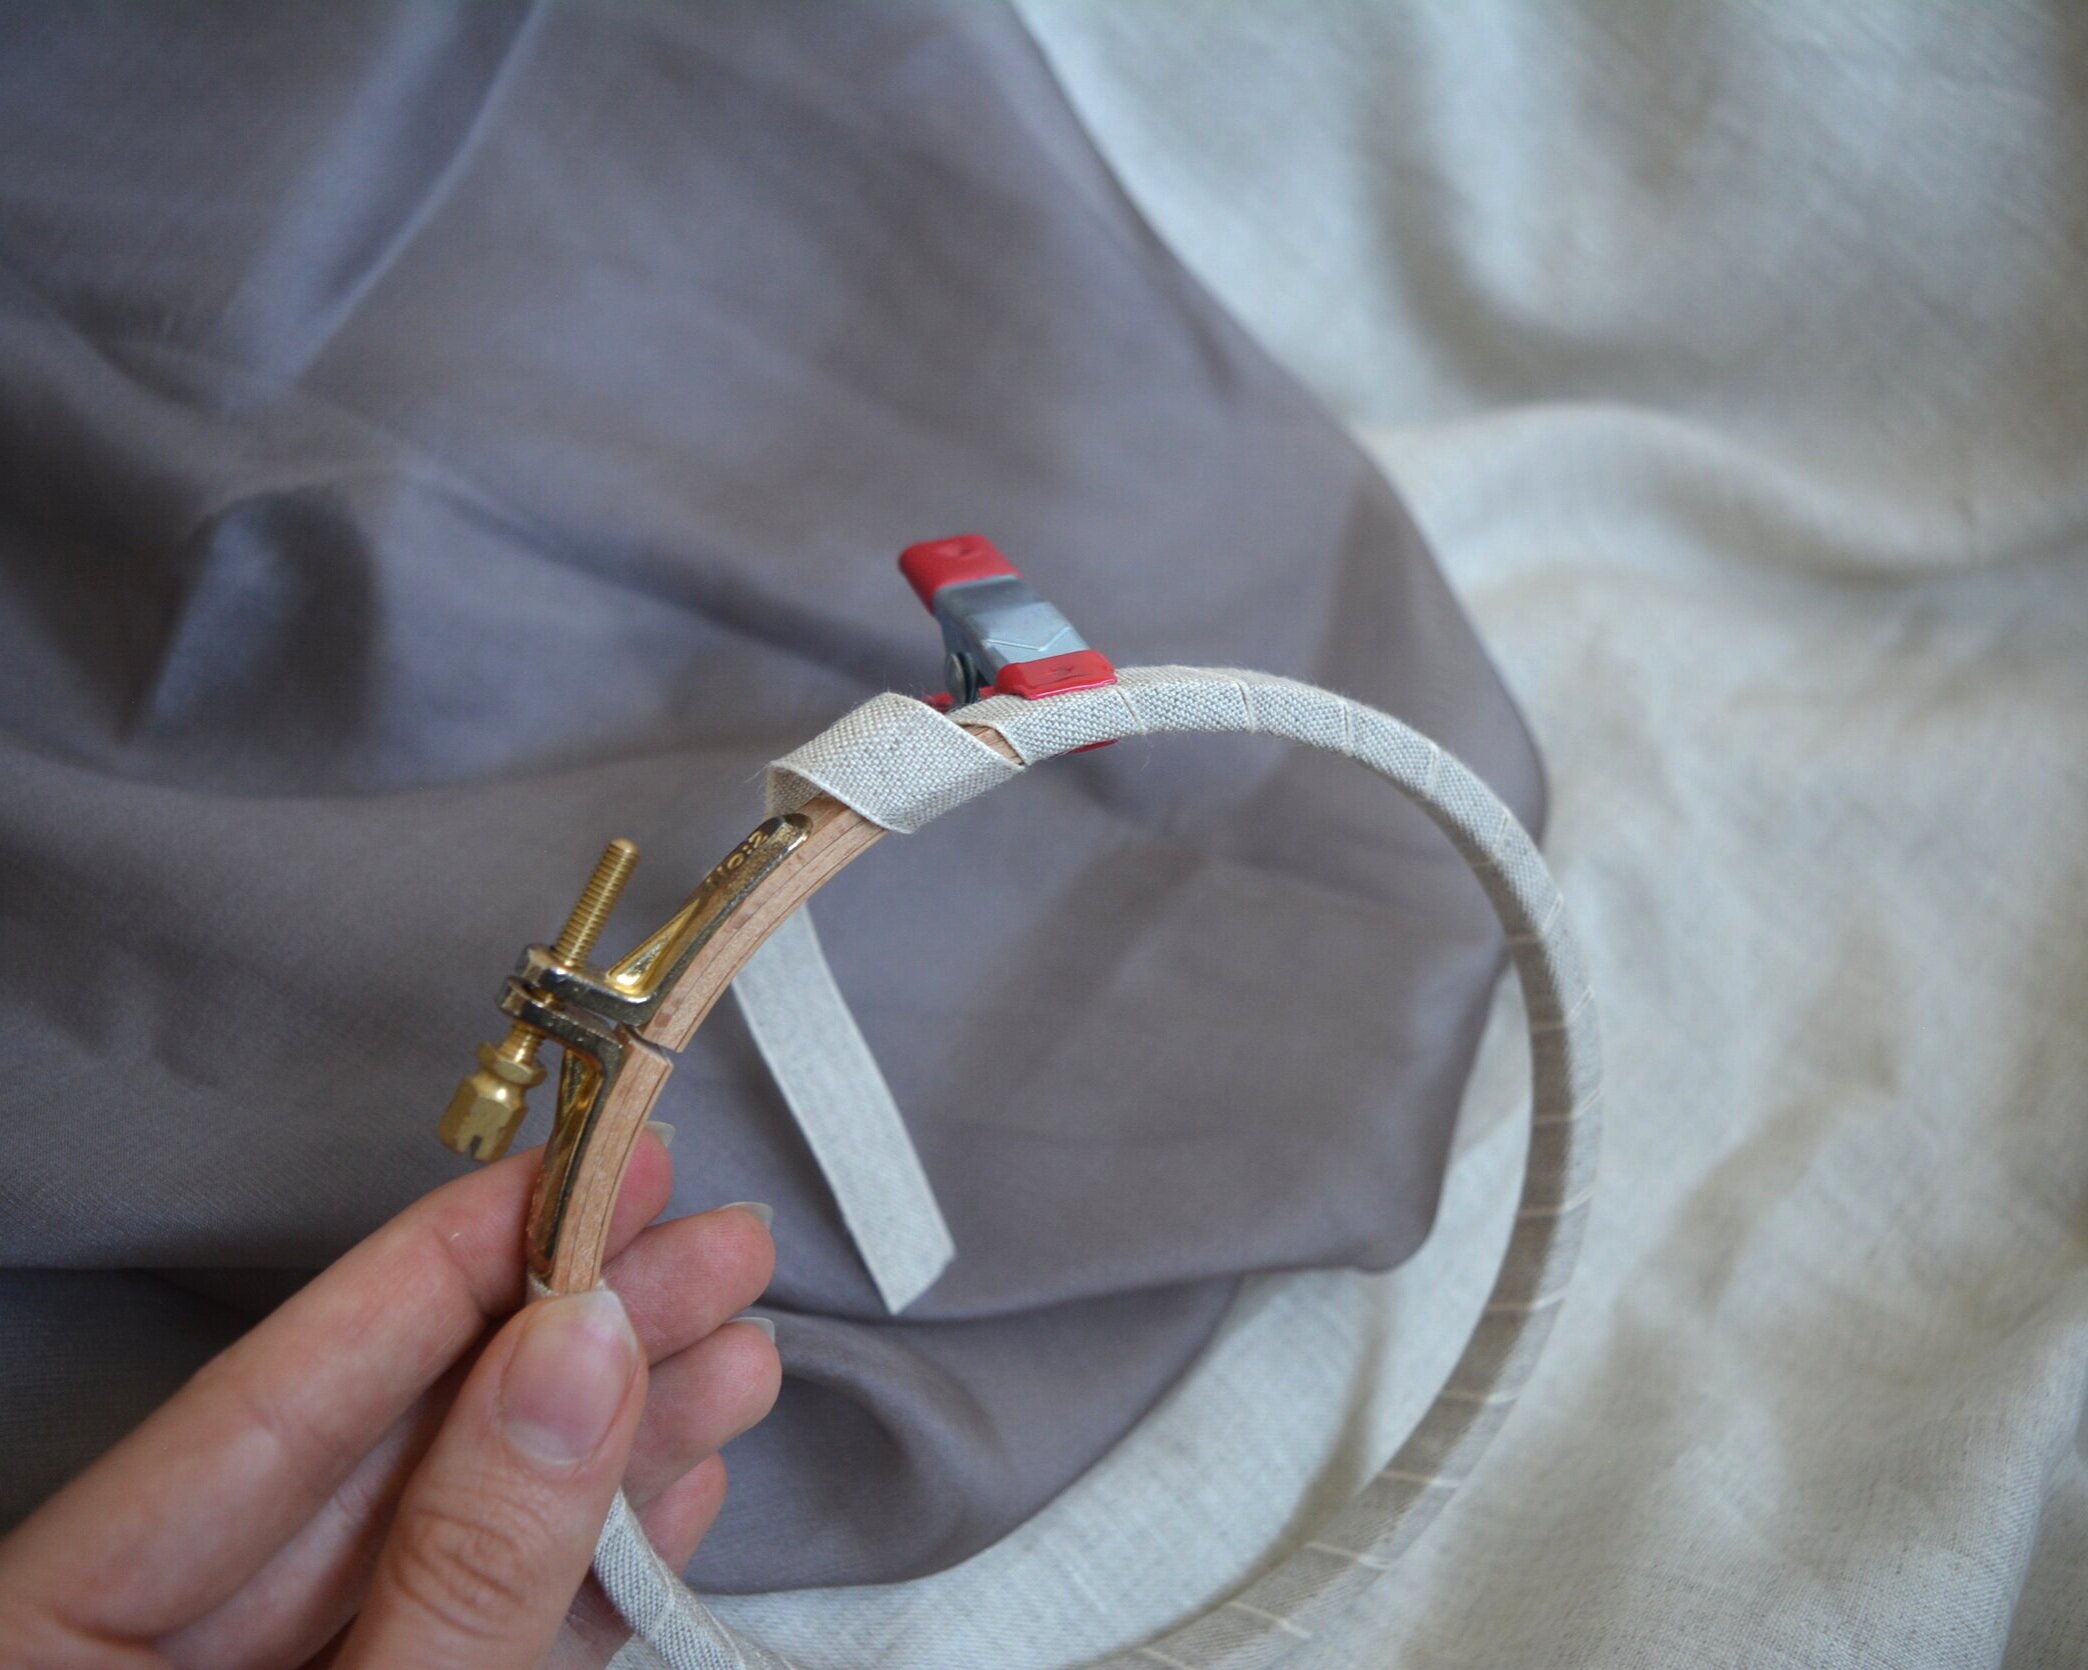
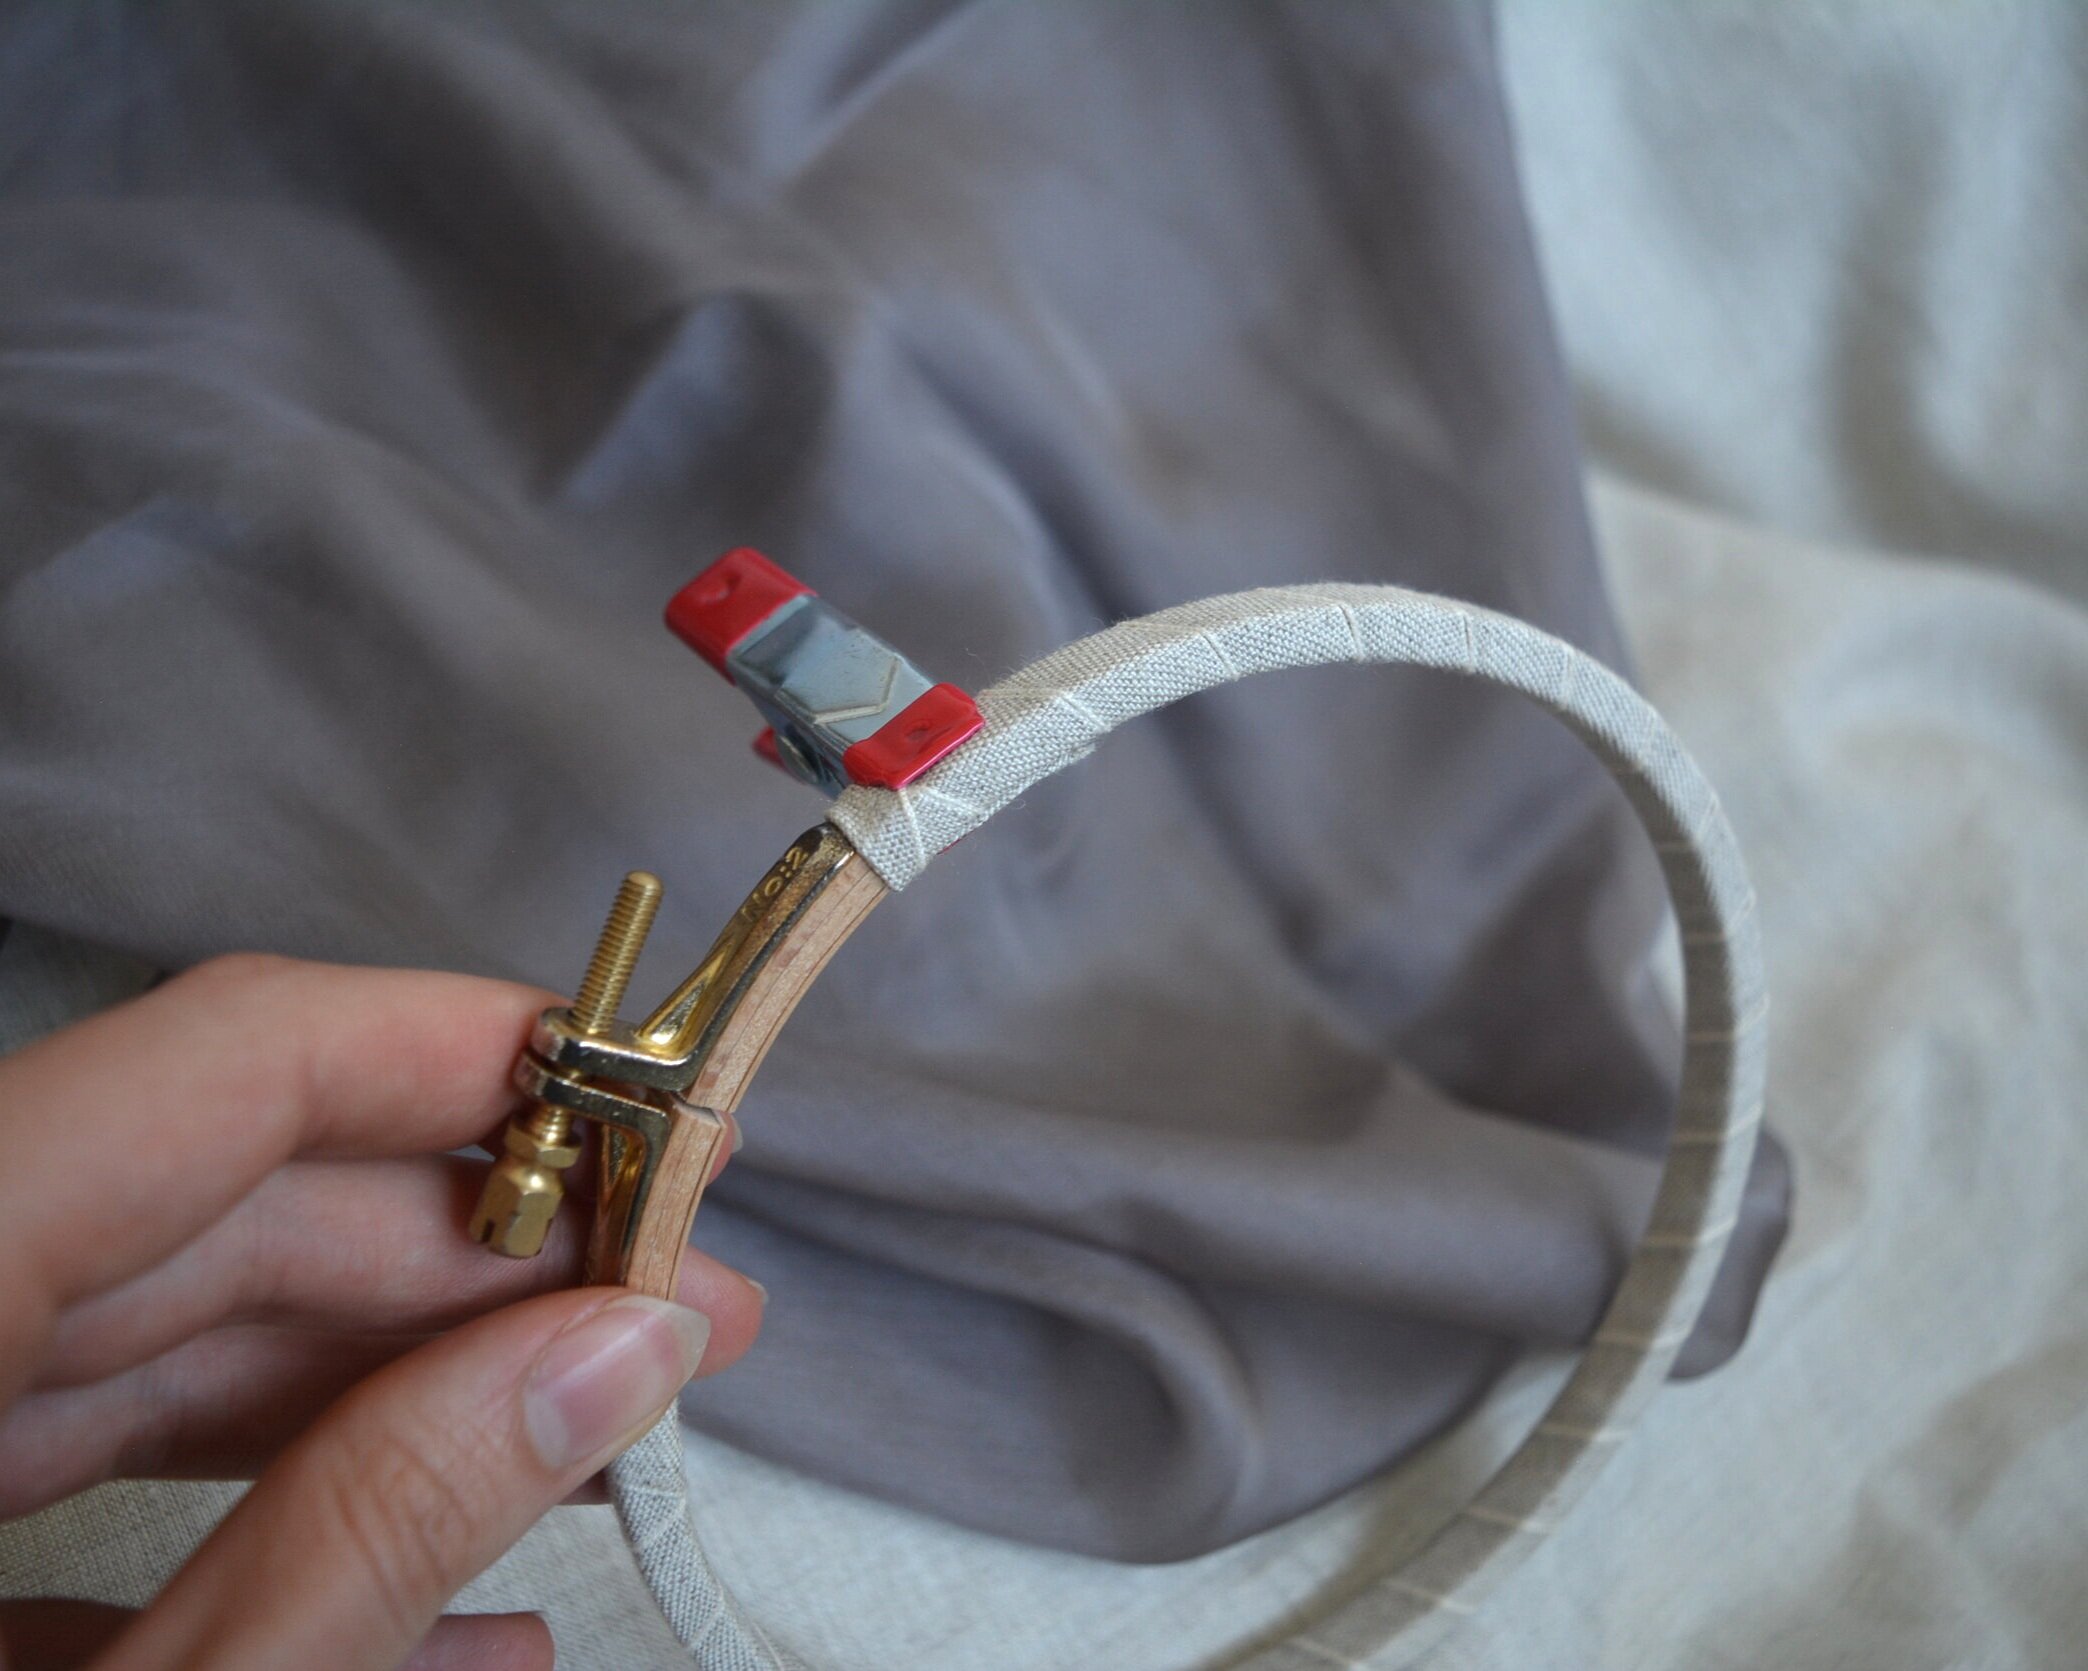
Once I have that attached, I very carefully wrap the tape around the hoop, being mindful to keep the edges lined up (and not overlapping) and to keep the wrapping tight.

When I get back to the metal clamp I need to secure this end as well. Again I use clamps to secure the work I've done, and cut myself a tail a couple inches long. I finish the end the same way I started the tape: fiddling until it looks nice, and then whip stitching the end edge down to the tape already wrapped around the hoop. To finish the loose strings I do a couple extra stitches in place, and then weave the thread into the linen tape before cutting the end.
I hope you found this useful. You could also use cotton twill tape or strips of fabric with this same technique. Happy embroidering!