A Vintage Pattern and the Three Day Cardigan

2020-10-24_17-56-46.jpg

Drawing sketches of my garment plans and then bringing them to life is still new to me but I love how it turns the process of making my clothes into what feels like a purposeful story. Each project starts to take on its own narrative in my head and finishing becomes so exciting as all the elements start to come together. I first did a sketch for my Wattlebird Cami + Fawn Skirt combo and I'm hoping this habit will become the prevailing practice for me.

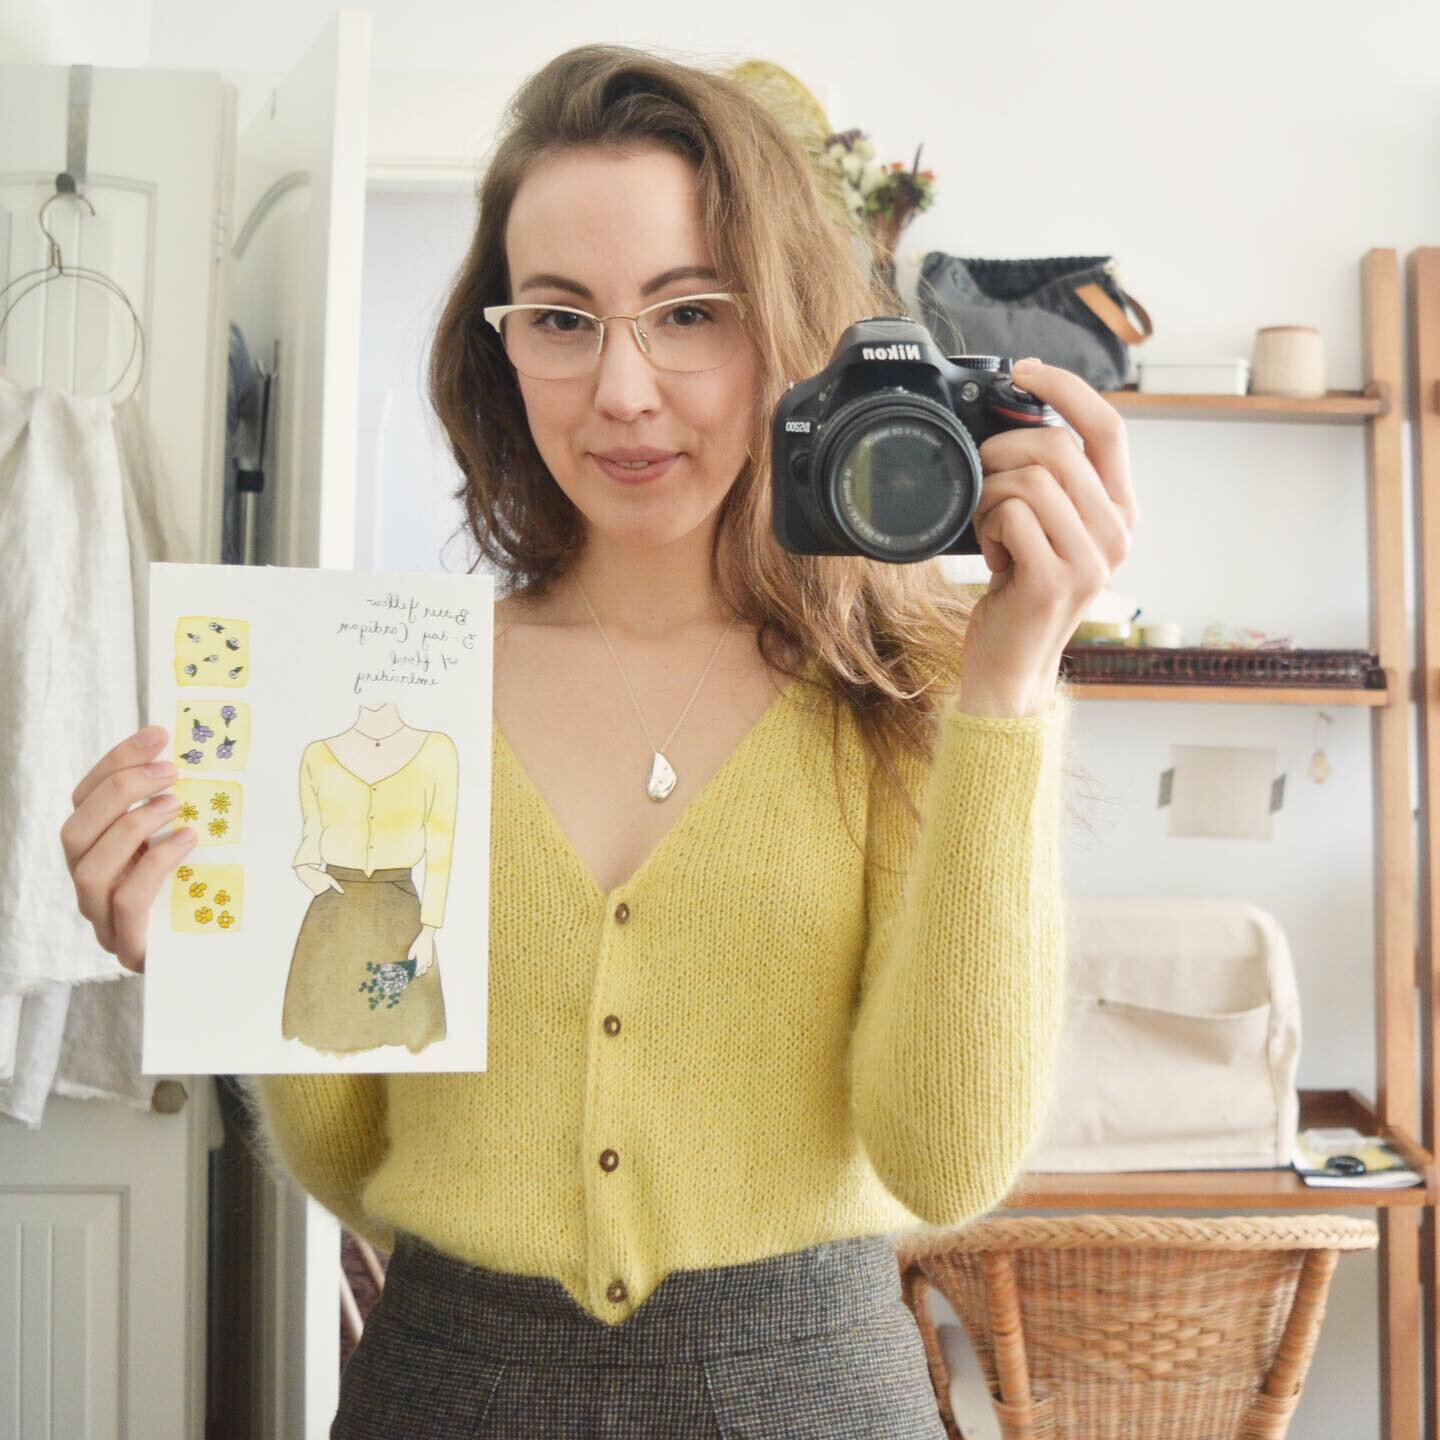
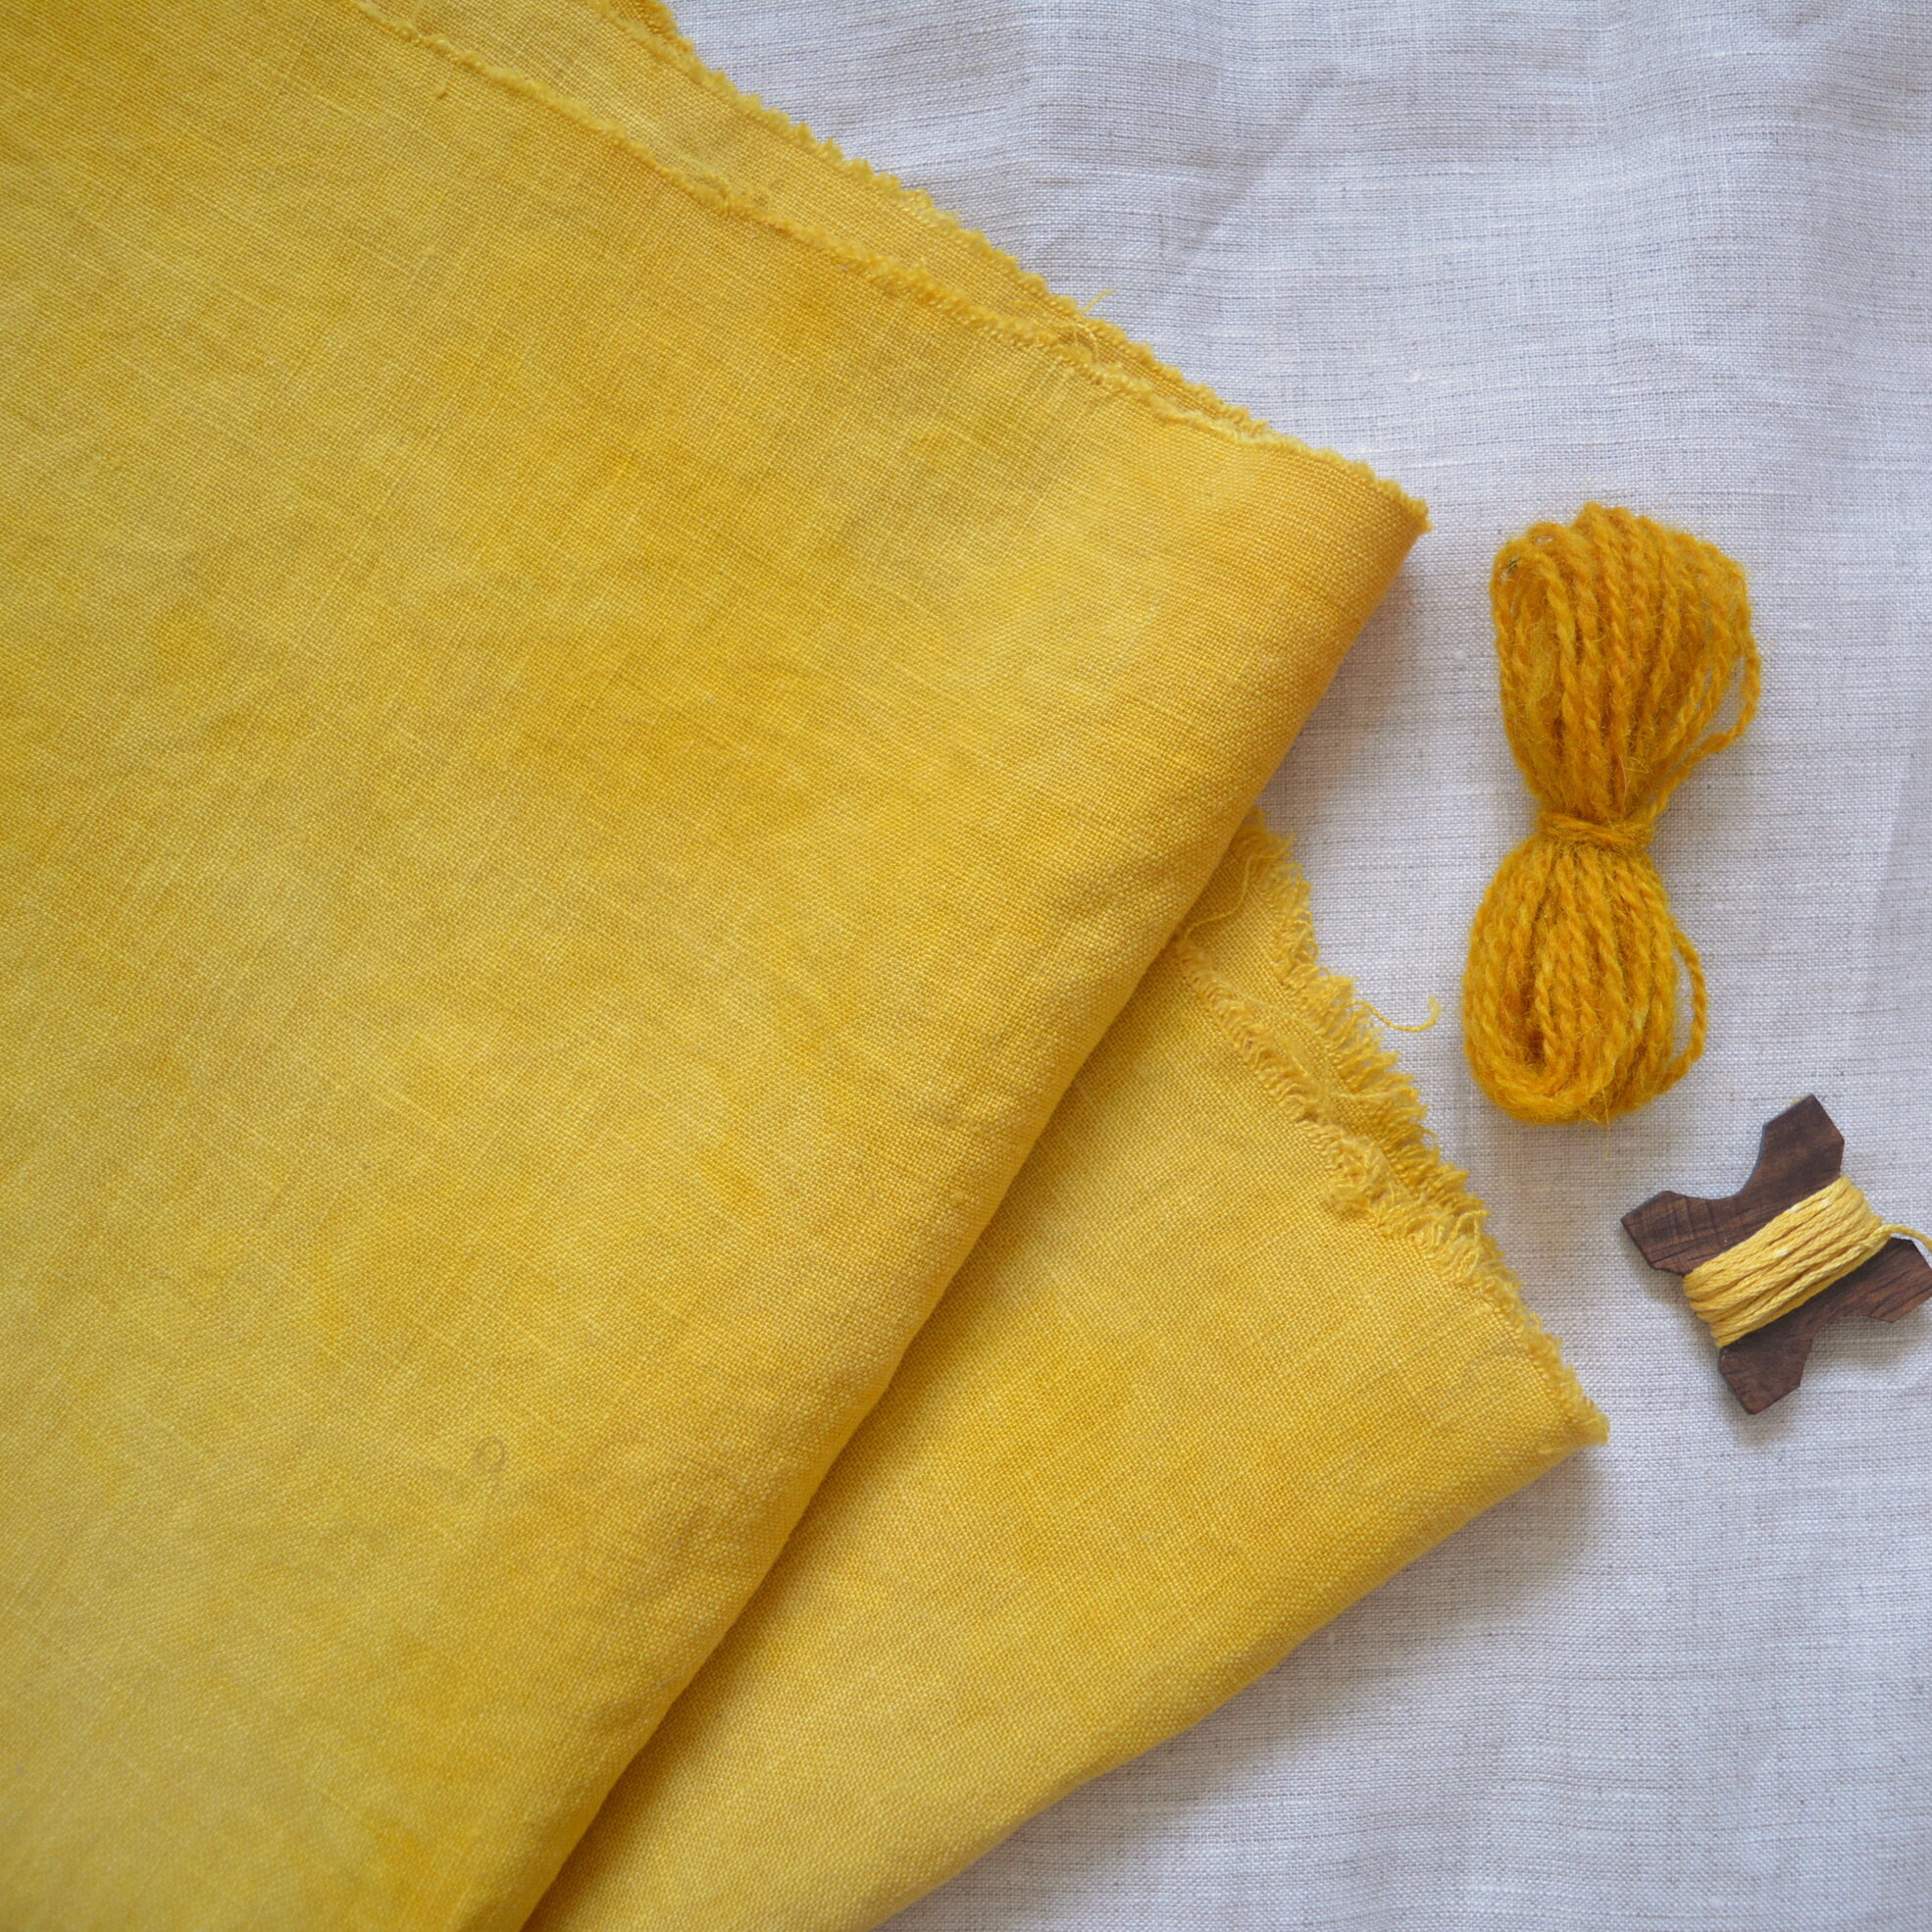
The Three Day Cardigan by Plystre Knitwear has been on my mind for some time now because I thought if I loved the fit, it could become a pattern I knit up in multiple colours. I also really thought I might be able to knit an entire cardigan in three days (we may as well note here that was absolutely not the case). I ordered some yellow yarn from Knitting for Olive and while I waited for that to come in the mail I did the quick watercolour sketch of the cardigan paired with a wool skirt that I just started sewing.

2020-10-01_15-12-53.jpg

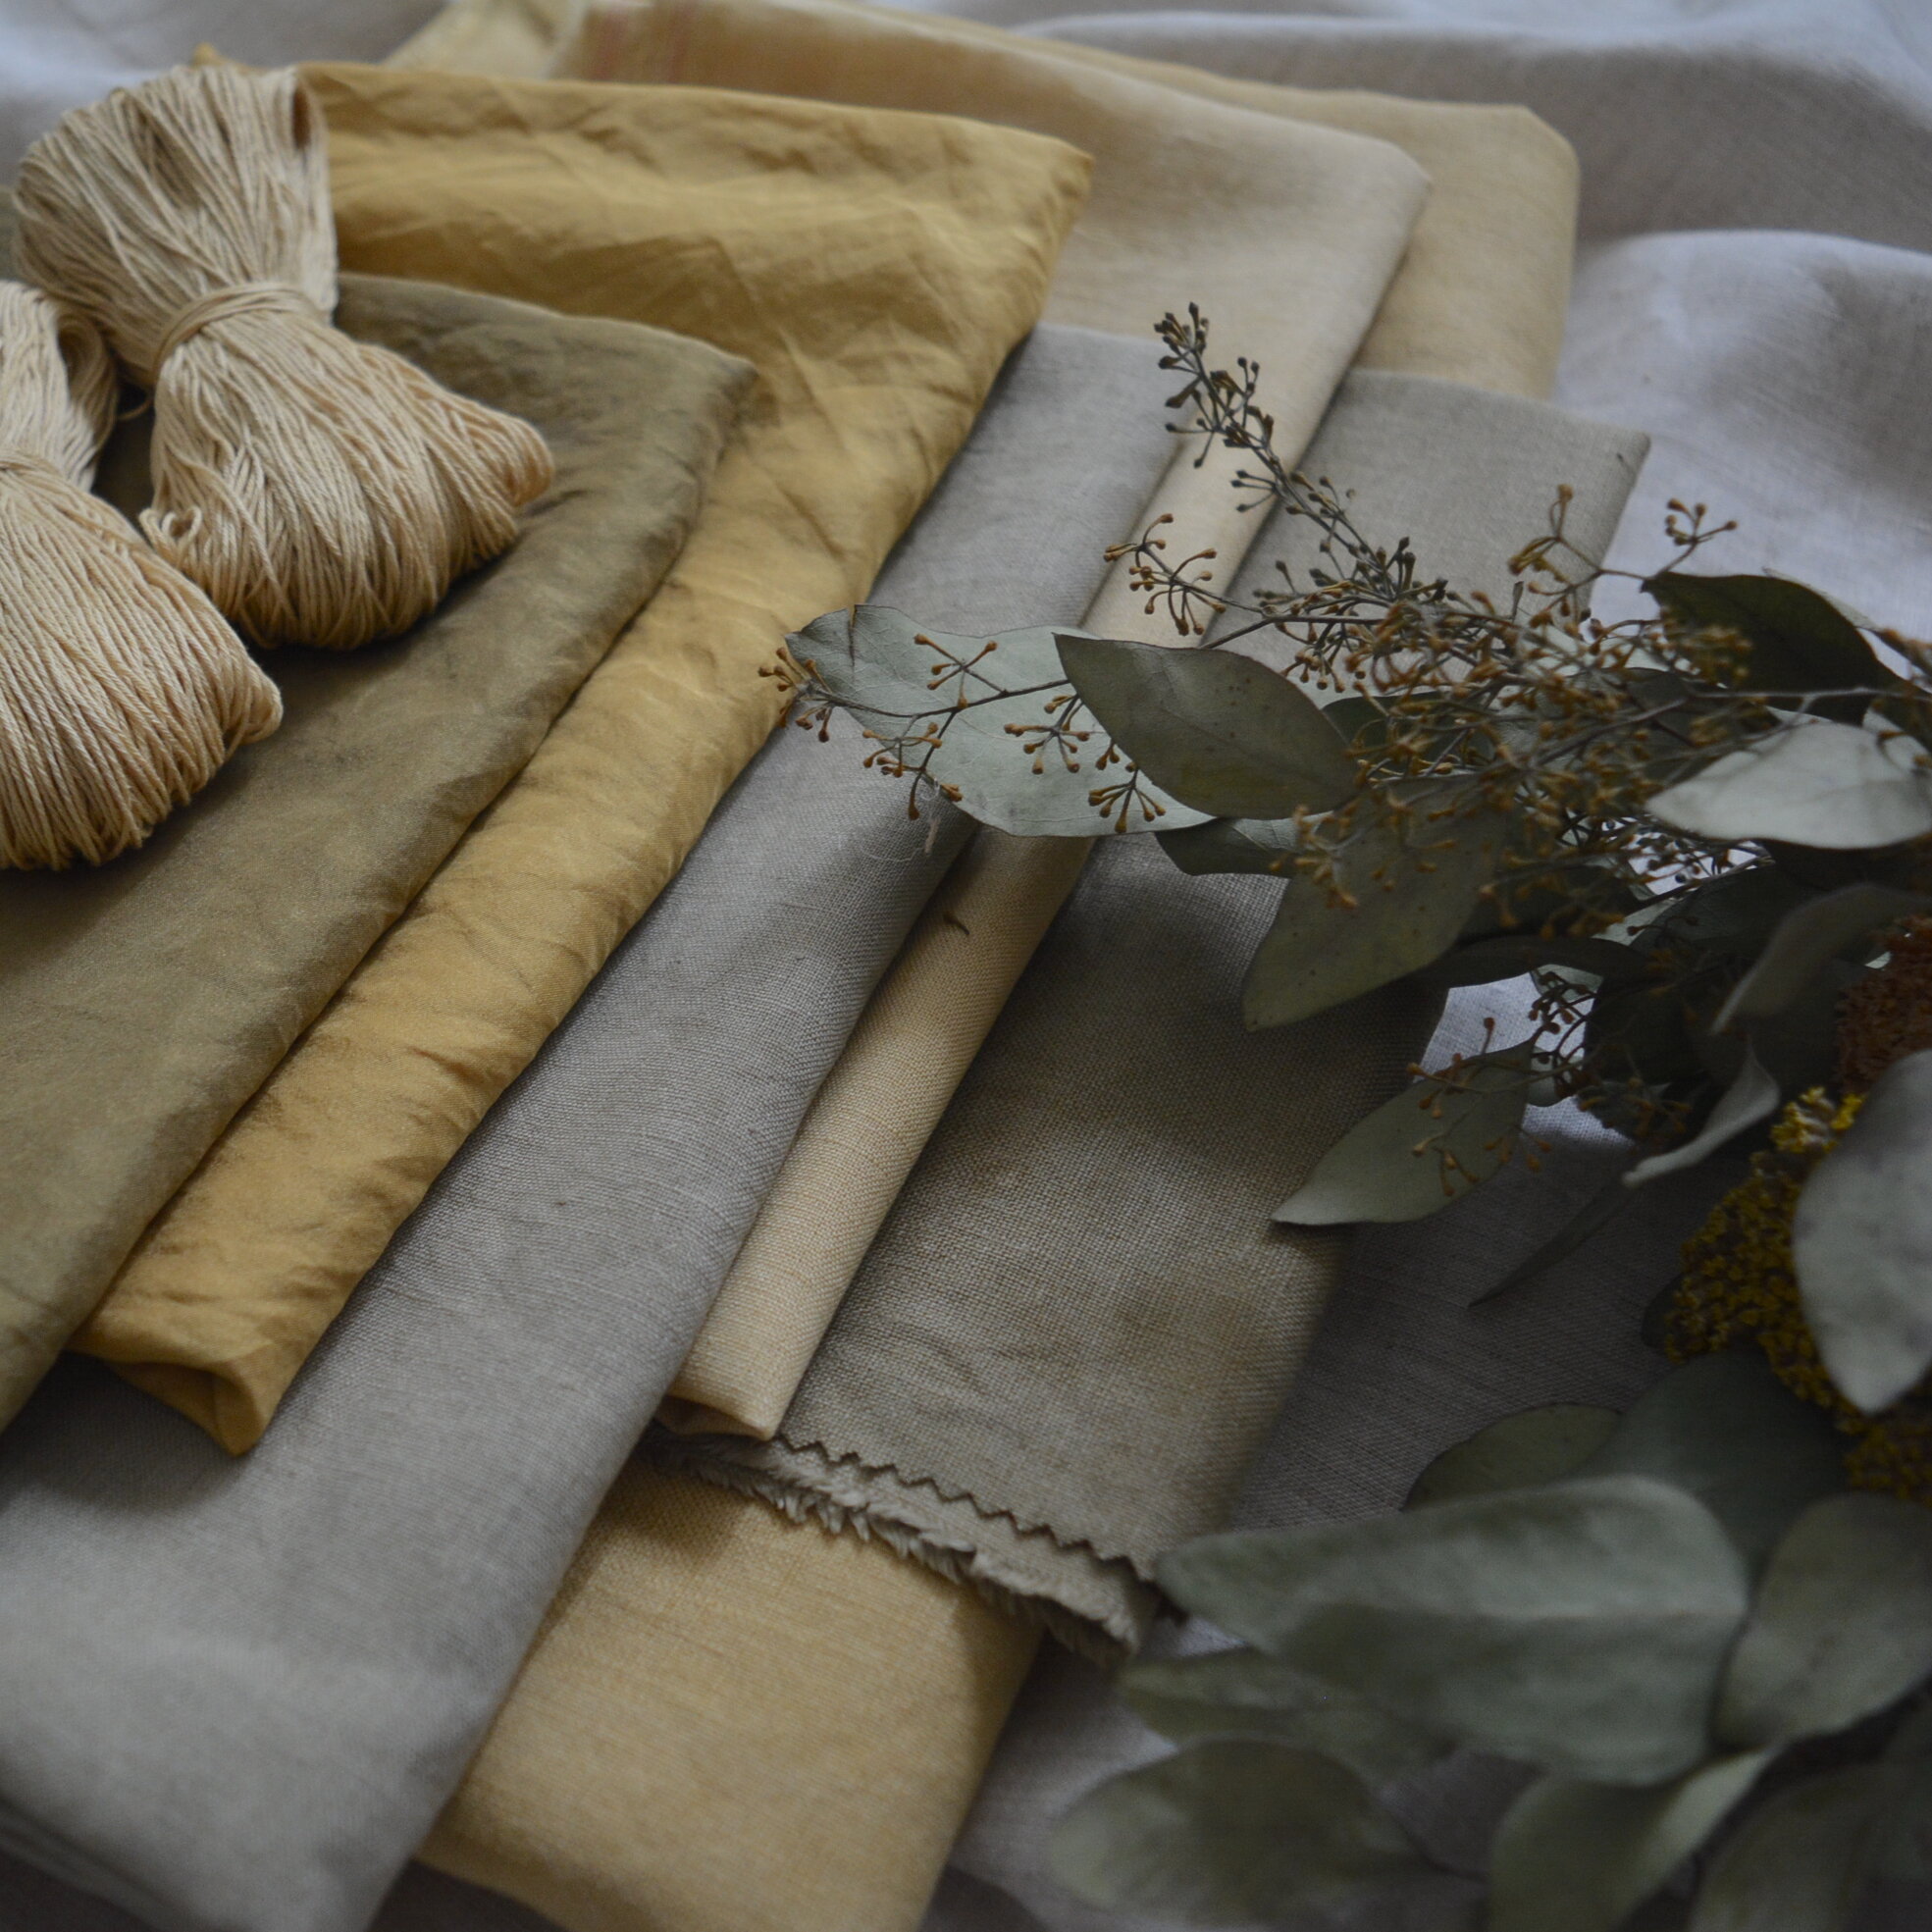
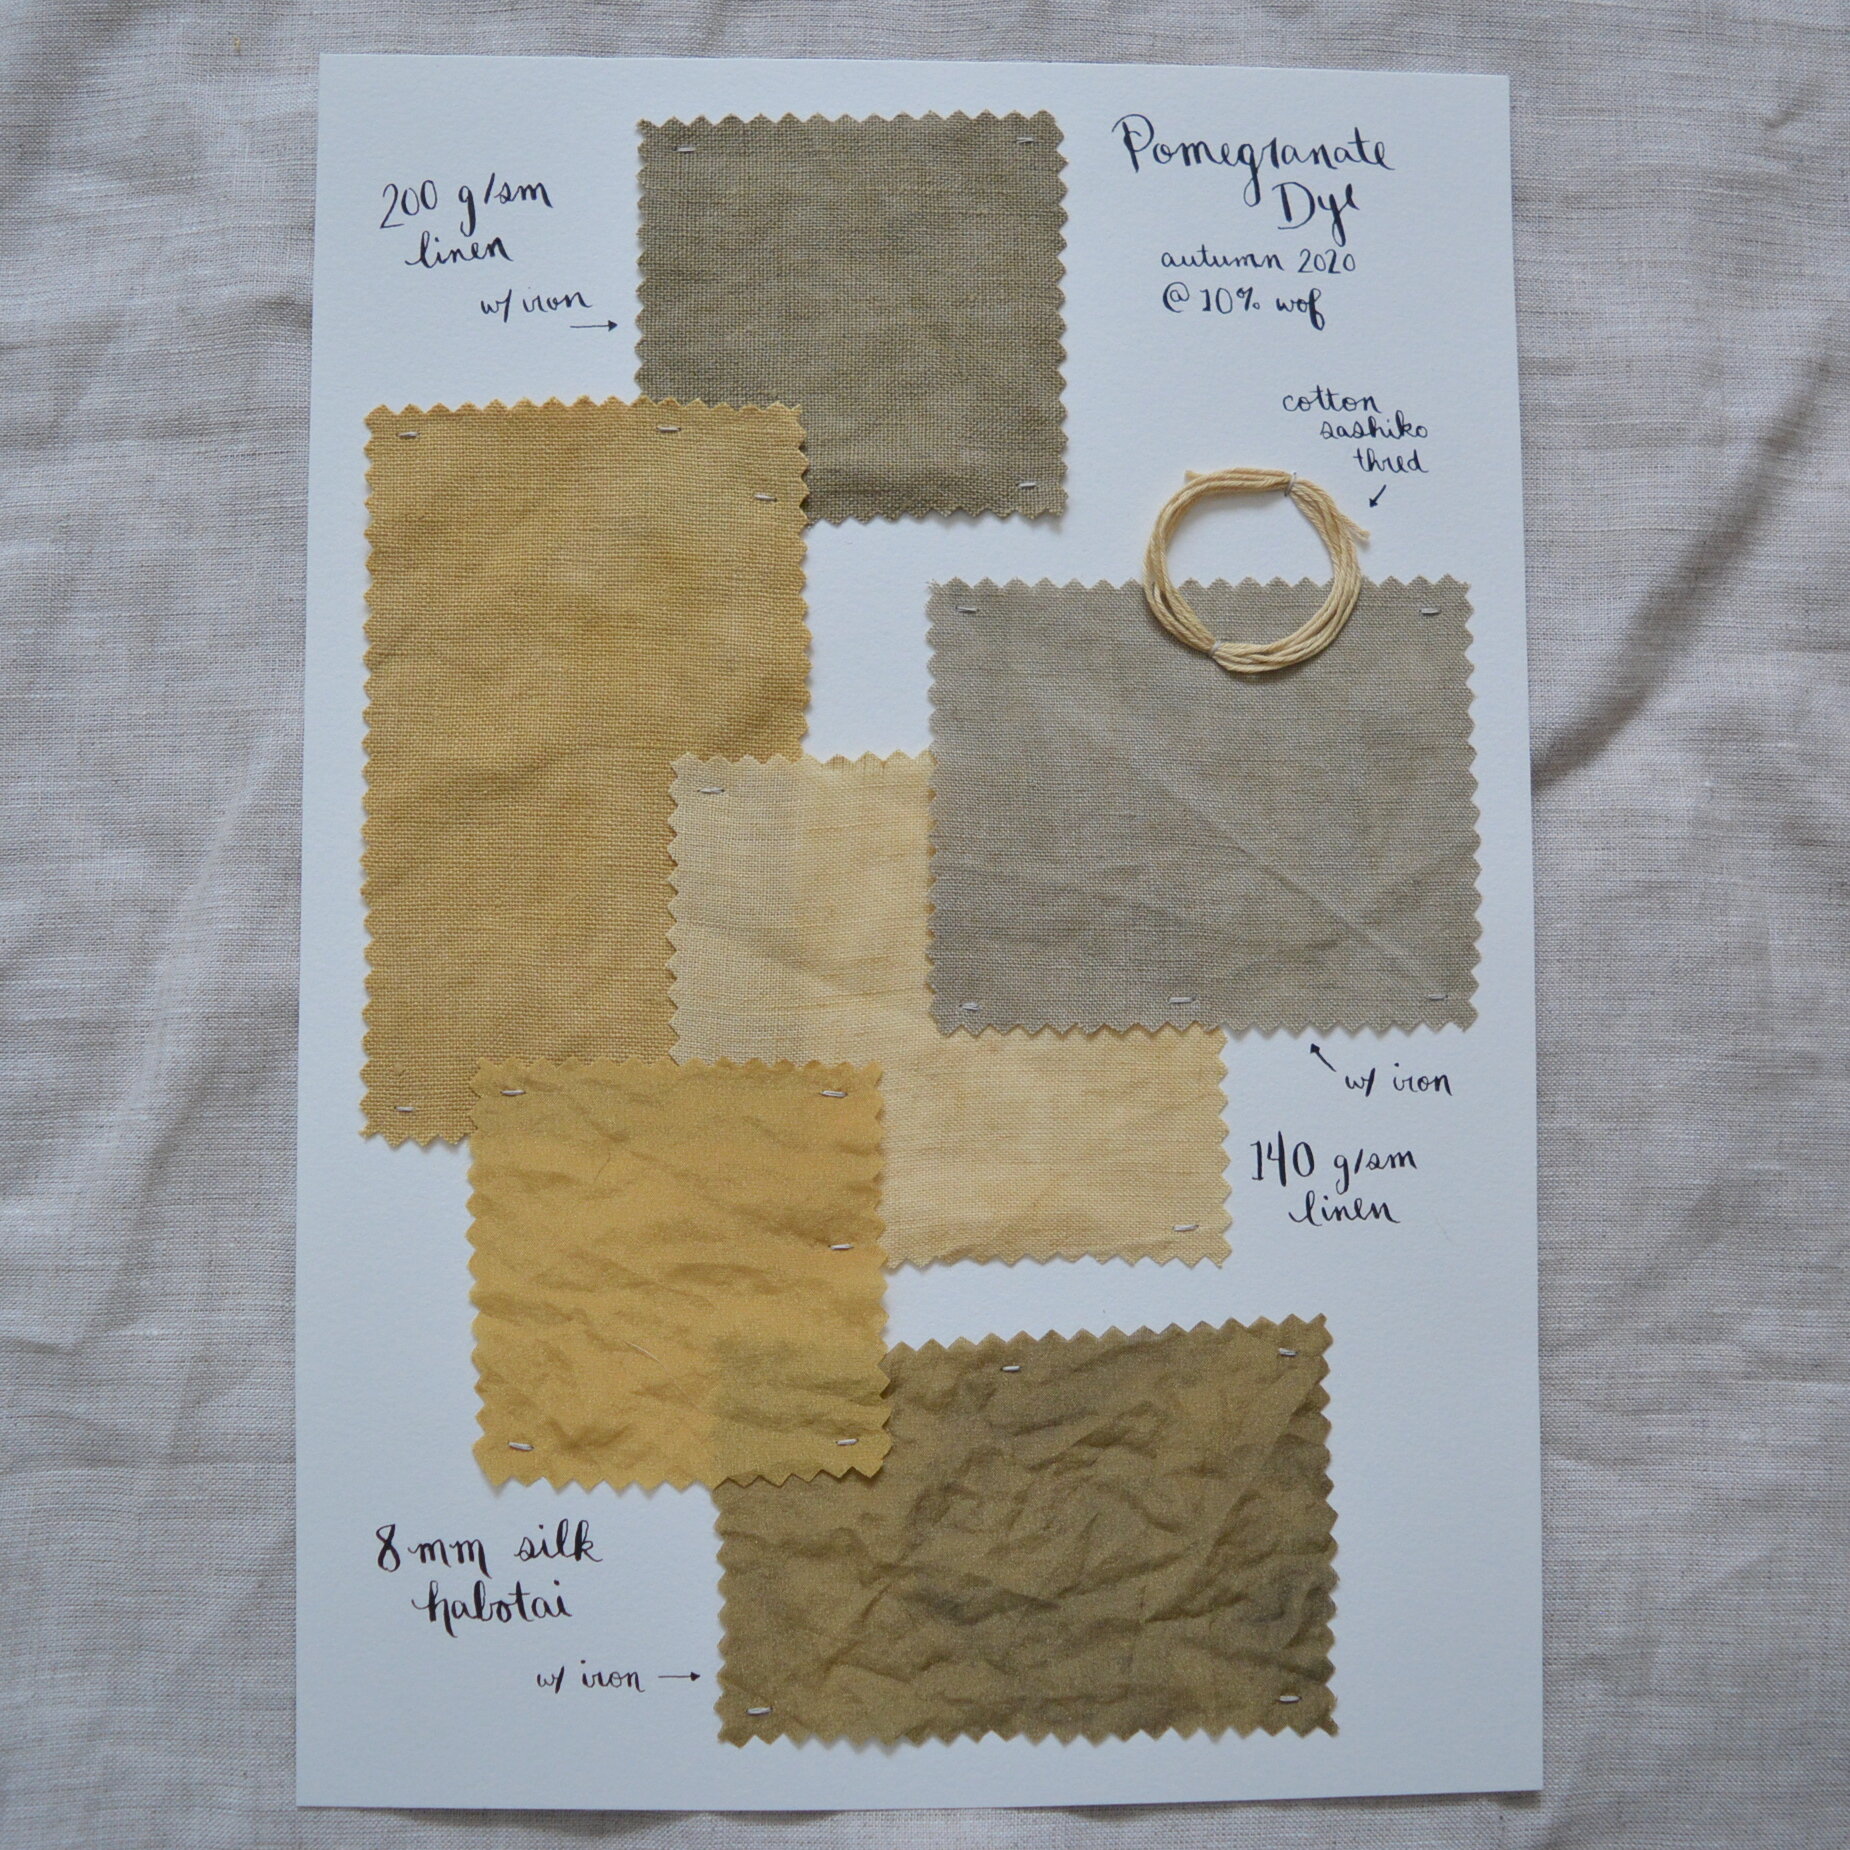
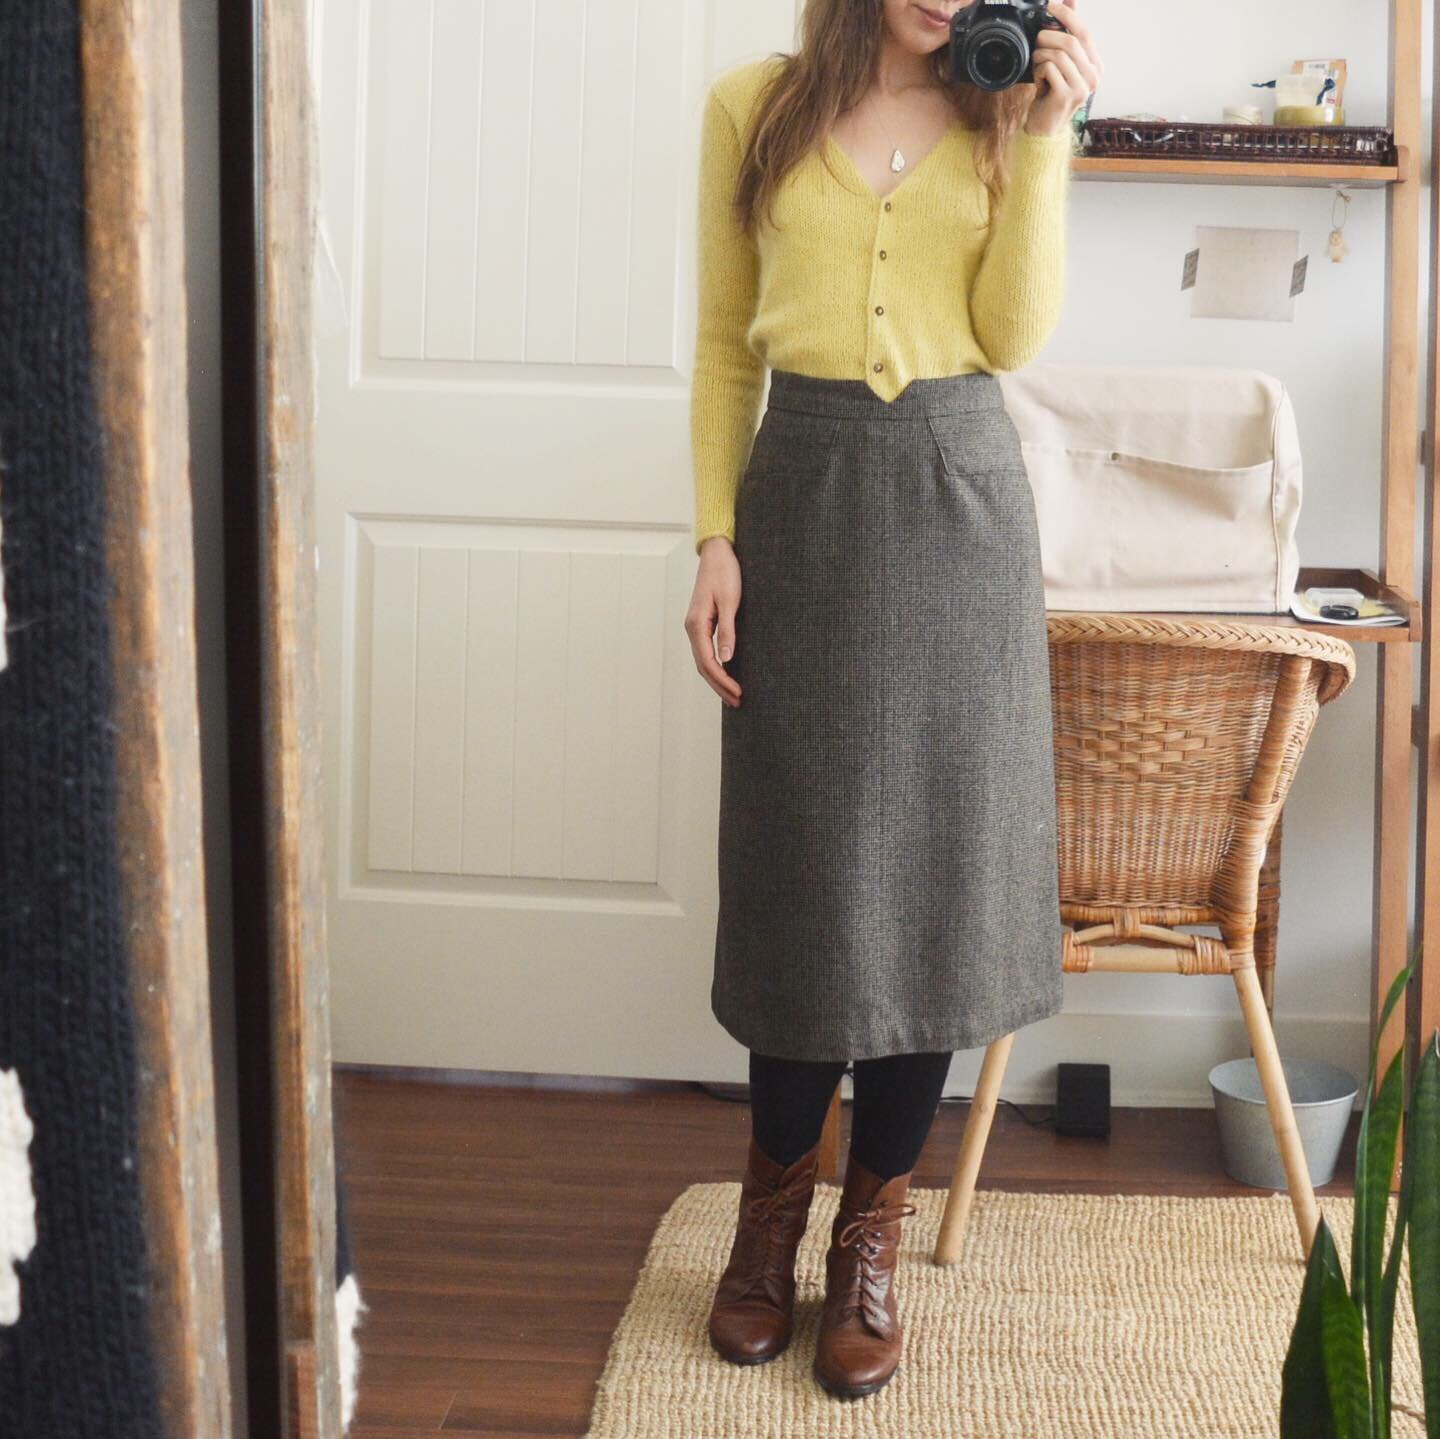
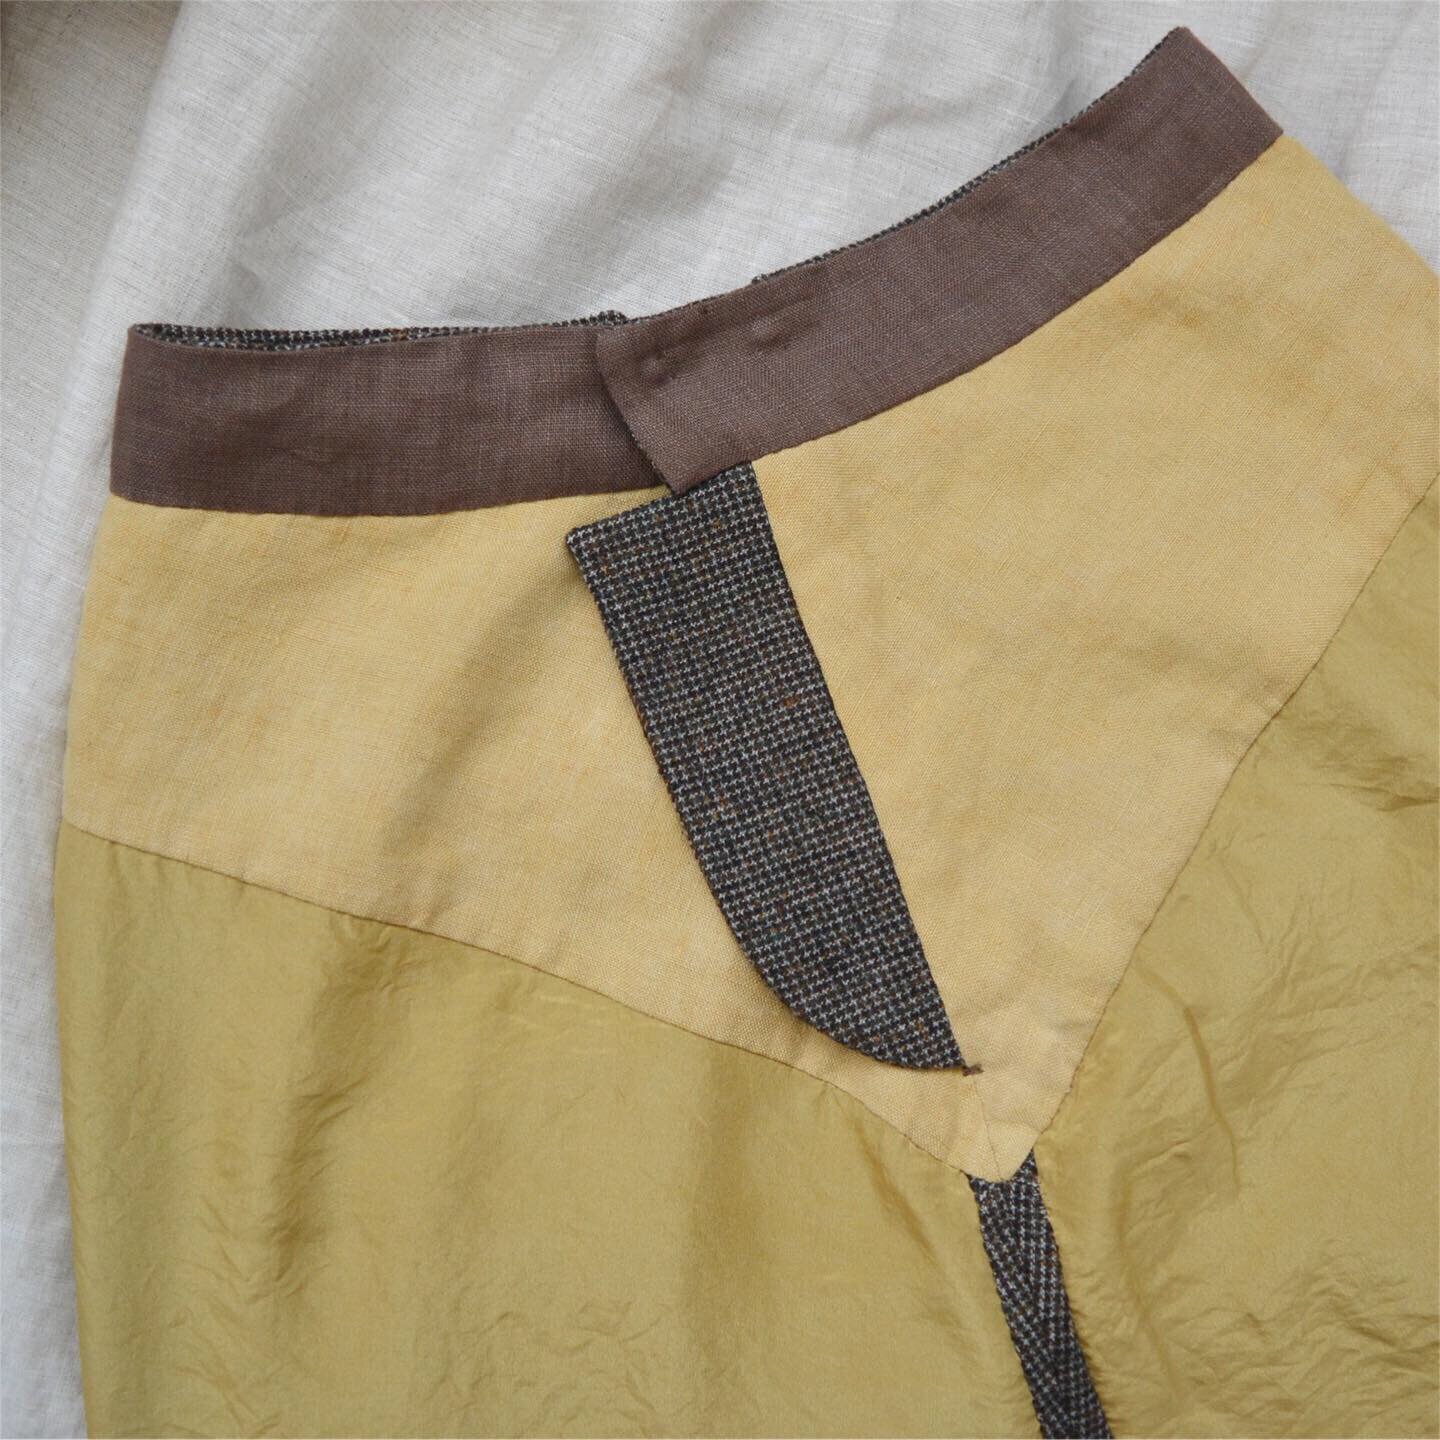
I've been getting some sewing inspiration from browsing Etsy for vintage patterns and then starting to plan from there. This wool skirt is from a 1940's pattern which is so simple but still has some beautiful details. It did take me 2 mock-ups to fit before I could cut into the wool and make the real skirt, but that's also because I'm still fairly new to altering patterns to fit me, so the adjustments I make to patterns don't always work perfectly the first time. Anyways this skirt became such a special project to me because I put so much care and attention into the details. The lining is a pomegranate dyed silk habotai fabric, the linen yoke facing is from that same dye, the wood buttons up the back were very carefully considered, and the linen bias tape as a hem facing looks so professionally finished to me. This skirt had so many tiny little hand finishing stitches put into it to make it look polished on both the outside and the inside.

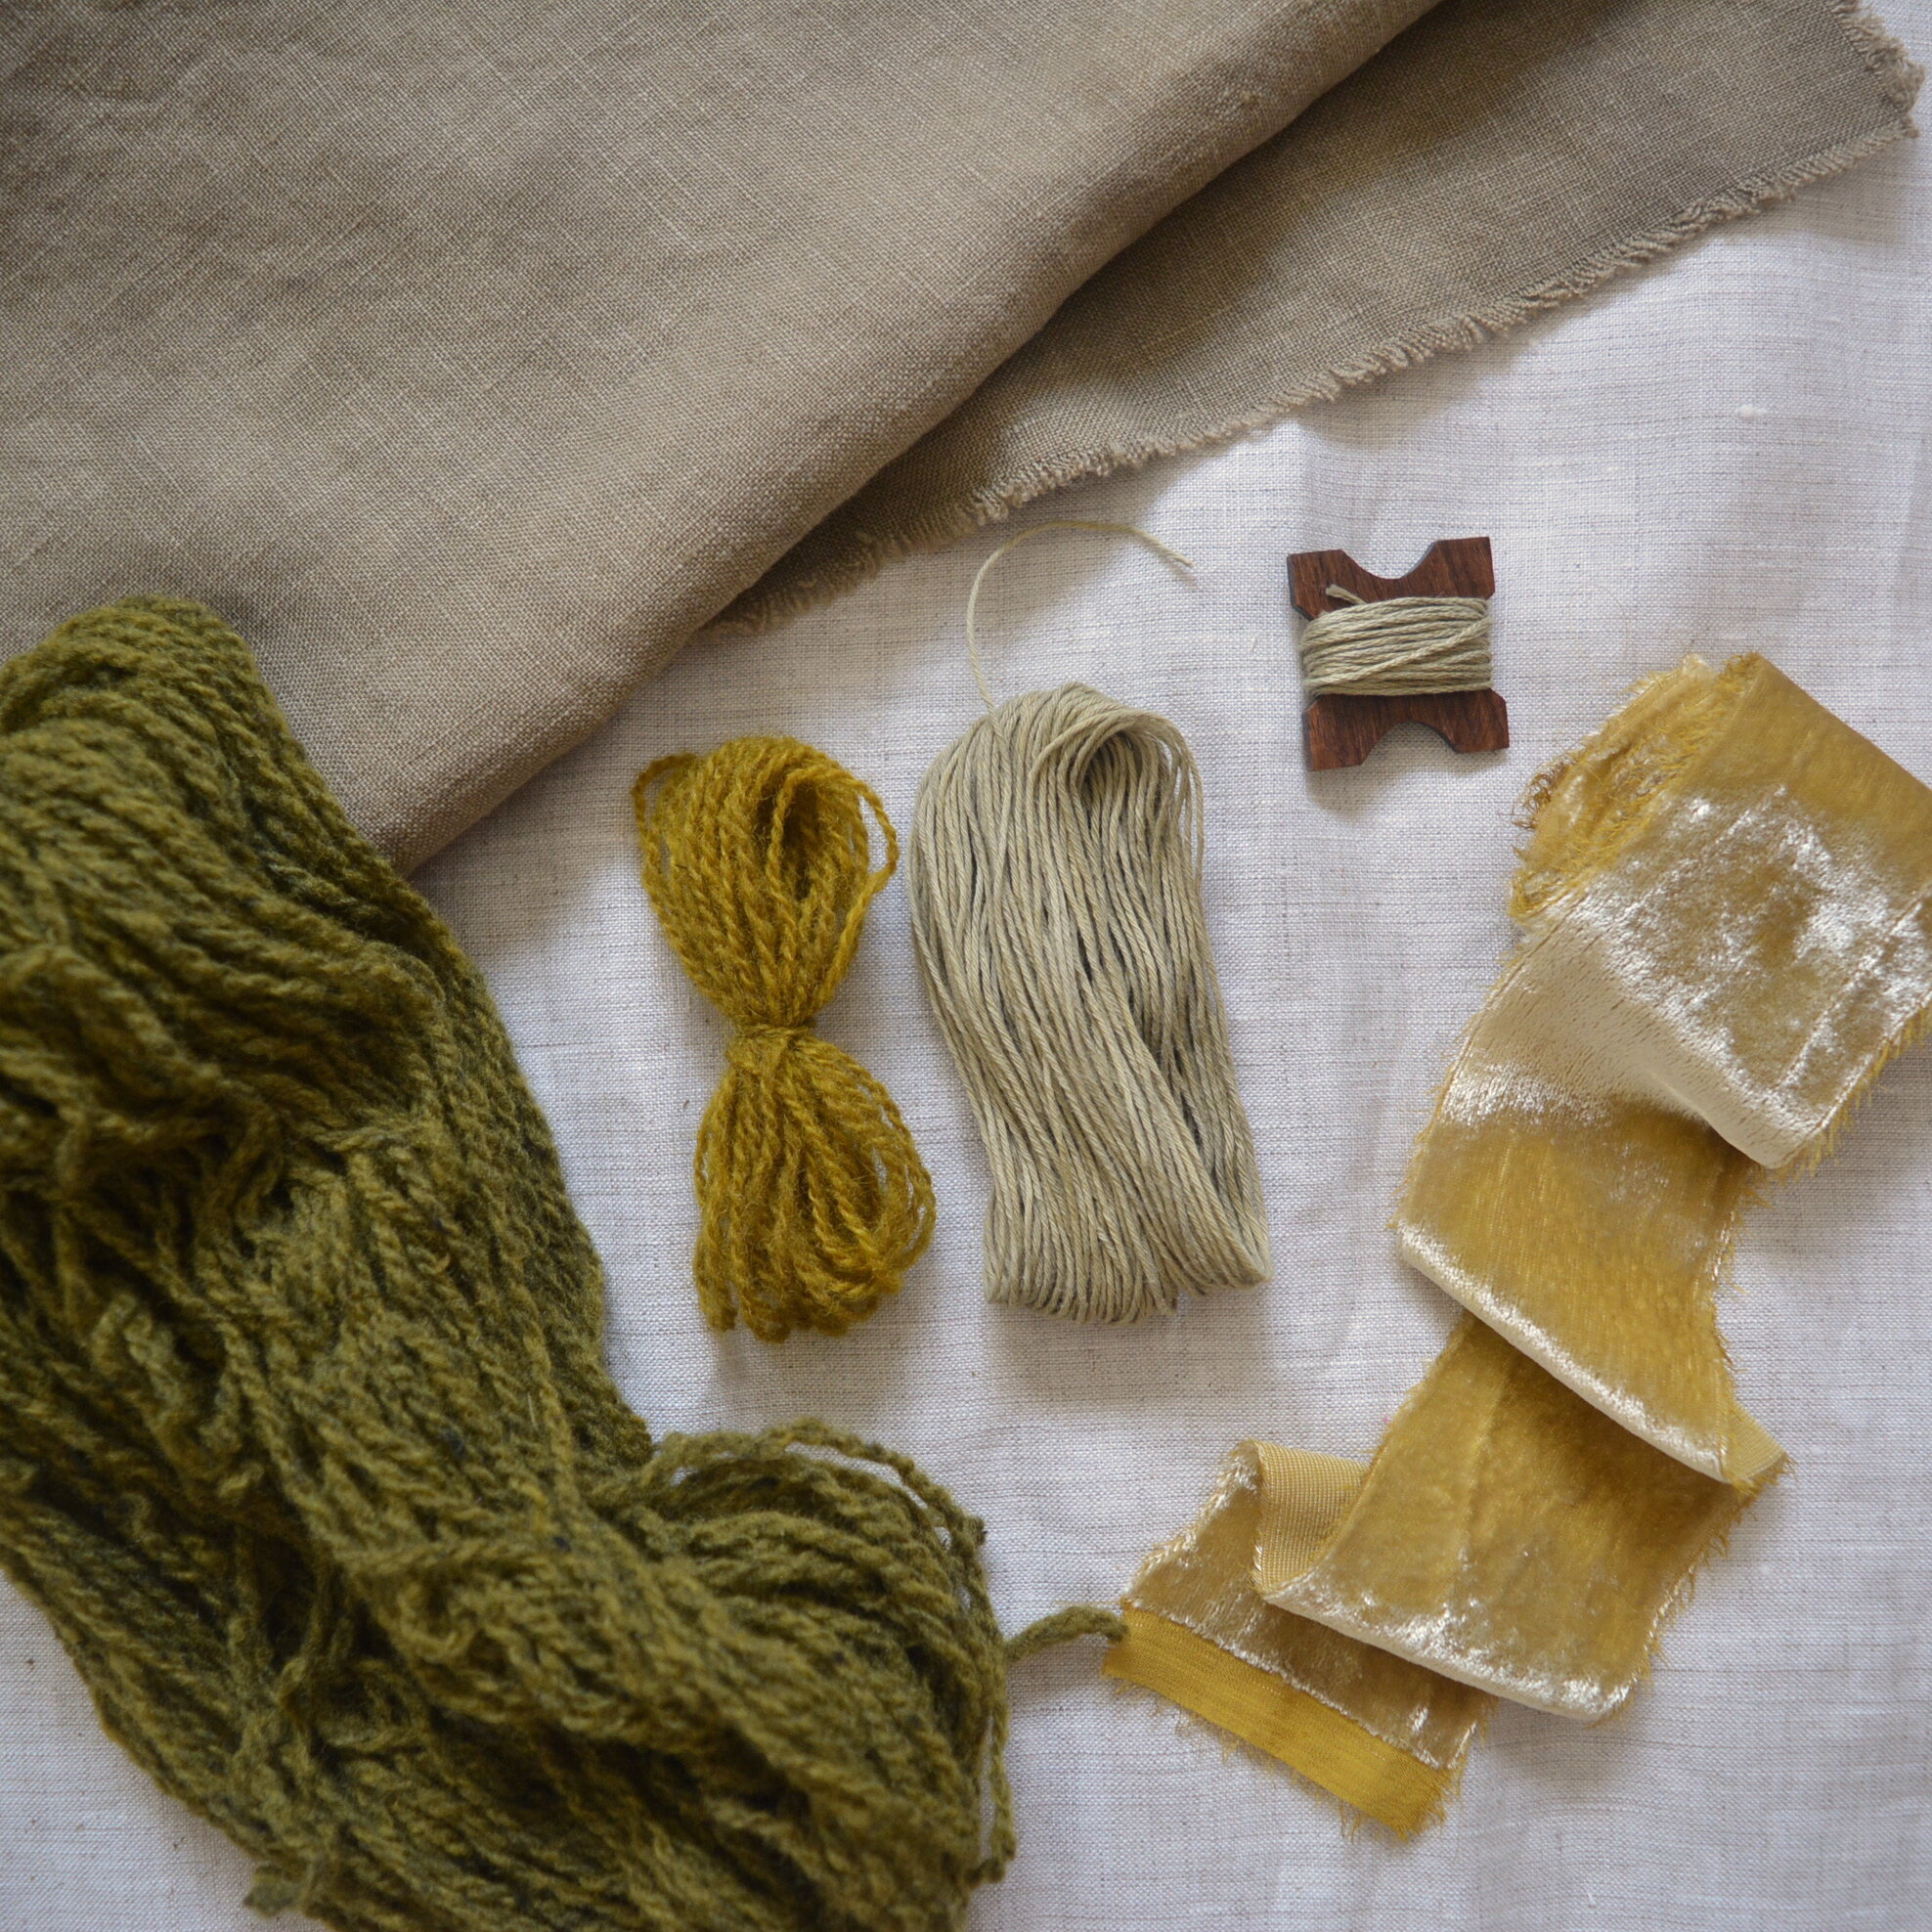
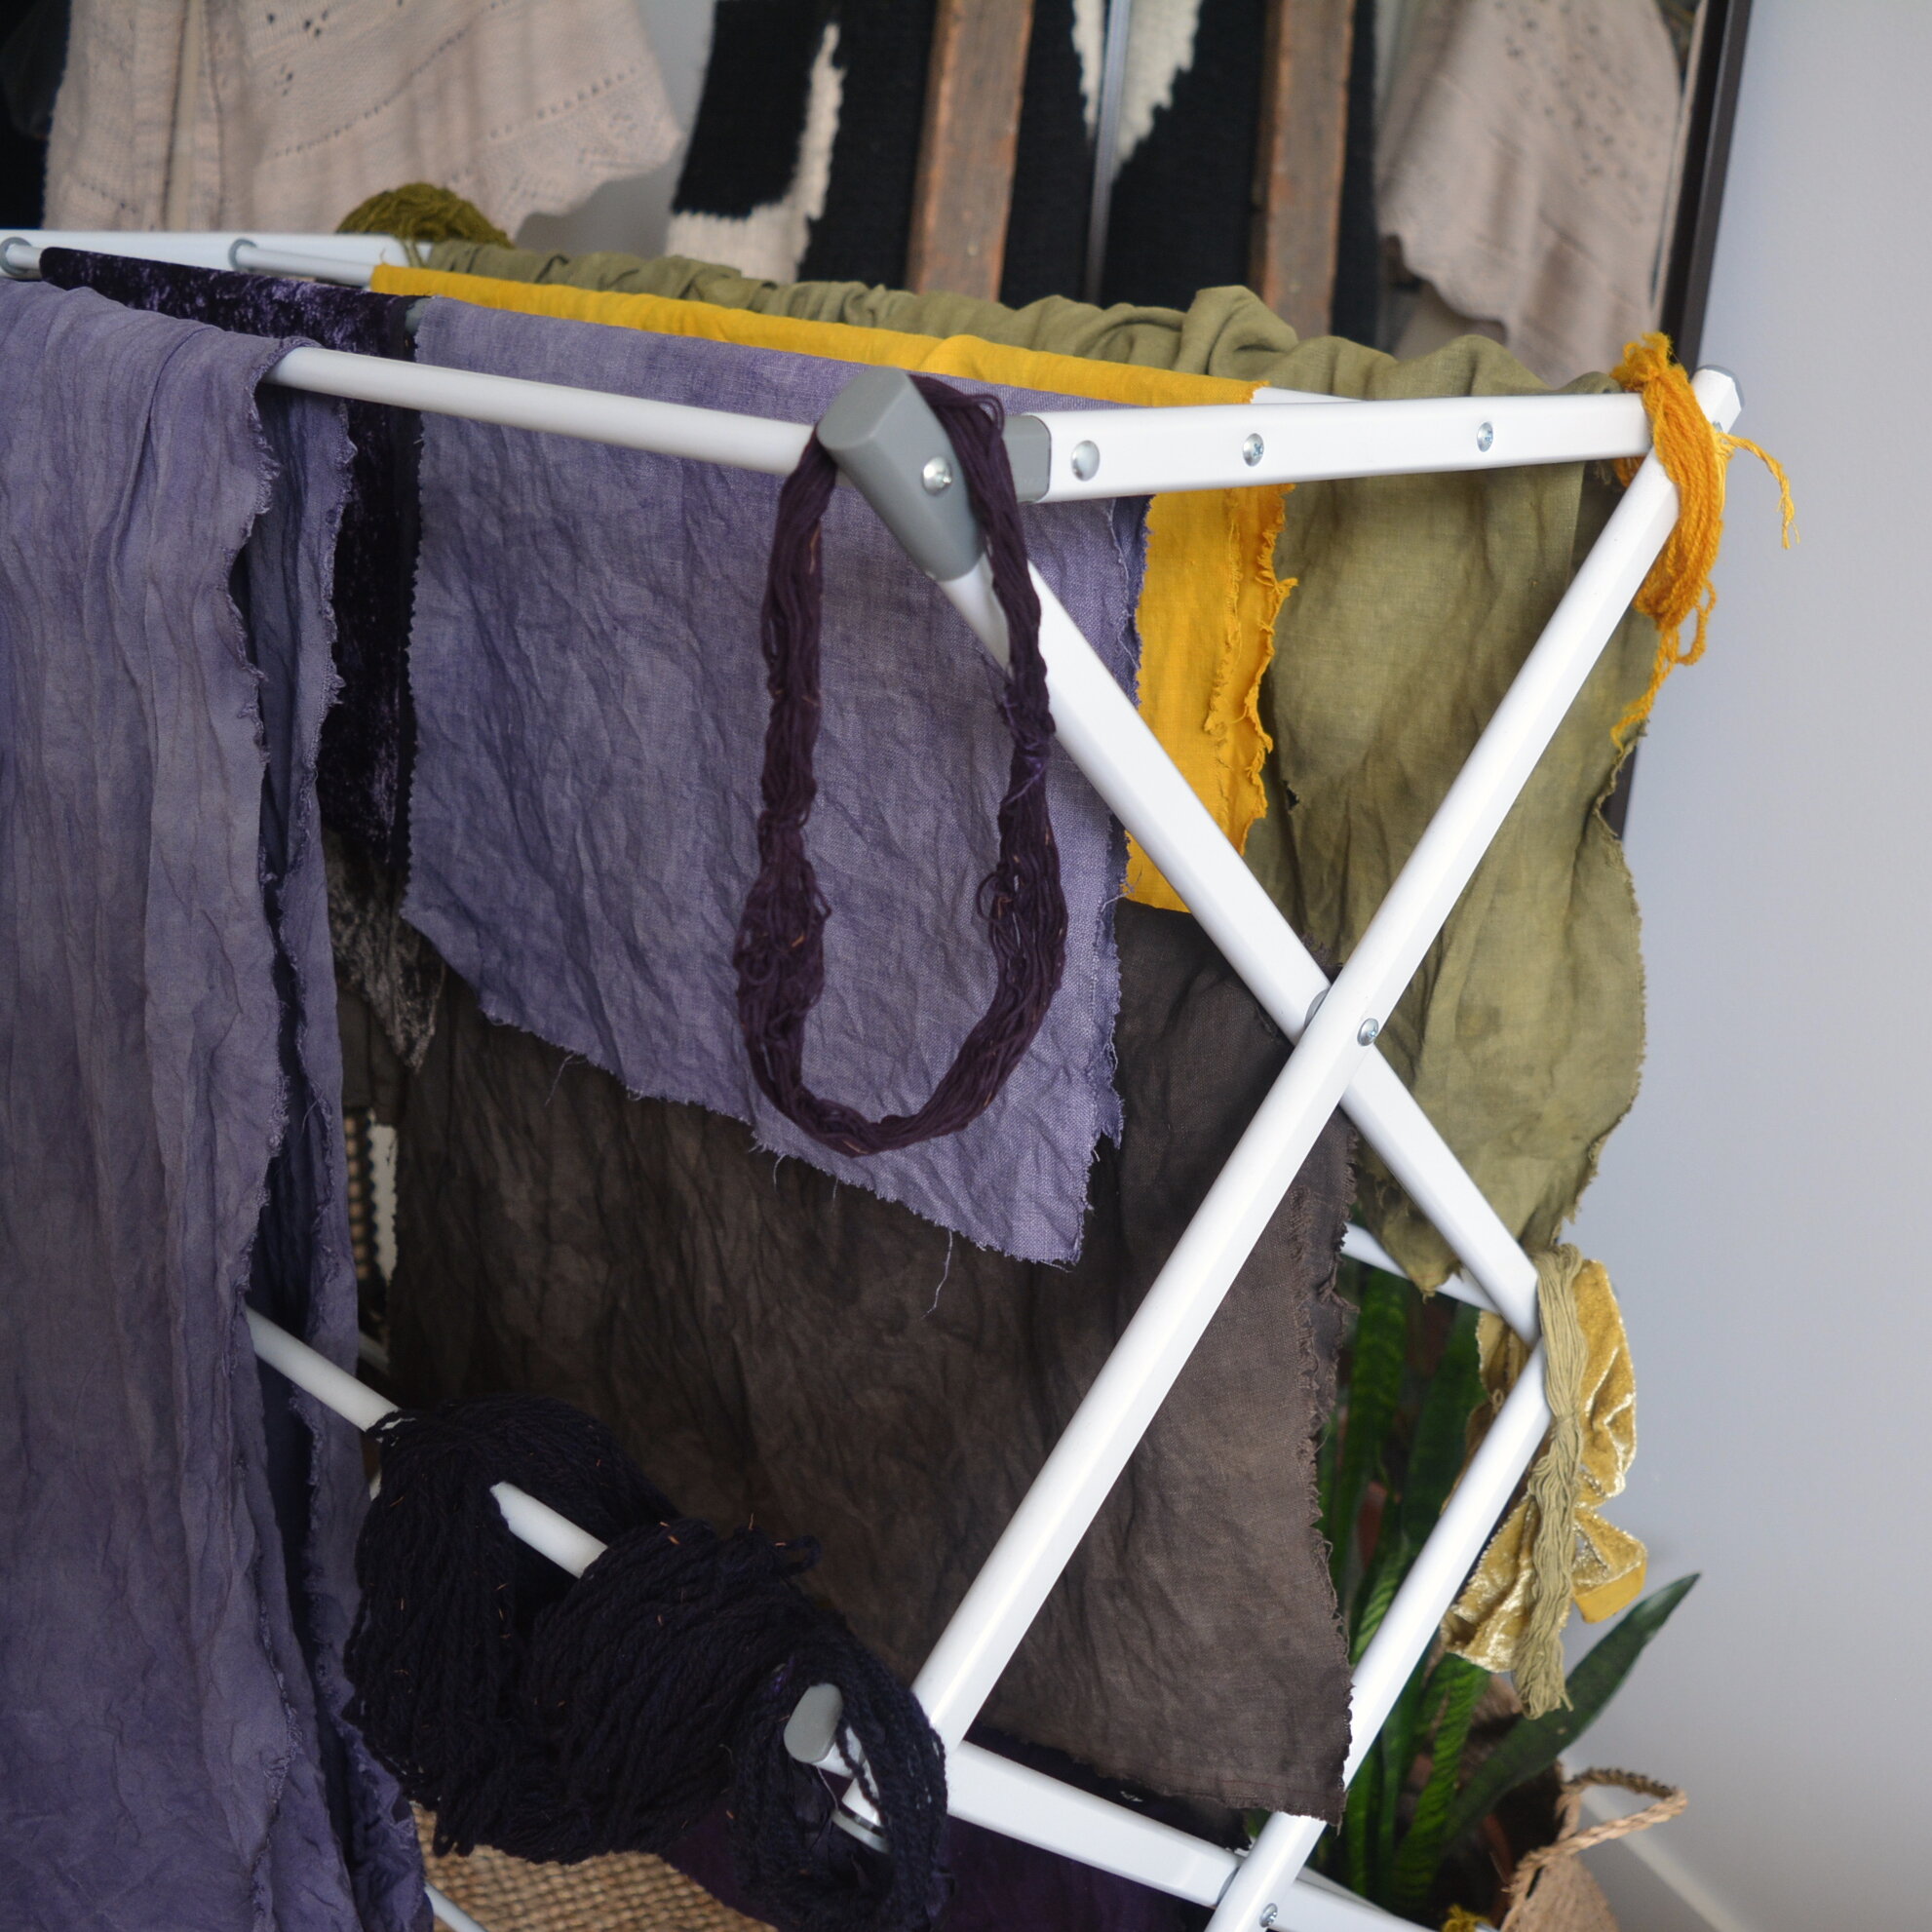
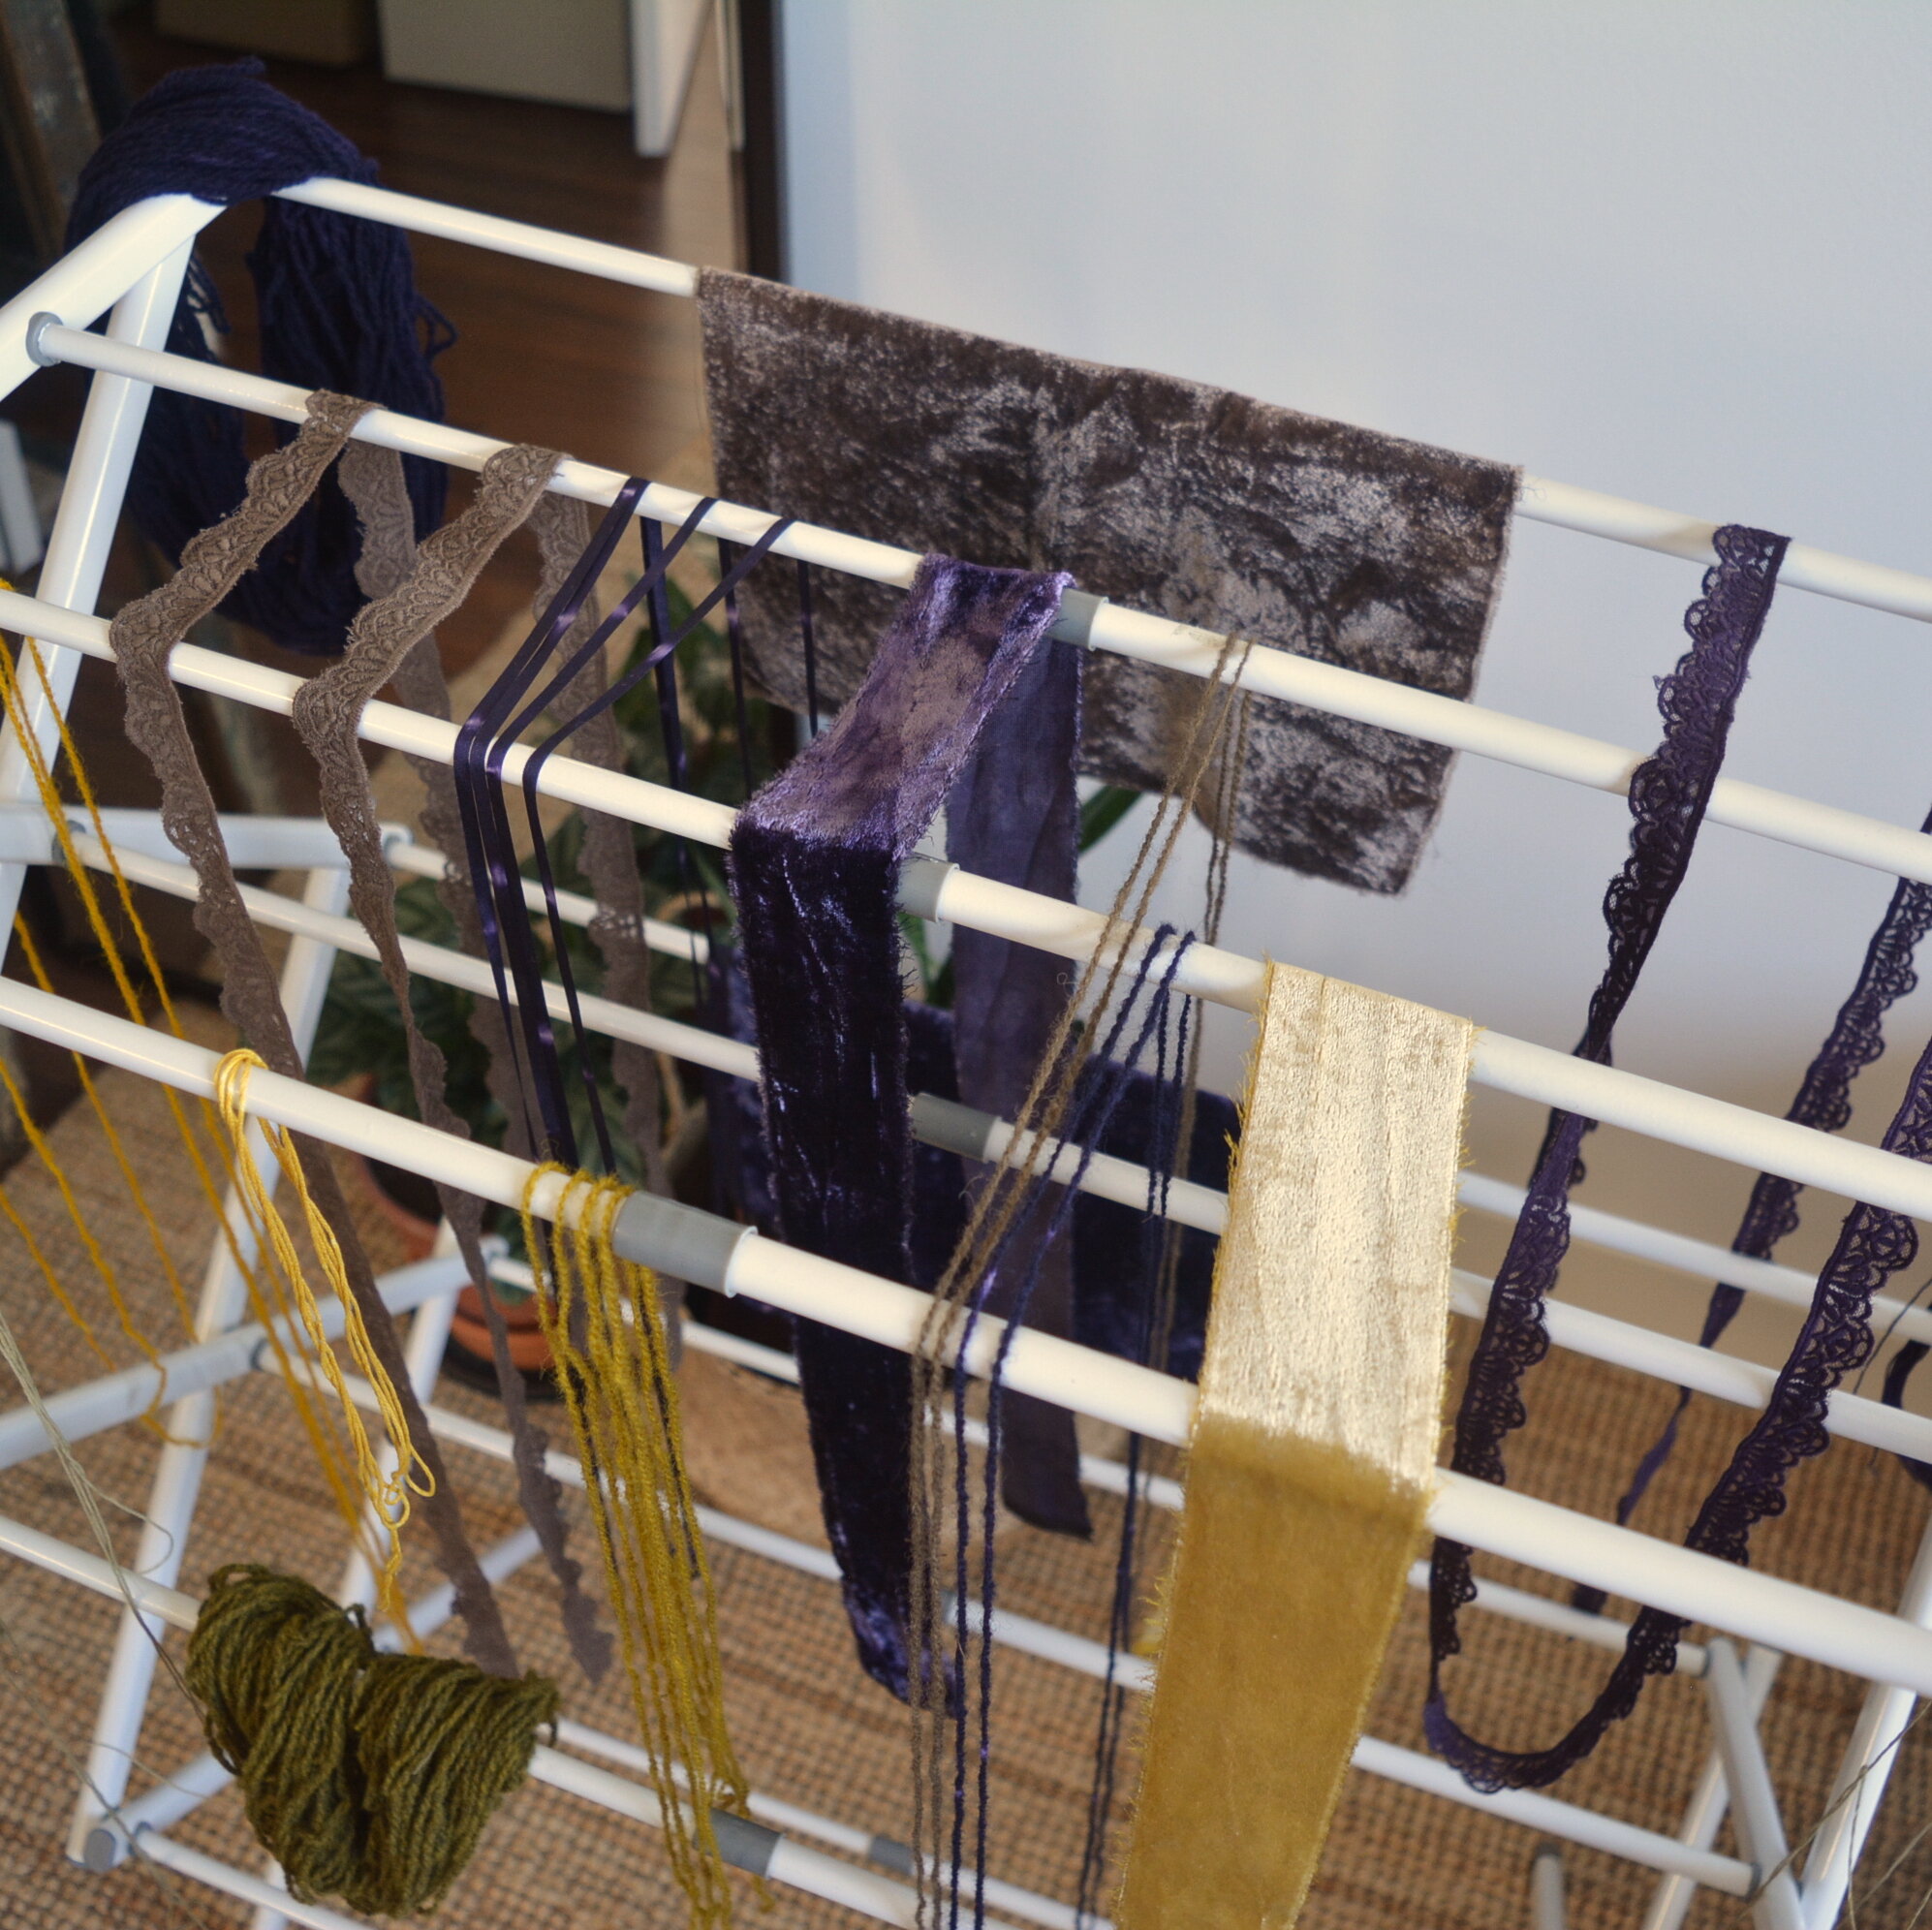
Eventually my intention is to add some floral wool embroidery to the cardigan but I'm holding off because I'm still undecided on the colour. The cardigan is knit up using Knitting for Olive Pure Silk in Quince and their Soft Silk Mohair in Marshmallow Yellow, and I think these two colours together create a tone that just doesn't complement my skin. So while I love the idea of a soft butter yellow fitted cardigan, this particular one might get a dip in a dye bath before I add the embroidery. Still undecided, but for now I will try to wear these pieces as often as I can before spring arrives and wool skirts and fuzzy cardigans become impractical.

Links for cardigan resources:

Pattern: Three Day Cardigan by Warunee Bolstad

Yarn: Knitting for Olive Pure Silk in Quince

Yarn: Knitting for Olive Soft Silk Mohair in Marshmallow Yellow

Links for wool skirt resources:

Pattern: A lucky find from Etsy

Wool: Atex Designer Fabrics

Lining: 8mm silk habotai from Maiwa

Dye: ground pomegranate rind from Maiwa

Read about my experience dying with pomegranate here.

Naturally Dyed & Quilted Pillow Covers

2021-02-14_19-30-23.jpg

Just a quick post here to share some pictures of the throw pillows I made for my couch. The monochromatic yellow on yellow comes from ground pomegranate rinds (I shared this dye project with you here). The cotton Sashiko thread dyed a couple shades lighter then the linen fabric so the running stitches on the pillow still stand out, and I'm really happy with the texture that the stitches give as well. These were pretty easy to make construction-wise, but the running stitches did take ages and I like to hand finish my binding as well.

I wanted to make two pillows so altogether I needed four squares of quilted fabric. For each quilted square I cut a piece of cotton muslin, a piece of cotton batting and a piece of the dyed yellow fabric, then I quilt those three layers together with the cotton Sashiko thread. Two quilted squares are sewn together along three sides, and then I bound all raw edges with straight-cut binding. The pillows are closed with sew-on snaps along the side that was not sewn together, that way the pillow inserts can be removed and the covers can be washed. Since taking these photos they've been washed and because all the fabrics used were pre-washed the pillow covers washed beautifully.

Autumn Dye Day: Pomegranate Rinds

pomegranate-dyed-fabrics.jpg

This season I made just one quick dye bath. I was looking for a light yellow to make some new linen pillow covers for my couch throw pillows, and I wanted to learn about a dye that I hadn’t worked with yet while I was trying to get to that colour.

I bought the dried and ground pomegranate rinds from Maiwa Supply (available here). I’ve seen others do this with fresh rinds, which I might play with in the future, but for now the ground rinds seemed like a better way to get consistent colour that wouldn’t be too light. I’m also already saving up avocado skins in my freezer and dried onion skins on my counter and I only have so much space for dye scraps in my little apartment!

I was dying both cellulose (linen & cotton) and protein (silk) fibres this time so I went through the separate scouring and mordanting processes given by Maiwa (available here) for the two different types of fibres. Both types were mordanted with alum at 15% weight of fabric. I made my pomegranate dye bath with the dye stuff measured at 10% weight of fabric. After about 1 hour I took out everything from the bath and added a 1/2 tsp of iron directly to the bath. After mixing that in I added back the fibres that I wanted to be a darker green/grey colour and rinsed everything else. After I had the colour I wanted from the iron bath I rinsed everything and followed the rest of the instructions from Maiwa (I let my fibres rest 2 weeks before washing with soap).

The colours turned out beautiful, although the yellows have more of a mustard coloured tone than I expected. The cotton sashiko thread I dyed I’m going to use to hand quilt the linen for my cushion covers, and the two silks will hopefully become some really luxurious linings for a couple winter skirts I’m working on sewing.

Summer Dye Experiments: Sequoia, Madder, Marigold & Cutch

With this batch of natural dye experiments I wanted to finish with more than a pile of colourful swatches and trims to add to my stash, so I decided the theme of this dye weekend would be to make a table setting for a late summer dinner party. I thought along side that I could make a set of tea towels for the kitchen, and the napkins I made would be a smaller "everyday" style napkin that could be used instead of paper napkins when eating all of our meals at home. So a table cloth, tea towels, and napkins was the plan, and of course a pile of swatches to add to my stash because why not throw any extra bits of fabric in when you have the dye pot going.

2020-07-19_20-59-19.jpg

So before I even got started with the dyeing I had to make the things I wanted to dye. The table cloth I made by hemming two large pieces of linen and then adding buttons and buttonholes, which allowed the pole of our umbrella to come up through the two pieces. And then 16 tea towels and 16 napkins took me a couple weeks to finish, following the metered corner tutorial from Purl Soho (link to tutorial at the end of this post).

I made 4 dye pots, as always following the free instructions from Maiwa as closely as I could. Below WOF is an abbreviation for "weight of fabric", which is how dye stuff is measured when natural dying.

Cutch:

Measured at 30% WOF. No tannin is needed for cutch so I just scoured the fibres and mordanted with alum at 15% WOF, then a second alum mordant at 10% WOF. The table cloth went into this dye bath and it made such a beautiful brown. This is the dye from this summer that I am most looking forward to learning more about in the future, as there are so many ways to shift the colour by adding things to the dye bath as you work.

Cutch & Madder:

Cutch was measured at 45% WOF and Madder at 15% WOF. No tannin is needed for cutch so again I scoured the fibres and mordanted with alum at 15% WOF, then a second alum mordant at 10% WOF. I was hoping for a deep rust colour, and I like the reddish brown that I got but I'm still going to work towards a more perfect rust colour.

Marigold & Madder:

Marigold measured at 45% WOF and Madder at 10% WOF. I scoured fibres, applied tannin at 10% WOF, mordanted with alum at 15% WOF, then again with alum at 10% WOF. This combination of dyes was just perfect, it made for an orangey gold colour and it's just so vibrant. One day I'll have a garden full of marigolds so that I can harvest and dry my own dye stuff, and dye all of my belongings gold.

Sequoia:

Measured at 10% WOF. I scoured fibres, applied tannin at 10% WOF, mordanted with alum at 15% WOF, then again with alum at 10% WOF. Sequoia is a dye with moderate lightfastness, which means it will fade if left in the sun. I do like the purple grey colour but I think I could achieve a similar colour using other more lightfast dyes with iron. I was expecting more of a wine colour so maybe I'll have to play with this one again, but probably at a higher WOF percent.

I took a couple pictures of everything put together on our patio, and of course made a couple new pages for my dye swatch book.

Pattern for mitred corner table linens: Purl Soho

Dye Supplies: Maiwa Natural Dyes

Linen I used: 140g/sm white linen

Natural Dye Instructions I use: Maiwa Guide to Natural Dyes

Experimenting with Natural Dyes: Osage, Cutch, and Logwood

For this second natural dye session I decided to try making multiple dye baths so that I could do one large batch of scouring and mordanting, and then split the fabrics and fibres up into multiple different dyes. I chose 3 dyes that I was interested in trying out without putting much thought into how those colours would work together. Which of course is completely unnecessary, but I think to make photographing everything more fun I will choose a colour palette or theme for my next batch of colours.

I tend to like more muted tones so I was looking forward to experimenting with adding iron to my dye baths. I wanted to see each of the dye baths before and after adding iron, and make some pages for my swatch book with all my results. These experiments are just for fun and learning, so I'm not too picky about the outcomes of the colours. I did dye a couple larger pieces of linen and hemp that I can make garments from, but mostly I just dyed scraps of linen (for quilts and small zippered pouches), and scraps of yarn, ribbon, and embroidery thread. I try to use a mix of materials like linen, cotton, silk, velvet, and wool so I can see how the dye changes on different bases.

The three dyes I would be working with this time are osage sawdust, cutch powder, and logwood chips, all from Maiwa Supply. This post is not intended to be instructional, I just want to share my experience with the dyes, and I recommend following the instructional PDF that Maiwa offers if you want to follow along. Maiwa also just launched a new natural dye website which is another excellent resource. I try to follow their instructions as best as I can here.

I scoured and mordanted all of my materials first (following the appropriate directions for cellulose and protein fibres). For mordanting, all of my protein fibres were done with alum, and all of my cellulose fibres had a tannin applied (gallnut), then an alum mordant, and then a 2nd alum mordant. Of the 3 dyes I used, cutch does not actually require a tannin (it naturally contains its own tannins), but I applied it anyways because I wanted to keep everything in one big batch. I only have 1 pot dedicated to dying at the moment (and you don't want to mix dye pots with kitchen pots), so the scouring and mordanting process is very time consuming for me, as I do every thing one step at a time. Having 1 pot means I also have nowhere to strain my dye bath into, so most of my dyeing is done with the dyestuff still in the water, which I think is contributing to my splotchy colours. I'm really looking forward to isolation being over so I can start keeping a look out for large pots at thrift shops.

The first dye I played with was osage. I was looking for an olive green for an upcoming skirt project so I decided to go with osage, which produces a warm yellow, and then add iron to change the colour to olive green. I first dyed a small piece of linen in just the osage to learn about the colour that osage gives on it's own (a very warm and vibrant yellow), and then I added the iron directly to the dye pot. I am so in love with the olive green colour that I got from this. I also have read that over-dying the osage yellow fabric with indigo will produce a teal or emerald green, so I will save some of this yellow fabric for an indigo dip. I've taken an indigo dying workshop in the past so I'm excited to start experimenting with blues this summer.

The next dye was cutch. Cutch is supposed to make a toffee brown, and with iron it should be a more chocolate brown. I was looking for a more chocolate colour so I immediately added iron to the bath. I regret not dying a scrap of linen first before the iron, to see what that toffee colour would have been! I also thought I added too much iron, as my fabric turned a dark charcoal colour almost immediately. Although this was one of the dyes that I found changed over the next couple weeks as the colour "set in".

My last dye was logwood chips. This dye seems to have so much potential, especially when over-dying or under-dying with other colours. My goal was a lavender purple, so I started with 10% dye stuff to WOF (weight of fabric) thinking it would get me a light shade. I let the logwood chips soak in water for 12 hours, and then boiled them to make my bath, and it was so much stronger than I expected. The first couple pieces I put in turned a very deep purple right away, so before putting the rest of the fibre in I discarded about 80% of the bath, watered down the remainder and tried again. I added a very small amount of iron (learning from the cutch experiment the day before), and got a pretty muted purple, still not quite as light as I was hoping but much closer to my goal. You can save the logwood chips and re-use them for a lighter dye bath, so I dried mine out and will use them again for what I'm hoping will be a very light lavender.

After dying you give all of your fibres a good rinse and then let them hang to dry. Here it is suggested that you let the fibres rest for two weeks to let the colours set into the fibre before you wash with soap. Natural dying is such a lesson in patience, and waiting the two weeks before I can use the fibres makes it feel a little like Christmas in a way. After the final wash I found that a lot of the vibrancy from the osage washed out. Which meant the olive green was a little more grey toned than it looked before washing. I also felt like the colour of the cloth dyed with cutch changed a lot after it was washed, from charcoal to more of a brown tone. Before washing the cutch cloth was my least favourite of the bunch but after washing it is the colour I am most excited about!

One interesting thing was seeing how different the colour showed up on different fibres. Below is an example of the osage + iron dye on some wool yarn vs. on cotton sashiko thread.

2020-05-09_21-21-55.jpg

I learned so much from these dye experiments and I'm excited to add some swatches to my swatch book. You can read about my first experiment dying with avocados here. I used the fabric from that dye bath to make this outfit here.